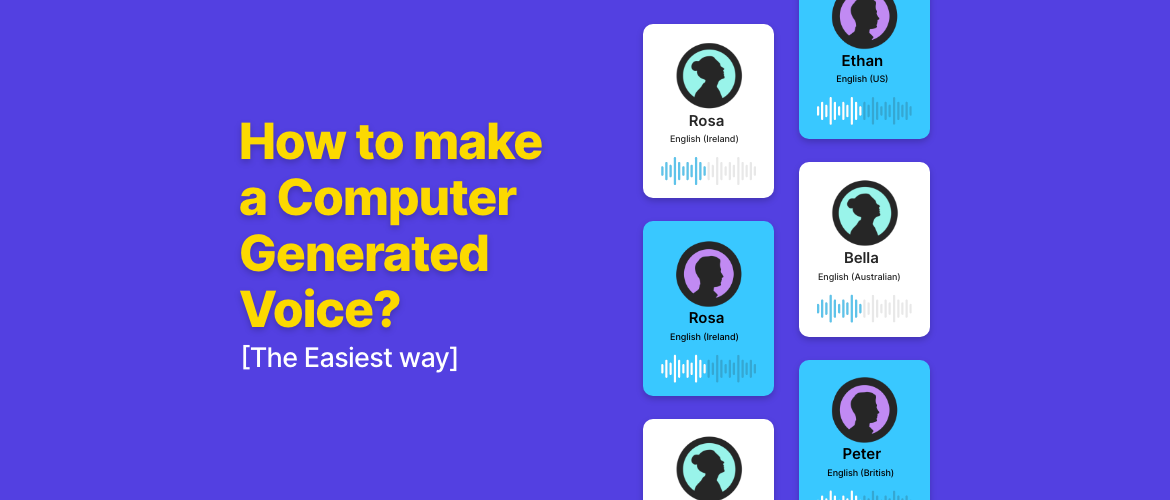
How to Make Computer Generated Voice in Minutes!
shreshtra - July 8, 2025 - Leave your thoughts.
Need a voiceover in minutes?
With computer-generated voices, creating high-quality audio is now faster and easier than ever.
No need for recording equipment or voice actors - just type your script, choose a voice, and you're done.
Here’s how realistic AI voices sound these days.
As an educator -
As podcaster -
Sounds natural, right?
These voices are made with an online tool called Animaker Voice.
In this guide, we’ll show you how to create a computer generated voice using Animaker’s AI voice generator in 4 easy steps!
- Step 1 - Choose the Voice Category
- Step 2 - Select a Voice
- Step 3 - Paste the Script
- Step 4 - Download Voice
Before we dive into the steps, head over to Animaker’s Voice Generator and sign up or log in.
Once you're in the dashboard, click on Generate AI Voiceover to launch the AI-powered computer voice generator.

Now, let's move on to the steps in creating the perfect computer-generated voice.
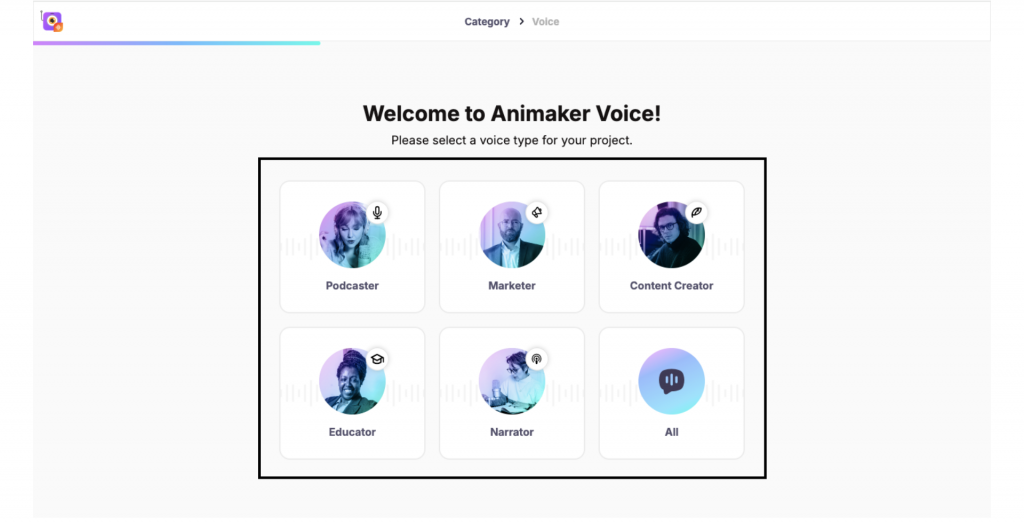
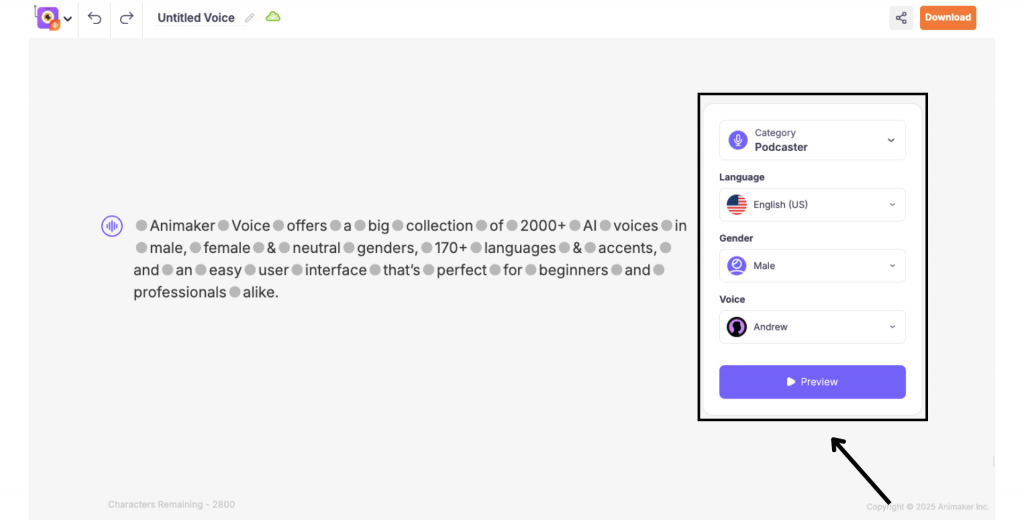
Step 1 - Choose the Voice Category
Animaker has five categories, namely, Podcaster, Marketer, Content Creator, Educator and Narrator. Start by selecting the voice category that fits your content’s purpose.
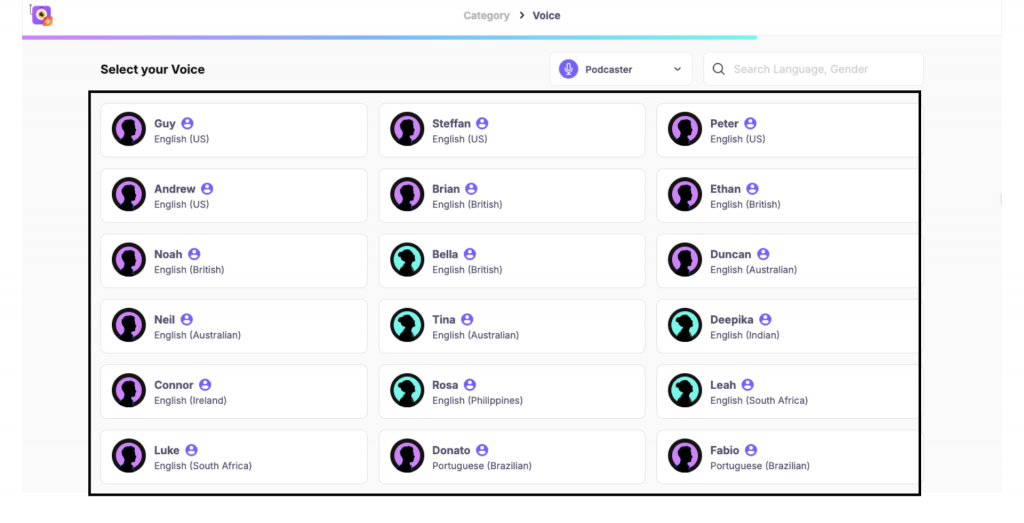
Step 2 - Select a Voice
After picking your category, browse through the available voice options.
With over 1800 human-like AI voices in 180+ global languages and regional accents, you’ll have no trouble finding the perfect match - whether it’s a calm narrator, energetic marketer, or professional educator.
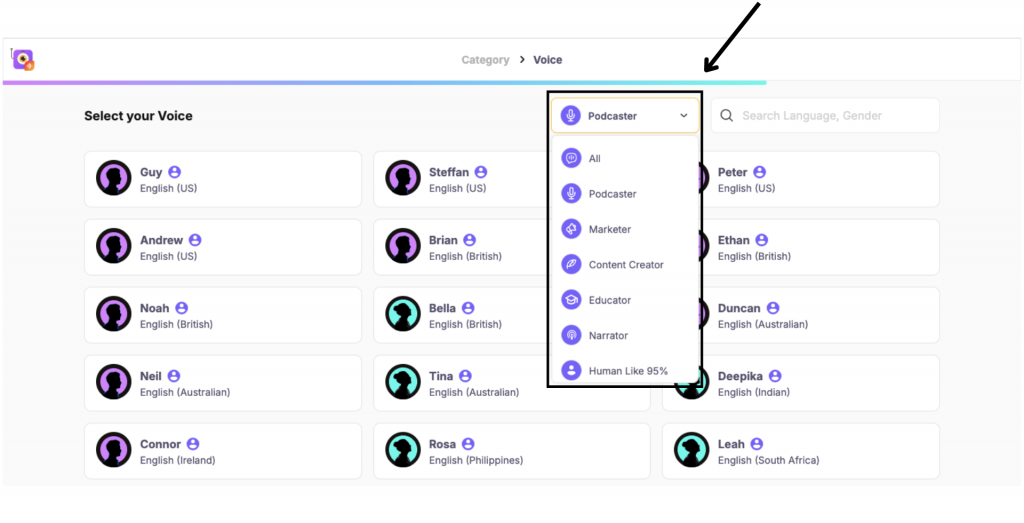
Use the dropdown at the top to switch categories anytime.
Hover over a voice and click the play icon to preview it. Found the one you like? Click Add to move forward.
Step 3 - Paste the Script
Next, paste your text into the script box. Click the play button to hear it spoken aloud by your selected AI voice.
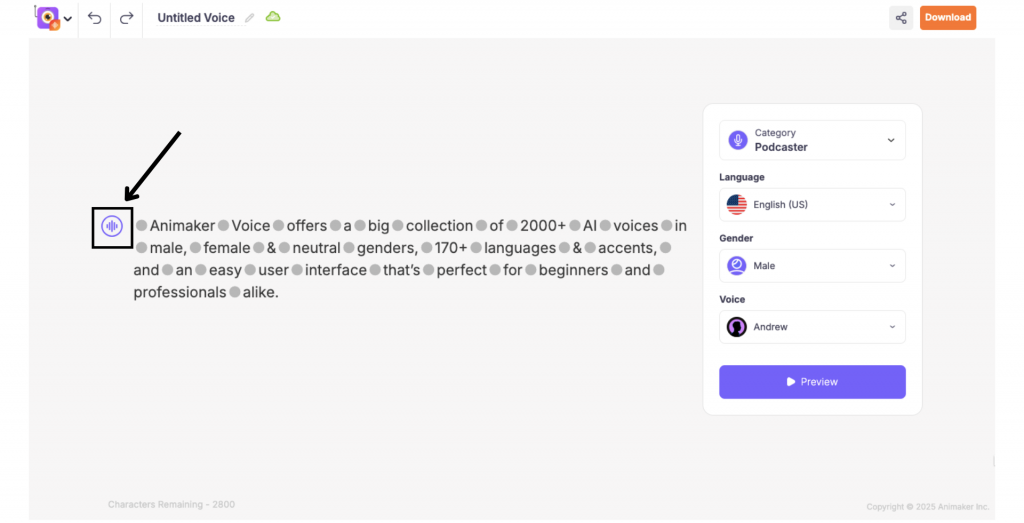
Want to experiment with another language or tone? You can instantly switch from the right-hand panel and compare how different voices sound with your script.
Step 4 - Download Voice
When you're satisfied with how it sounds, click the Download button. Choose your preferred audio format, and hit Download again.

***
Kudos! You have successfully learnt how to create the perfect computer-generated voice in a simple 4 step process.
Skip the hassle of traditional recording and create studio-quality voiceovers in seconds, right from your browser.
Whether it’s an explainer video, training content, or a social media reel, AI voiceovers make production faster and more flexible than ever.
Ready to create your own computer generated voices? Head over to Animaker Voice and start now!