The A11y checklist: How to create accessible videos using Animaker?
Have you ever played a video from your phone in a noisy coffee shop without your headphones?
It will be frustrating, right?
Now imagine going through the same struggle every single time you try to watch a video.
This frustrating inconvenience is just the tip of the iceberg when we talk about accessibility!
Some viewers may not hear the sound in your videos, while others may be sensitive to flashing lights from your video!
These aren’t some hypothetical situations - That's the reality for millions of people with hearing or visual impairments and sensory sensitivities.
Here’s where A11y comes in!
Hold on, What is A11y?
Well, A11y might look like gibberish, but it's actually a code word for Accessibility!
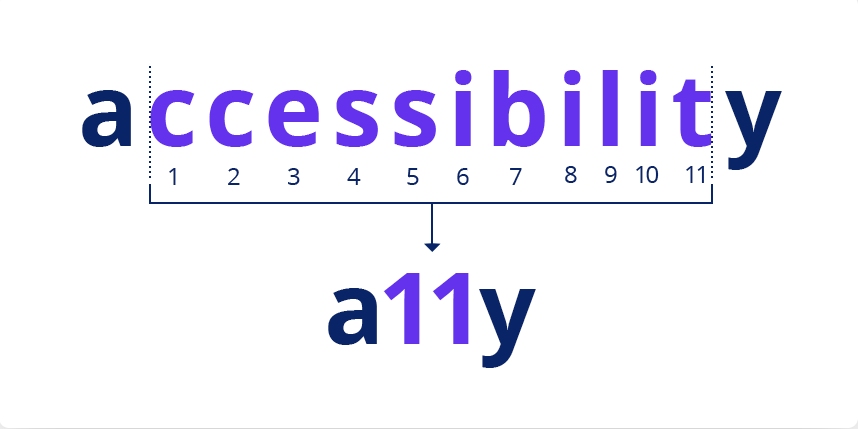
Yes, Accessibility is often abbreviated as the numeronym
a11y, where the number 11 refers to the number of letters removed.
A11y is all about making sure the websites and videos work well for all people who are differently abled!
This means reaching a wider audience and making your video/content more inclusive and accessible!
But how do you achieve accessibility?
The answer lies in Web Content Accessibility Guidelines (WCAG) - it acts like a roadmap to achieving this by providing guidelines for creating digital content that is accessible to everyone!
This article will be your guide to mastering WCAG and creating videos that are inclusive, engaging, and accessible for everyone around the world!
How can you make videos that are accessible?
WCAG outlines several key areas to consider when making videos accessible to everyone. Here are some of the most important guidelines for making your videos accessible and inclusive.
1. Caption your videos:
Captions are textual representations of all the spoken words and non-verbal sounds in your video.
Captions appear at the bottom of the screen and are synchronized with the corresponding audio. Its main purpose is to make videos accessible to everyone, especially to people with hearing impairments. With captions, they can follow along with the dialogue, catch jokes, and understand the entire story – just like anyone else!
Captions are especially important if you're creating content for a government agency, as they often need to create
508 Compliant Videos.
You may also note that the captions are different from the subtitles. Subtitles are usually the translations of the spoken dialogue in a video, meant for viewers who speak a different language than the one used in the video.
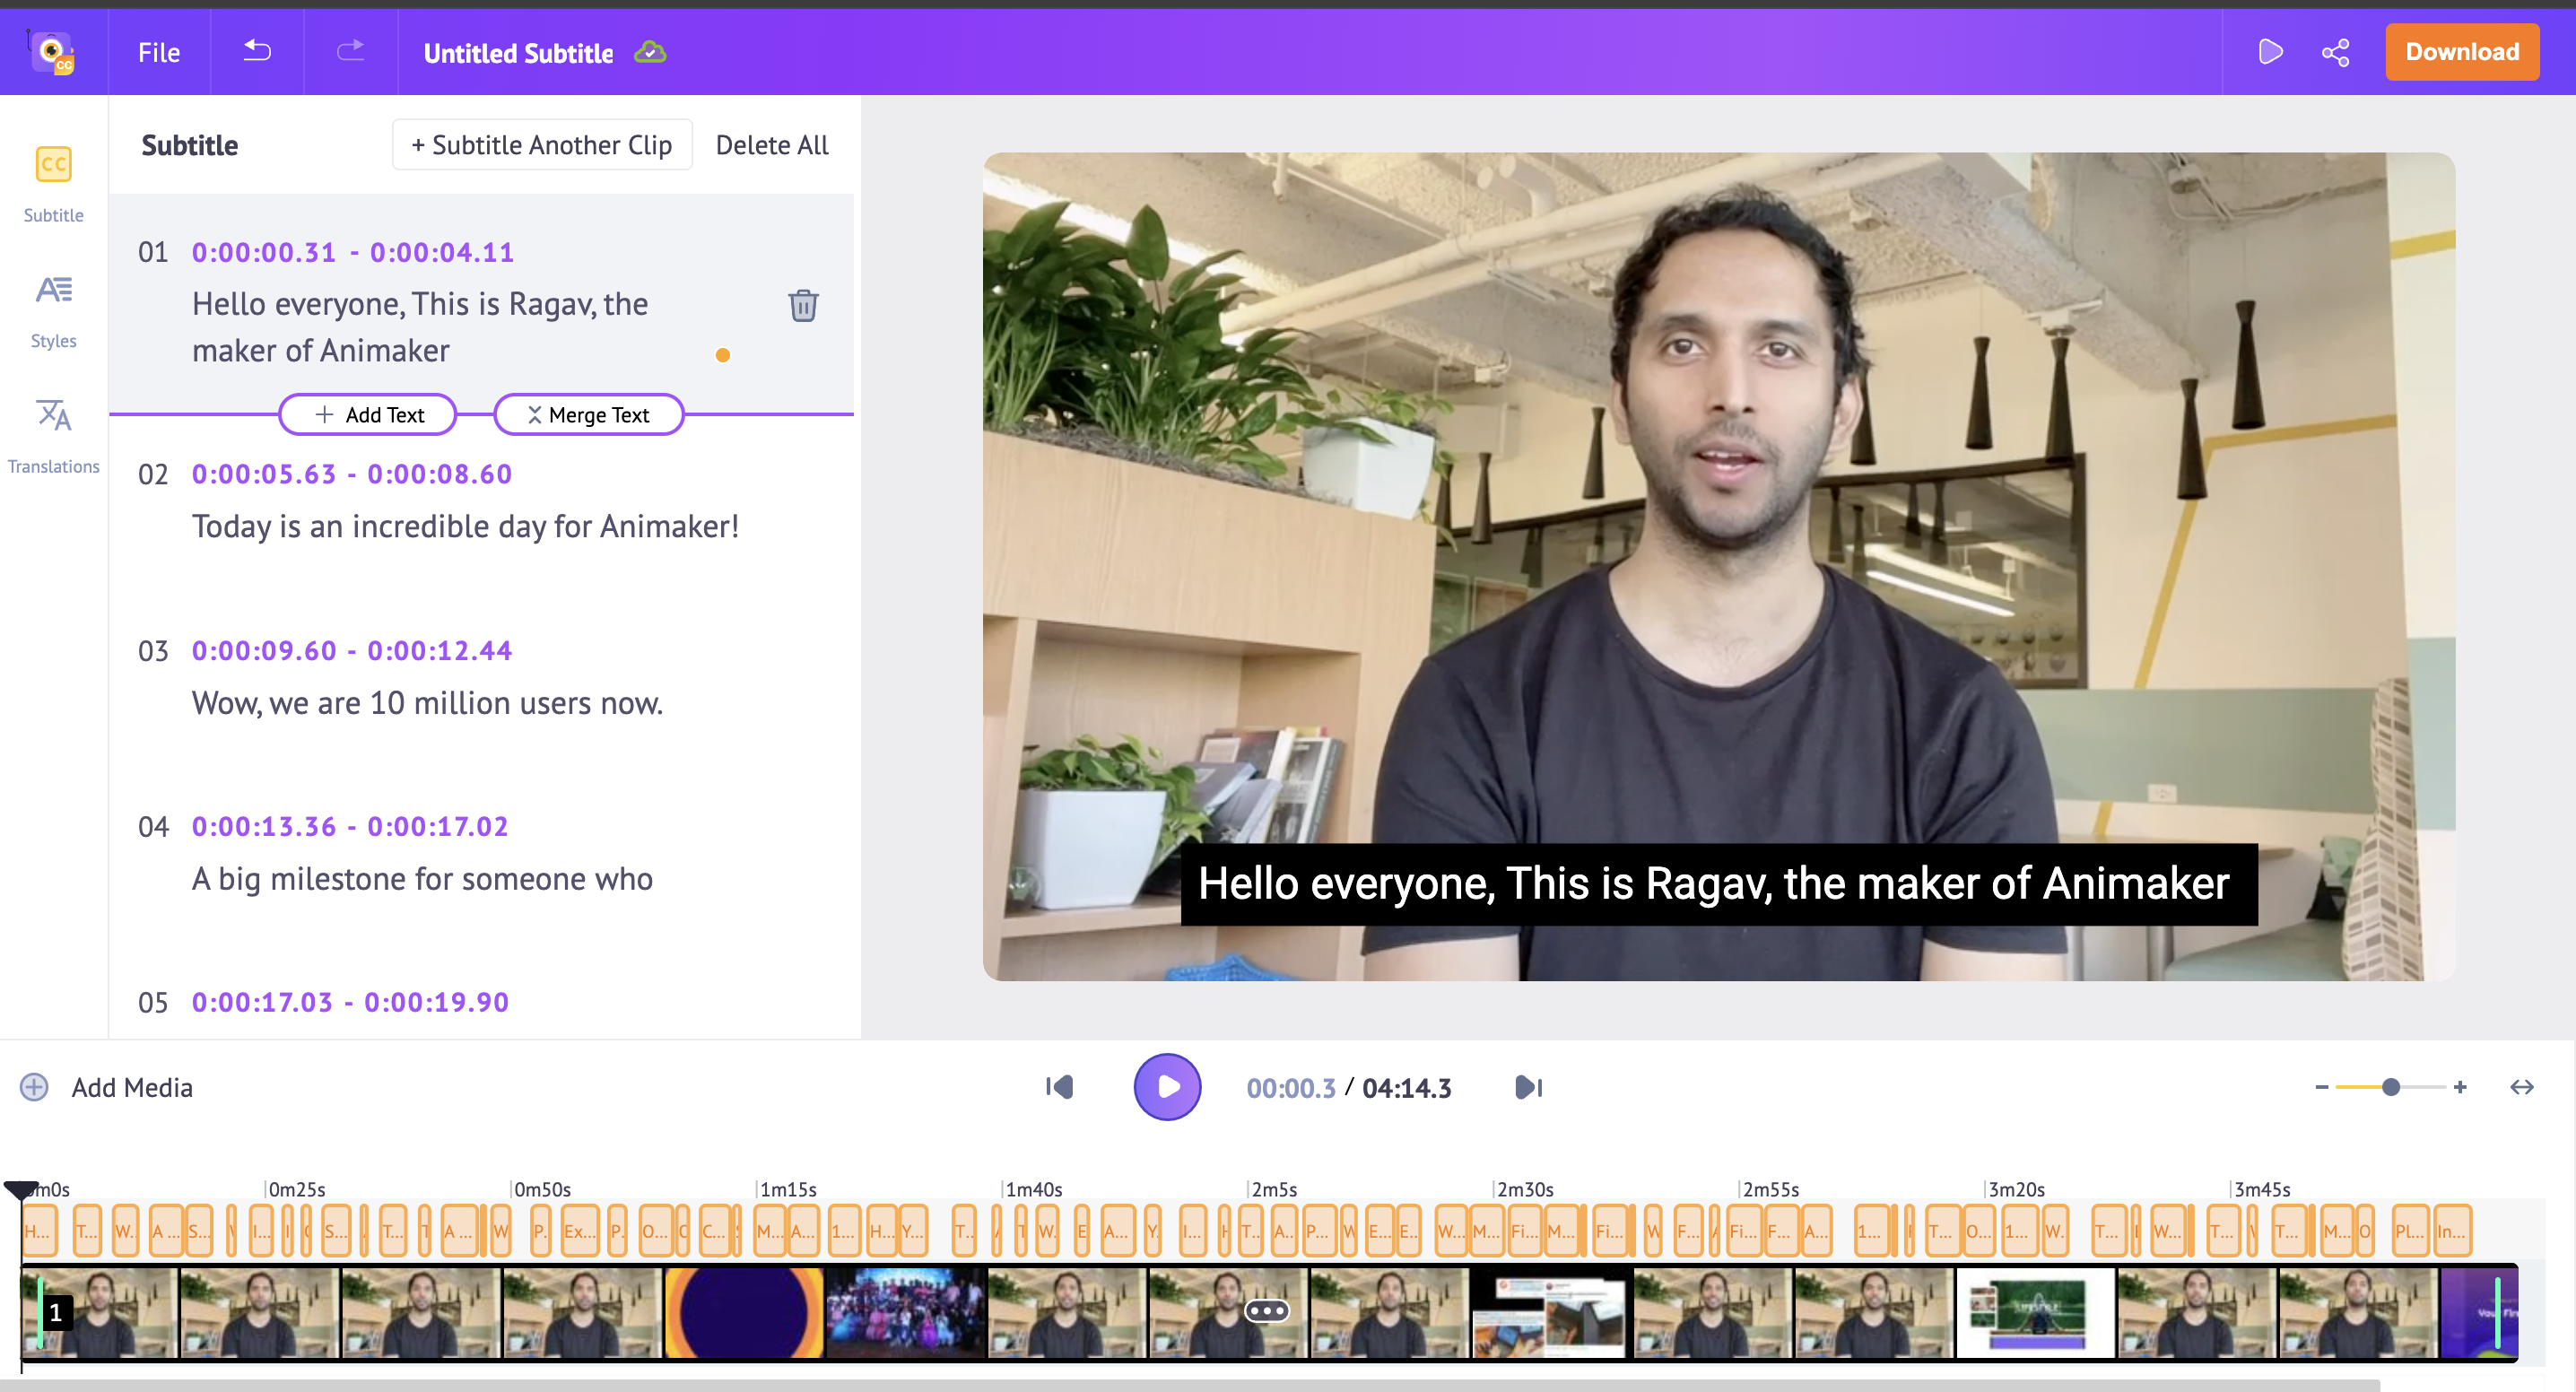
Here’s how you can add Captions using
Animaker's Subtitle Generator:
Simply upload your video file and click the 'Auto Subtitle' button. The AI will do its magic and instantly Captions/Subtitles will be generated and added to your video!
2. Include Audio Descriptions:
Audio descriptions are narrations of the key visual elements in a video, detailing everything from scene changes and character actions to on-screen text and subtle details. This makes it possible for viewers who are visually impaired to follow the story, appreciate the visuals, and fully engage with your video content.
Why are audio descriptions important?
Because they are a game changer for visually impaired people. They no longer have to rely on others to interpret visual elements and navigate digital content.
Are you a content creator wondering where to add your audio description while posting on social media?
Here’s a quick tip!
While uploading your videos on social media, you can write a detailed description of your video’s visual content in the caption or even pin a comment at the top containing the description.
The good news is that some social media platforms are taking steps to improve accessibility features, making it easier for everyone to enjoy online content.
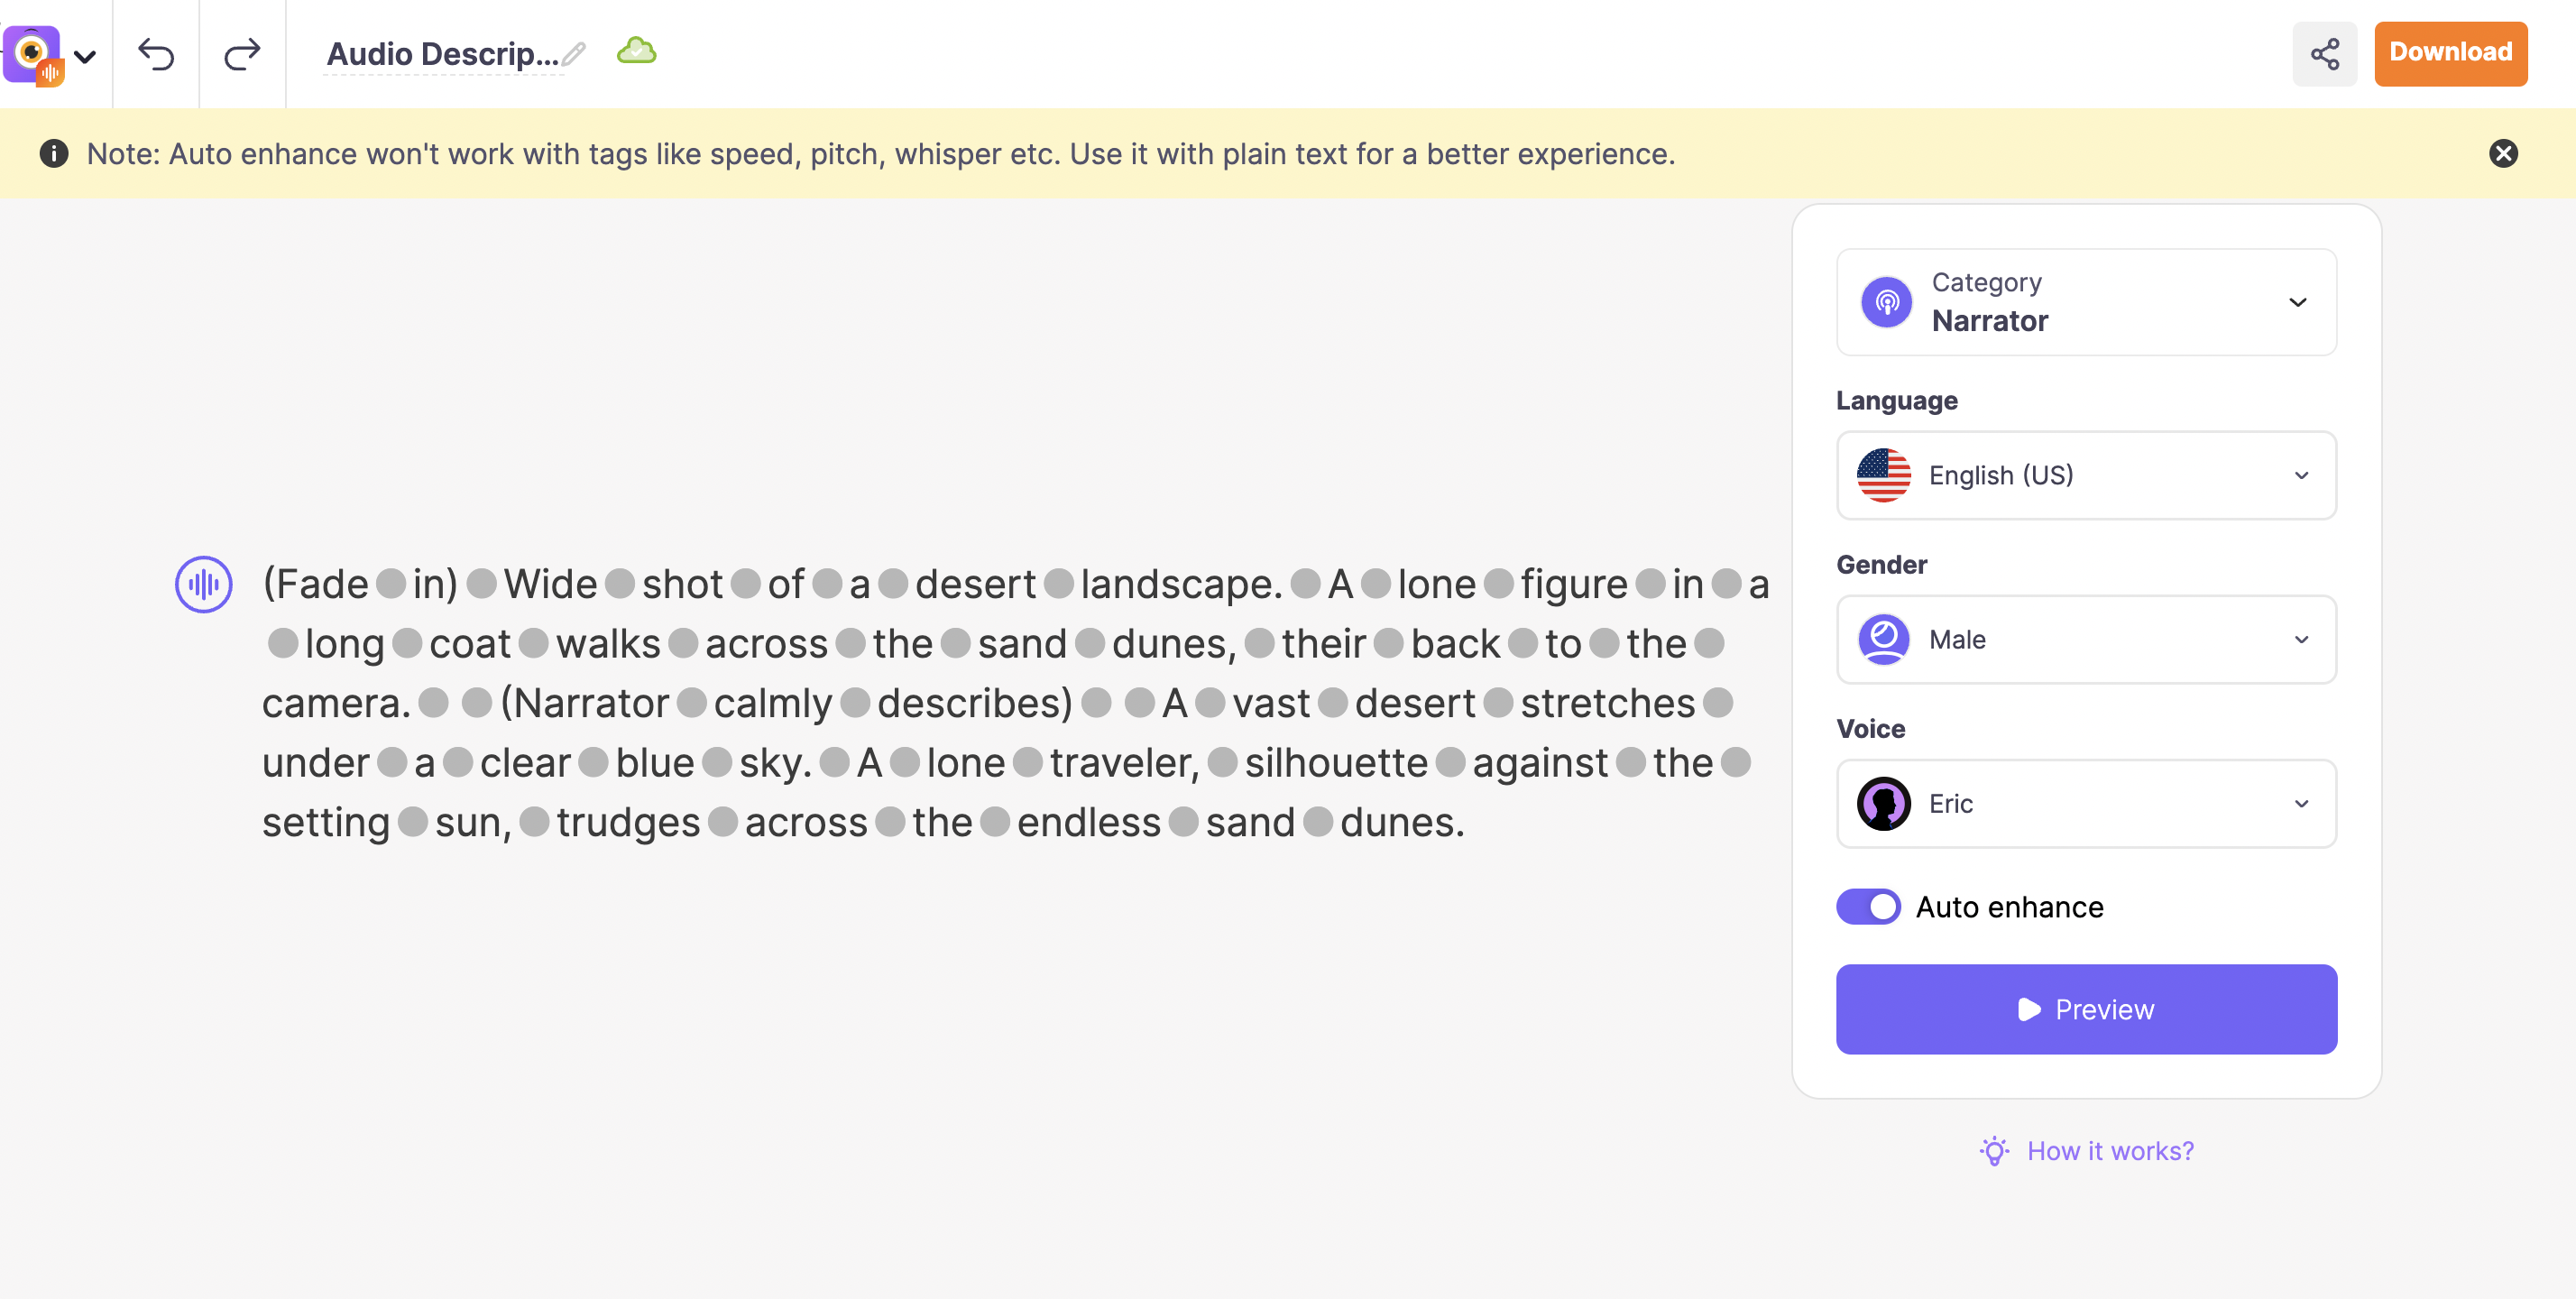
Here’s how you can create Audio Descriptions using Animaker:
You can create a voiceover for your video by pasting the script or description into
Animaker Voice, a text-to-speech software. Once created, the voiceover can be used in two ways: you can either
add it directly into the video for audible narration or
download it as a separate audio file to use alongside the video as a closed description.
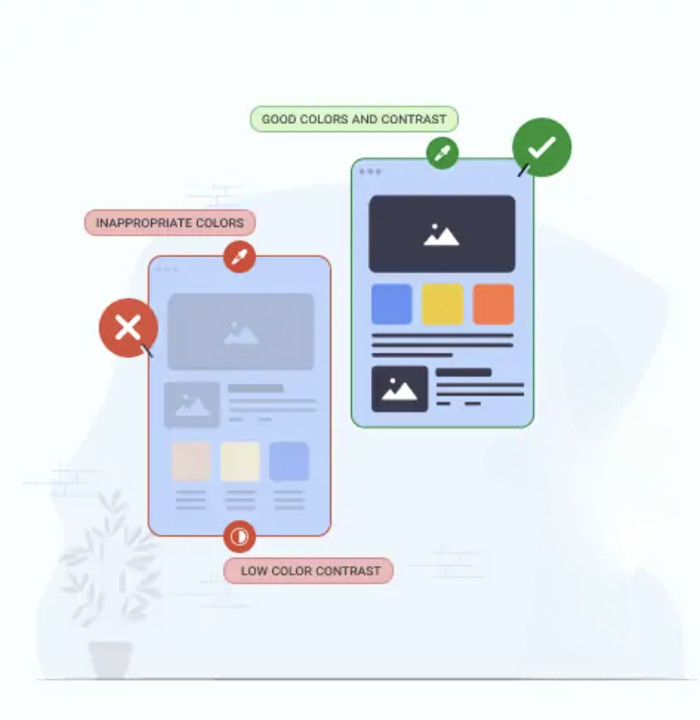
3. Keep your design simple and colors that are easy on the eyes:
Ever squinted at a website where the text seems to disappear into the background? Or struggled to distinguish between a button and its surrounding area in a video player?
You are not alone!
This is a daily struggle for millions of people with limited color vision/ color blindness.
That’s why color contrast plays a huge role in making sure everyone can enjoy the digital content.
Here are a few easy tips to make your video design inclusive/accessible for everyone!
- WCAG sets minimum contrast ratios. For normal text, it should be at least 4.5 times bolder than the background. Imagine bold black letters on a clean white page – easy to see, right? Well, It's not just text that needs a contrast boost. Buttons, icons, and other interactive elements need to stand out in your videos too.
- Don't let your on-screen text clash with the closed captions. Keep them in separate corners for a clean layout. It ensures everyone enjoys a crystal-clear viewing experience.
- Flashing lights and fast-changing patterns can trigger seizures in some viewers. To prevent this, use smooth transitions and avoid drastic brightness changes. This ensures everyone enjoys your video safely! After all, a smooth and enjoyable video is the ultimate goal, right?
|
4. Deliver your message with crystal clear audio:
Imagine trying to decipher a conversation happening underwater!
Sounds annoying, right?
That's how a video with distorted audio feels like!
For viewers who rely solely on audio, fuzzy sound quality isn't just annoying, it's a barrier to understanding your message entirely.
Even viewers with perfect hearing appreciate clear audio. Nobody wants to spend their time straining to understand muffled voices or battling background noise. Poor audio quality leads to listening fatigue, making it harder for everyone to stay focused and engaged with your content.
Therefore, its important to ensure that your videos have clear audio quality, free from background noise or distortion.
By prioritizing clear audio, you're not just making your videos more accessible, you're creating a more enjoyable experience for your entire audience.
To further empower viewers, WCAG also recommends including a volume control. This means the viewers should be in control of the volume by using a volume control on your video player.
This lets them adjust the sound for a comfortable listening experience.
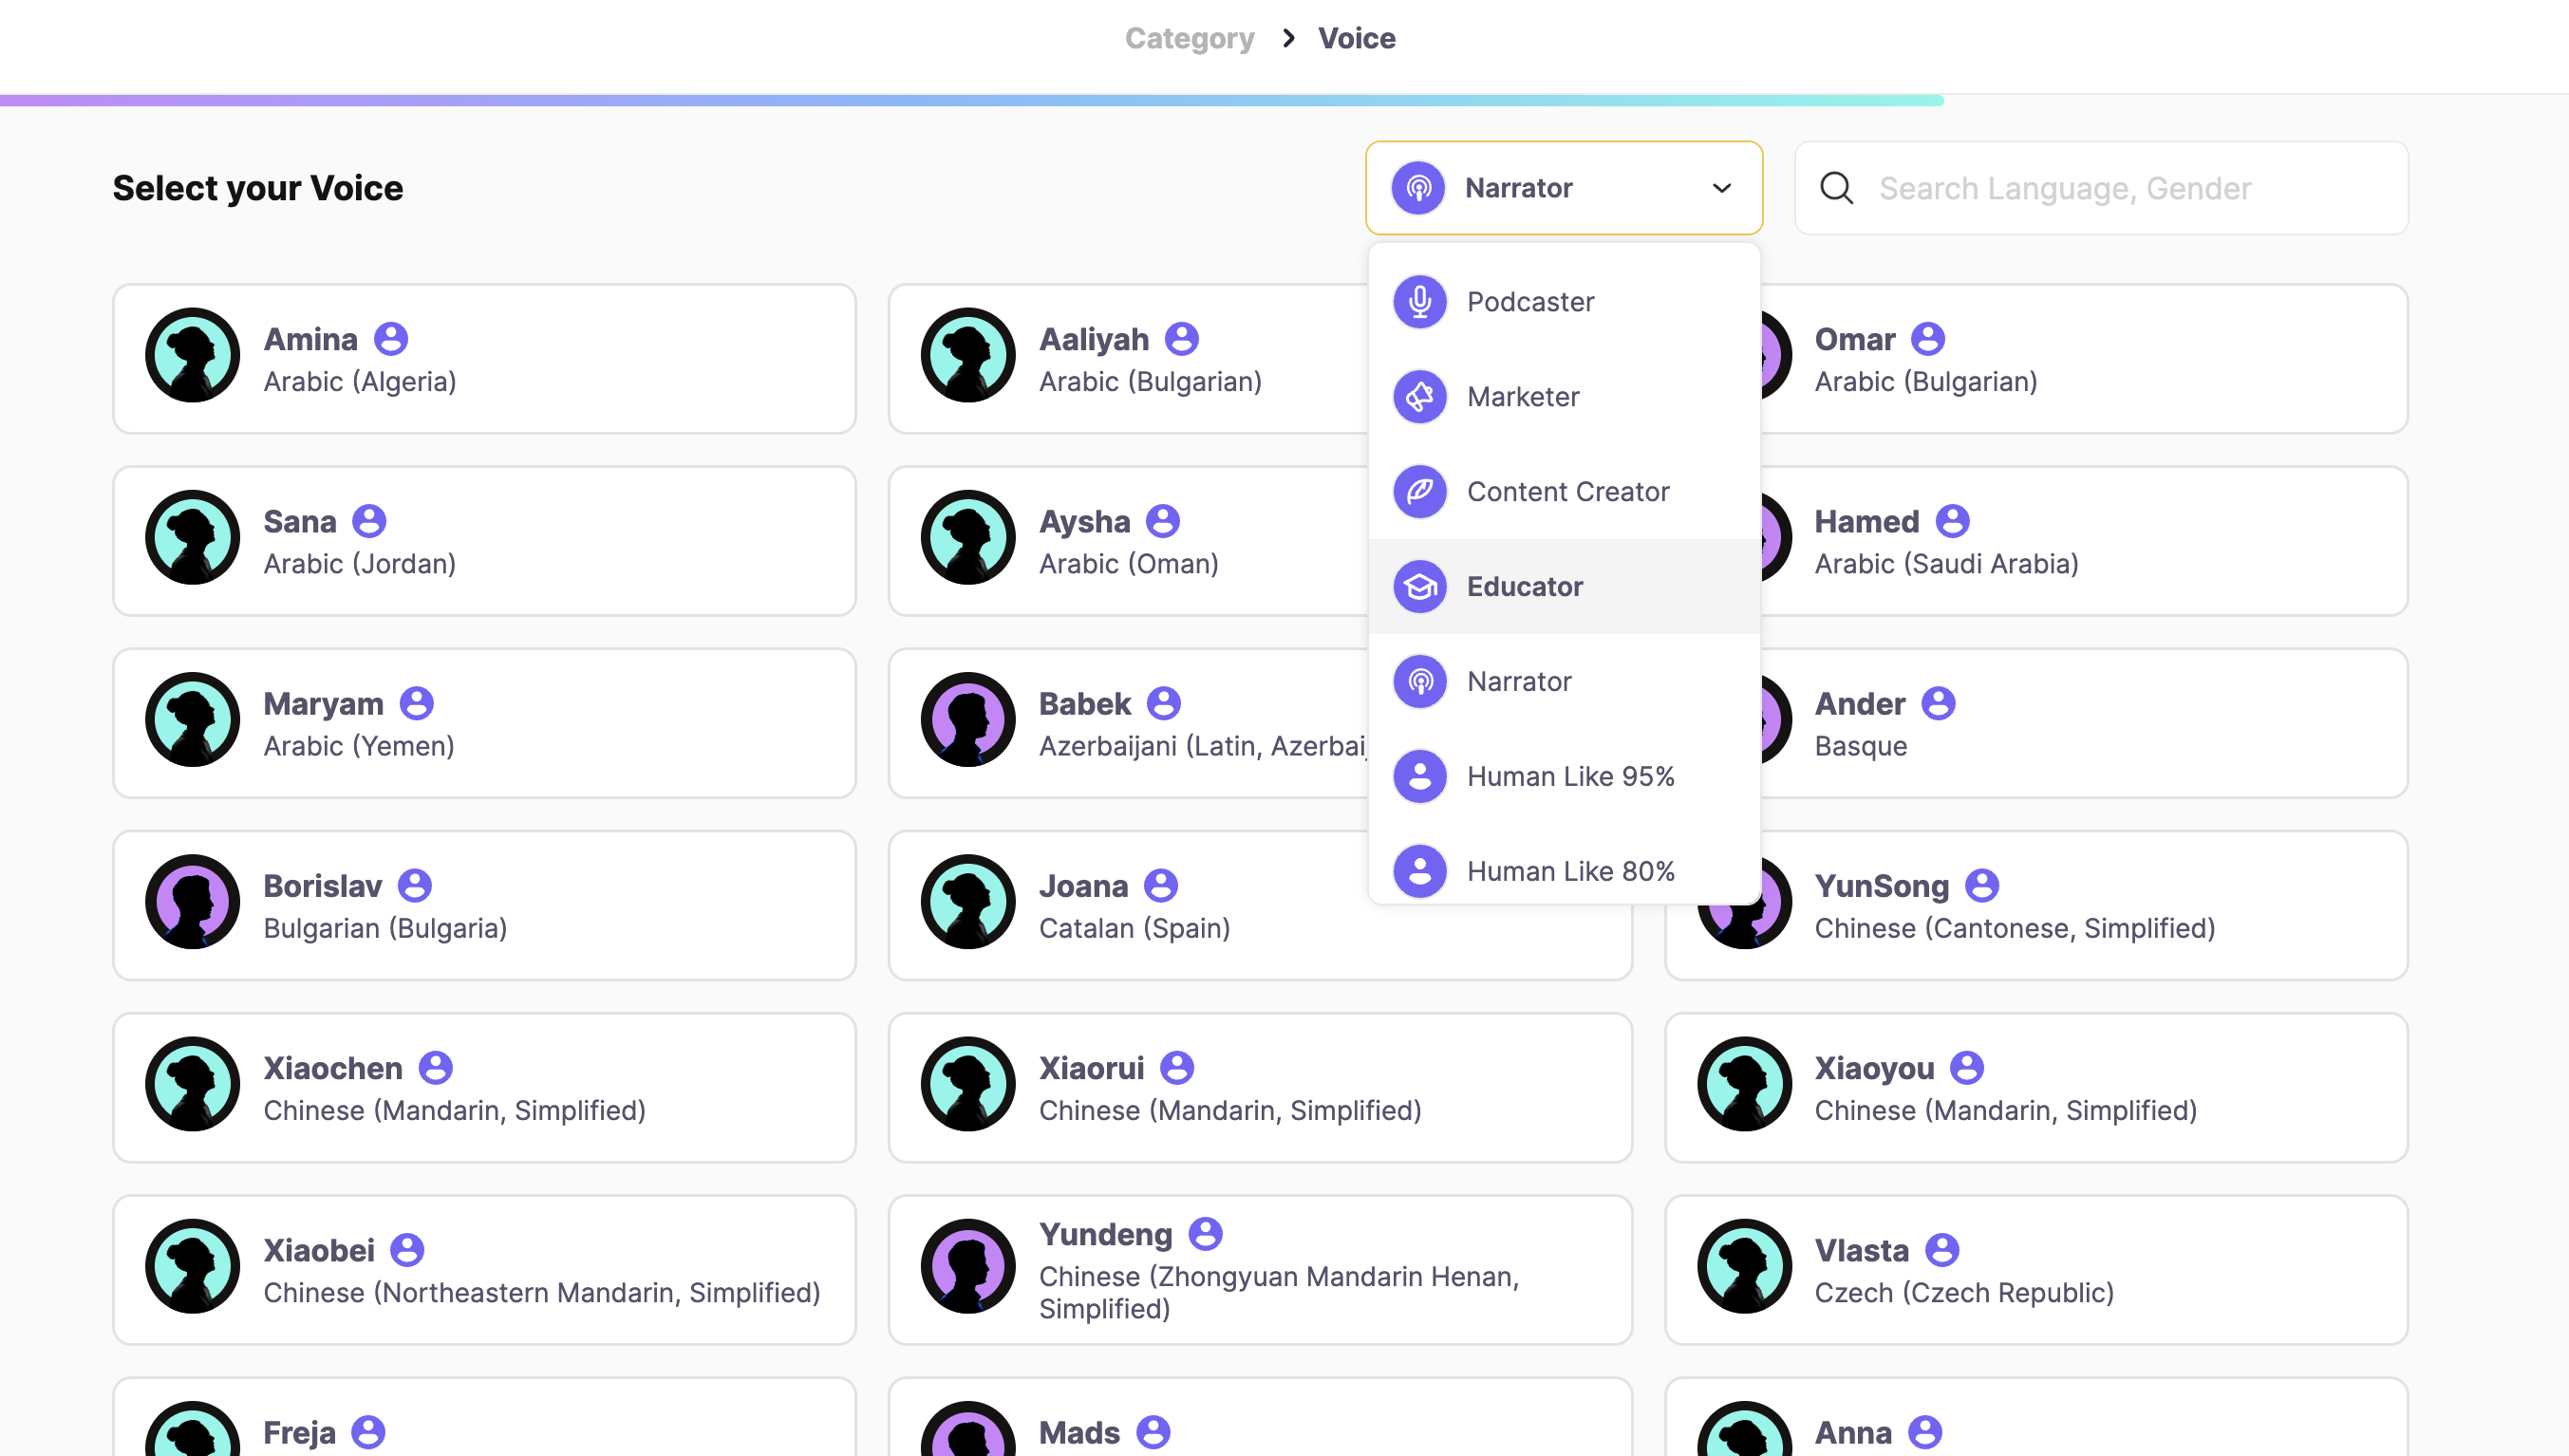
Animaker Voice is here to save your day again!
With a massive library of over 1,000 voices in 100+ languages across 5 categories, Animaker Voice lets you to create crystal-clear voiceovers for your videos.
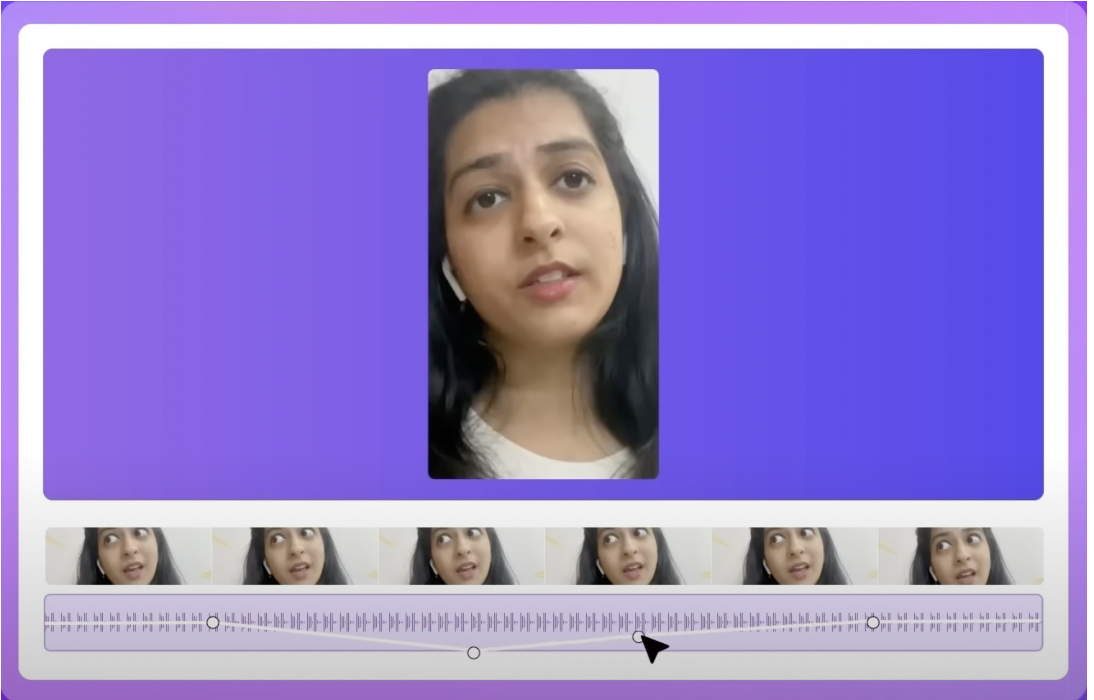
You can also use the Animaker’s Sound Wave Editor to eliminate the Background noises or adjust the volume of Music tracks.
5. Make your videos Keyboard-Accessible:
Imagine controlling a video with just your keyboard - like a total tech ninja! WCAG makes this a must-have for accessibility.
Why? Because viewers using screen readers or other tools deserve a smooth video experience too.
Therefore, it is important to make video controls like play, pause, and volume navigable with the keyboard only.
Animaker also offers keyboard accessibility features, so you can create videos using just your keyboard. Check out the article
here to learn more about keyboard accessibility.
6. Add Transcripts to Your Videos:
For viewers with learning disabilities or hearing difficulties, a transcript provides a crucial alternative to simply watching a video
A transcript lets viewers follow along word-for-word, rewind, and re-read at their own pace, ensuring they grasp every detail. It's like having a personal study guide for every video!
Are you short on time to transcribe your videos?
Animaker's Subtitle Generator has you covered!
Just upload your videos, and our tool will instantly generate accurate subtitles. Download them as an SRT file and you're done - it's that easy!
Tons of other tools like oTranscribe, Rev, and Express Scribe can also transcribe your videos in a flash.
7. Use Alt text and descriptive titles for Your Content:
WCAG goes beyond visual content, ensuring everyone can understand your message. That's where text alternatives come in!
- Alt Text (Images): Describe images with clear, concise text (alt text) so screen reader users understand what's happening.
- Descriptive Titles (Headings): Use descriptive titles for sections and pages, helping people navigate your content and grasp its structure.
- Labels (Forms): Clearly label form fields so viewers using assistive technologies know exactly what information to enter.
|
These simple steps make your content accessible and inclusive for everyone, empowering all users to engage with your information.
By incorporating features like captions, transcripts, keyboard navigation etc., you're not just ticking boxes, you're transforming your content into an inclusive powerhouse.
This will help your content resonate with a wider audience, break down barriers, and leave a lasting impact. So, start creating accessible content right away with Animaker.
Contact us at
help@animaker.com if you want to learn more about making accessible videos and take your videos to the next level.