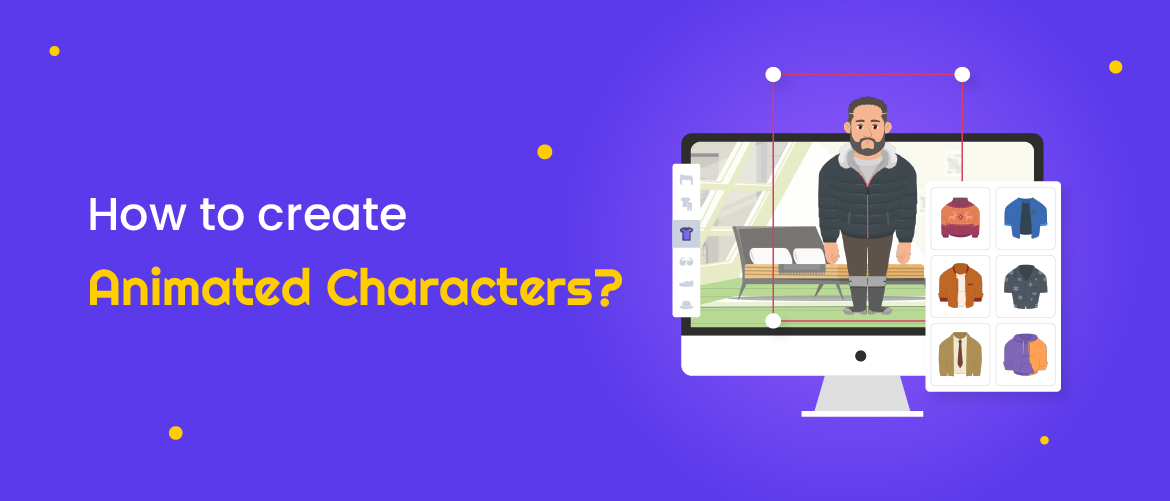
How to create Animated Characters? [In five simple steps]
Aksara NKR - August 30, 2022 - Leave your thoughts.
Step 1: Signup or log in with Animaker
To get started, log in or register with Animaker.Step 2: Create a character
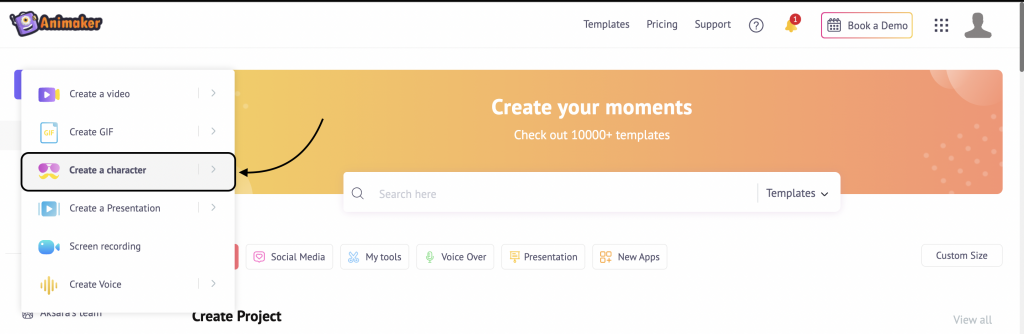
Once you log in, you can start by creating your own character. To do so, click on Create.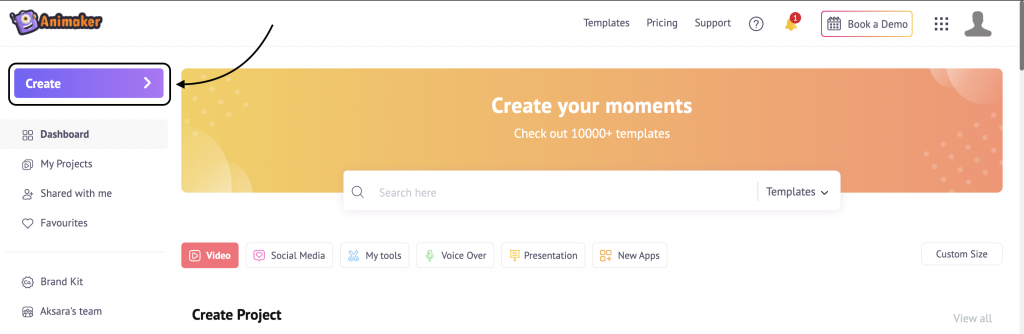 Under the Create menu, select the ‘Create a Character’ option.
Step 3: Choose your character type
Once you click the “Create a character” option, you will be redirected to the Character Builder. Here you will be able to see different options to choose across - Boy, XL Male, Male, Female, XL Female, and Girl. Now, we have to choose a person whose animated version we will be recreating. So for this tutorial, I choose Steve Harvey! Yes, you heard that right! Since we have chosen Steve Harvey, let’s move forward by selecting the male character type. Once you select the character type, you will be taken to the next screen, where you will see many prebuilt character templates. Here, you can select a template that resembles your character and start customizing. Let’s choose the character with the orange shirt for Steve.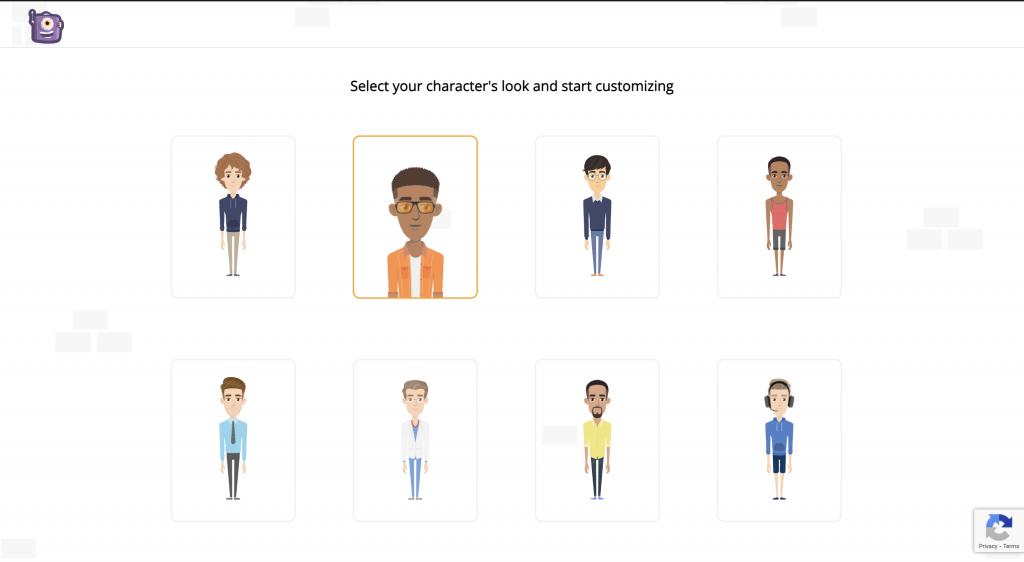
Step 4: Customize your character
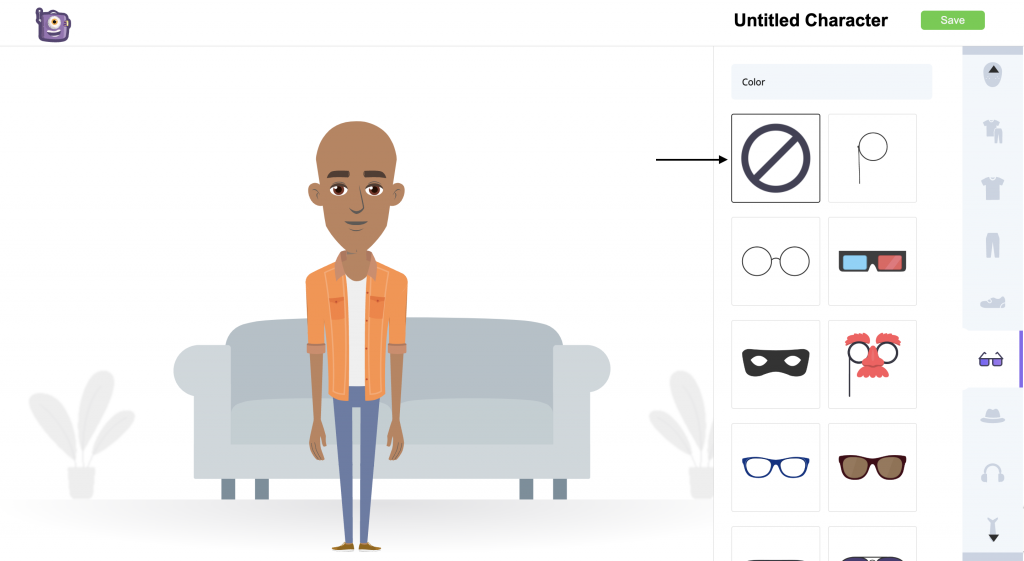
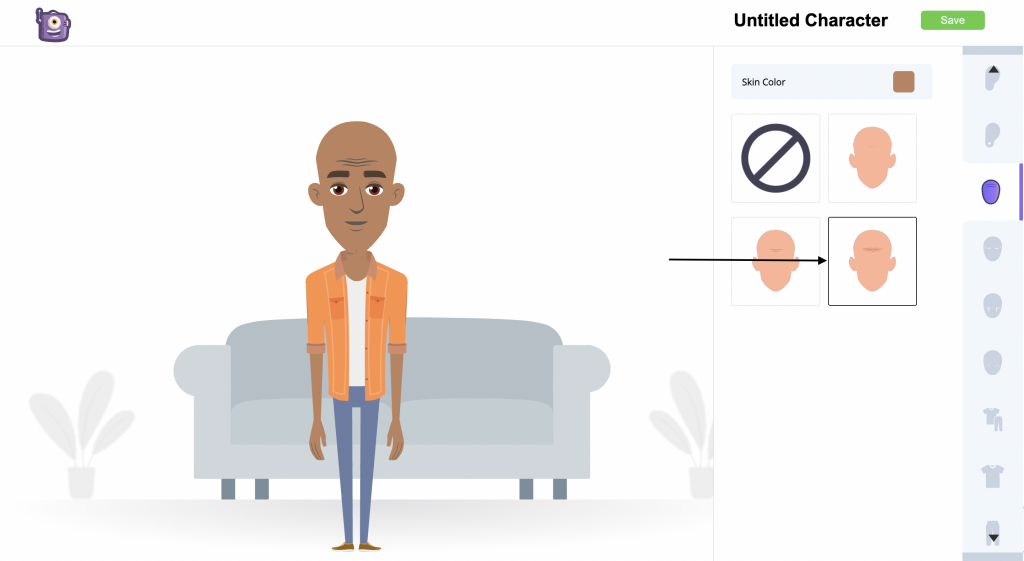
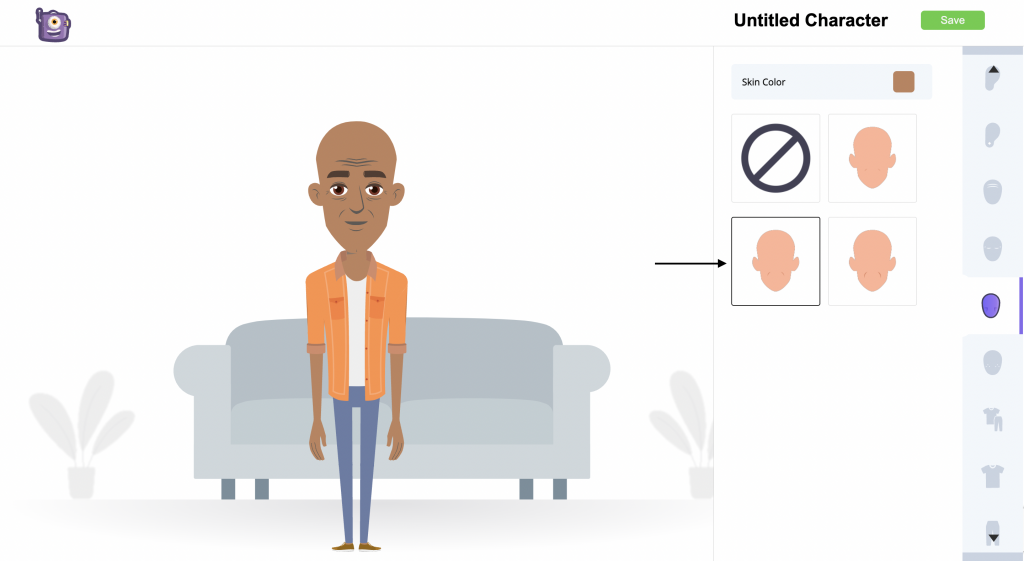
Once you select the character, you will be taken to the builder, where you can fully customize your character. When I mean fully customize your character, you get to customize every aspect of your character, from A to Z. Here are the available customization options - Hair, Face shape, Skintone, Facial Hair, Eyes, Eyebrows, Nose, Lips, Ears, Earrings, Frown lines, Wrinkles, Smile lines, Freckles, Outfit, Top Wear, Bottom Wear, Foot Wear, Eye Wear, Hat, Headphones, Neckwear, Jewel, Wristwear, Mask, and tattoo. Isn’t that just amazing? For our very own animated version of Steve Harvey, let's start by customizing the hairstyle. We all know how Steve flaunts his bald head. So, let’s remove the hair from the Hair section.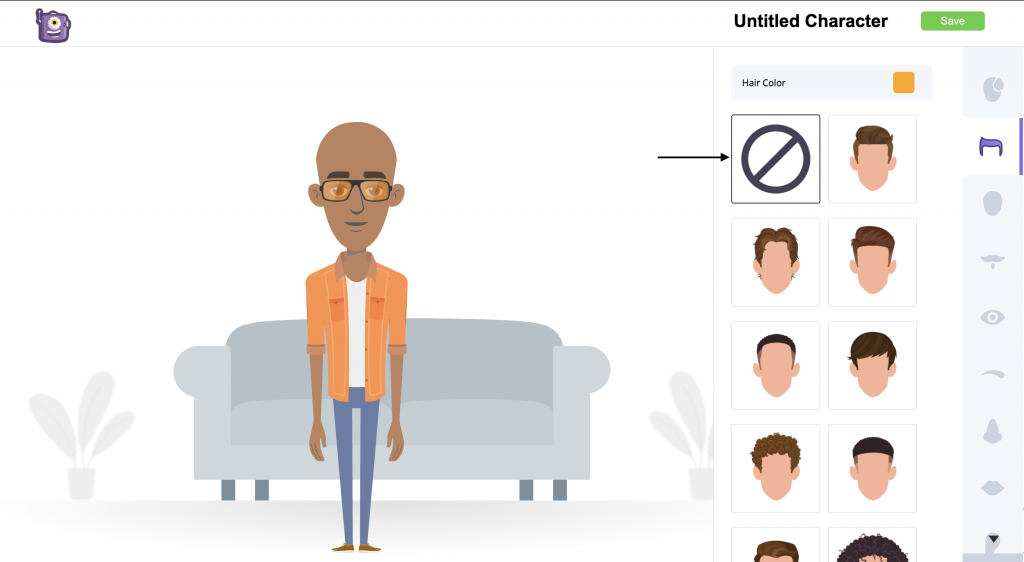 The prebuilt character template is wearing glasses. So let’s remove it by heading to the Eyewear section and clicking on the none option.
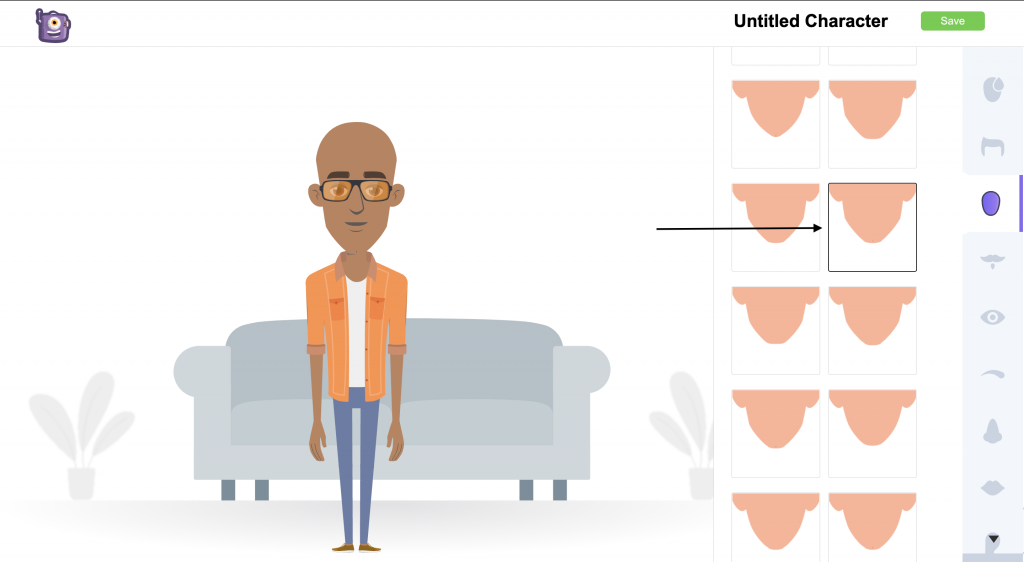
 Next up, we will be customizing the structure of his face from the Faceshape section.
 Let’s customize the face even more!
To start, we can go to the Frown lines section and select the desired option.
Let’s customize the face even more!
To start, we can go to the Frown lines section and select the desired option.
 Next up, let’s go to the Wrinkles section and define the face more.
 We all know Steve’s bright smile. But, before adding the pearly whites, let’s add some Smile Lines.
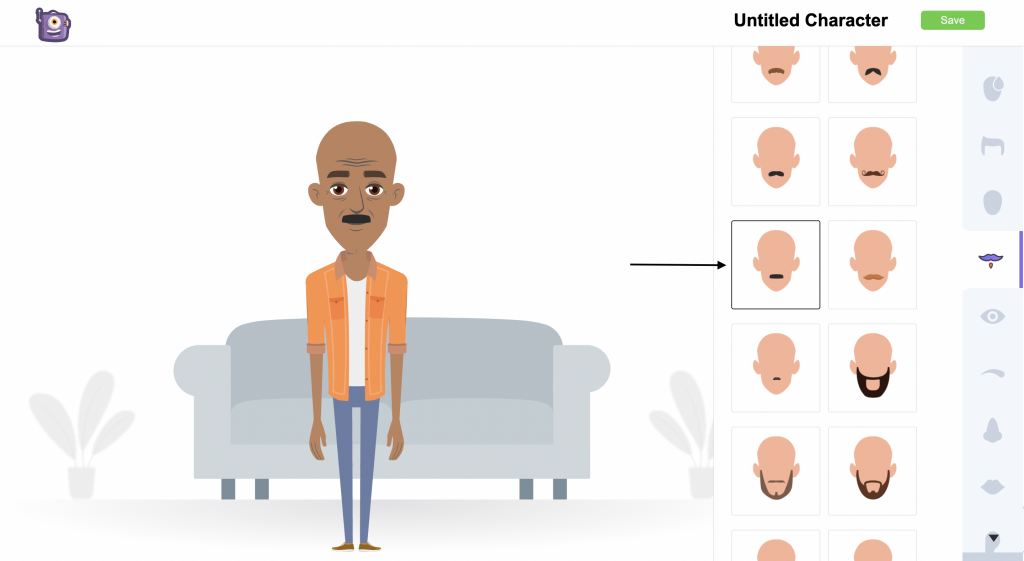
 Steve Harvey without a Stache? Who would’ve imagined? Let’s quickly add a mustache from the Facial Hair section.
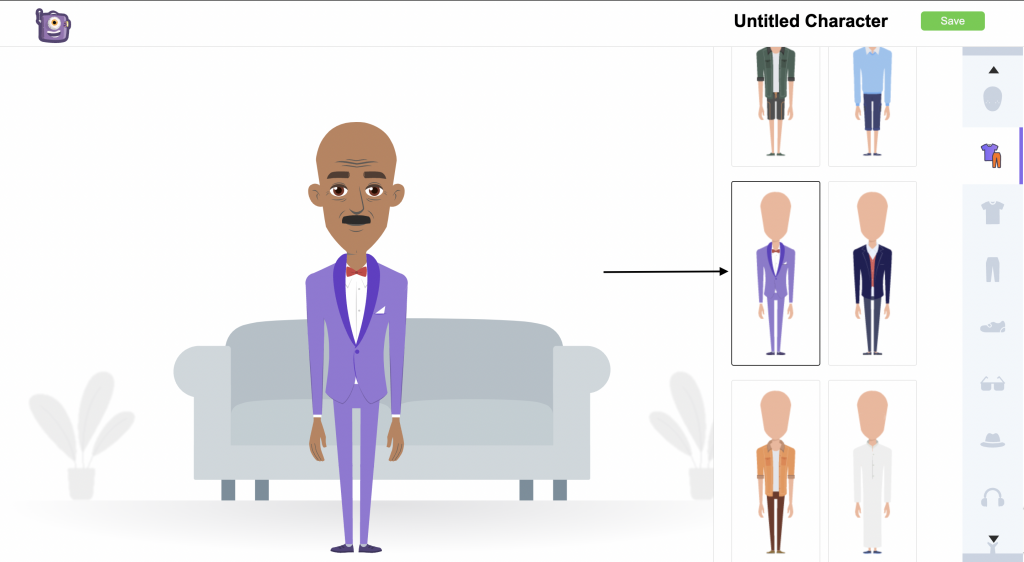
 Now let’s transform this holiday-mode Steve Harvey into The Steve Harvey with his suit.
To change the outfit, head to the Outfit section and select the desired outfit.
Now let’s transform this holiday-mode Steve Harvey into The Steve Harvey with his suit.
To change the outfit, head to the Outfit section and select the desired outfit.
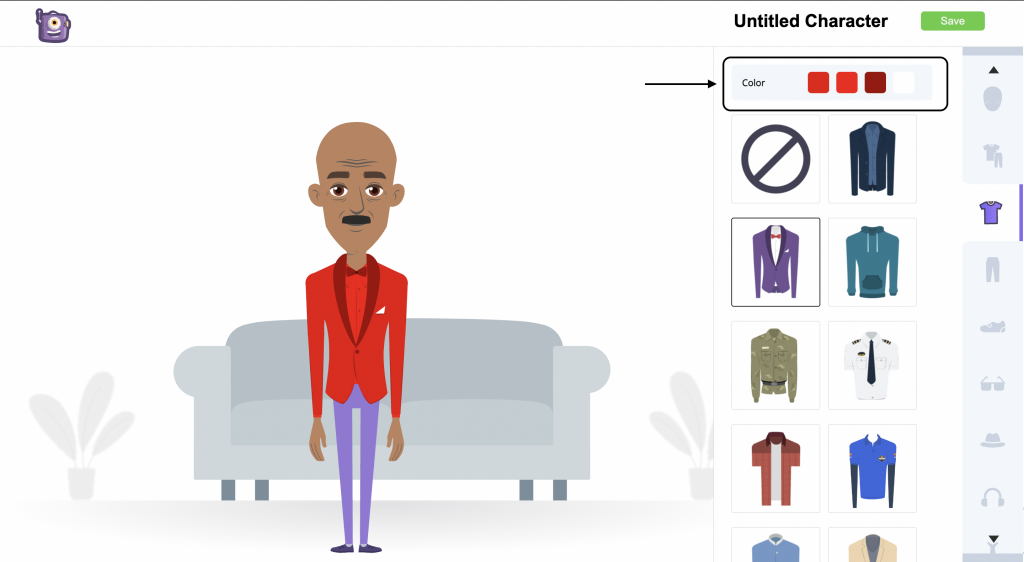
 The color looks a little bit too funky. So let's change it to the image reference we took earlier.
To change the color of the top, go to the Top wear section and customize the colors.
The color looks a little bit too funky. So let's change it to the image reference we took earlier.
To change the color of the top, go to the Top wear section and customize the colors.
 Similarly, you can change the colors of the pants from the Bottom wear section.
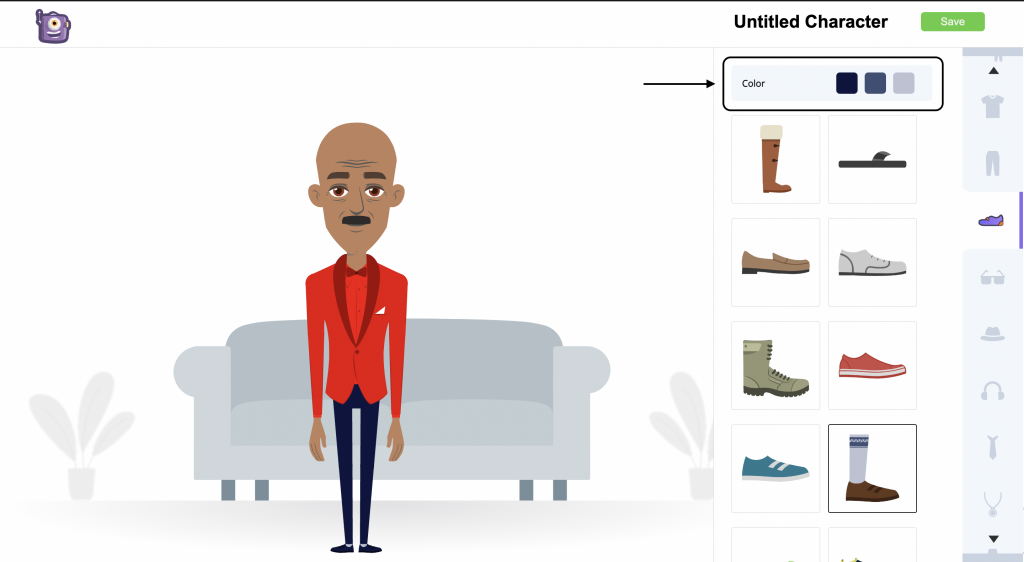
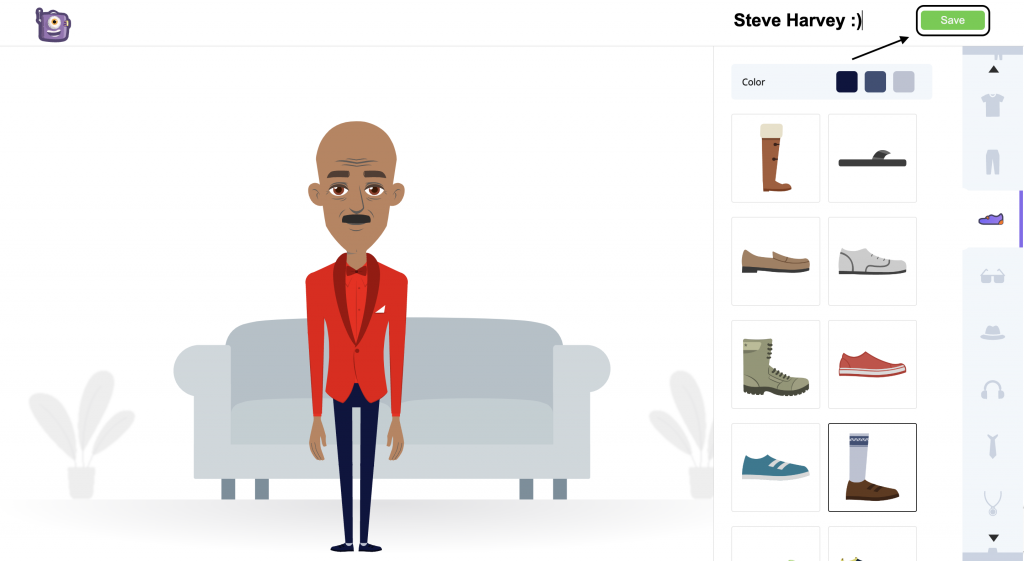
 Let’s finish the customization by changing the color of the shoes. To do it, go to the Footwear section and change the color.
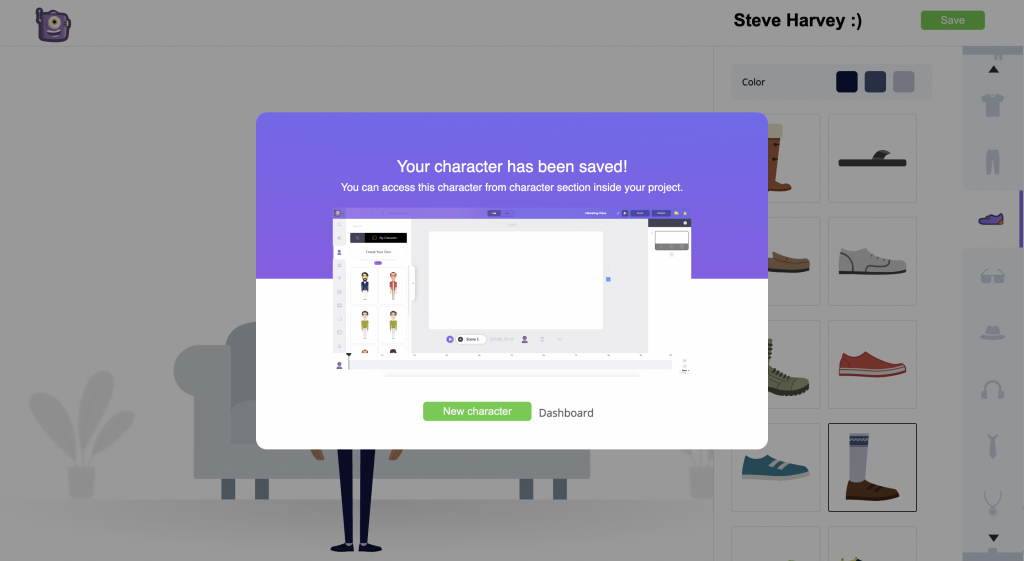
 Once you are done with the customization, you can rename your character and save it! As simple as that.
 Steve Harvey is all set and ready to be featured in your animated video!
Step 5: Animate your character
Once you save your character, you can find it under the “My characters” section. To animate the character you created, go to the dashboard and select any template. For this guide, I will be using this template.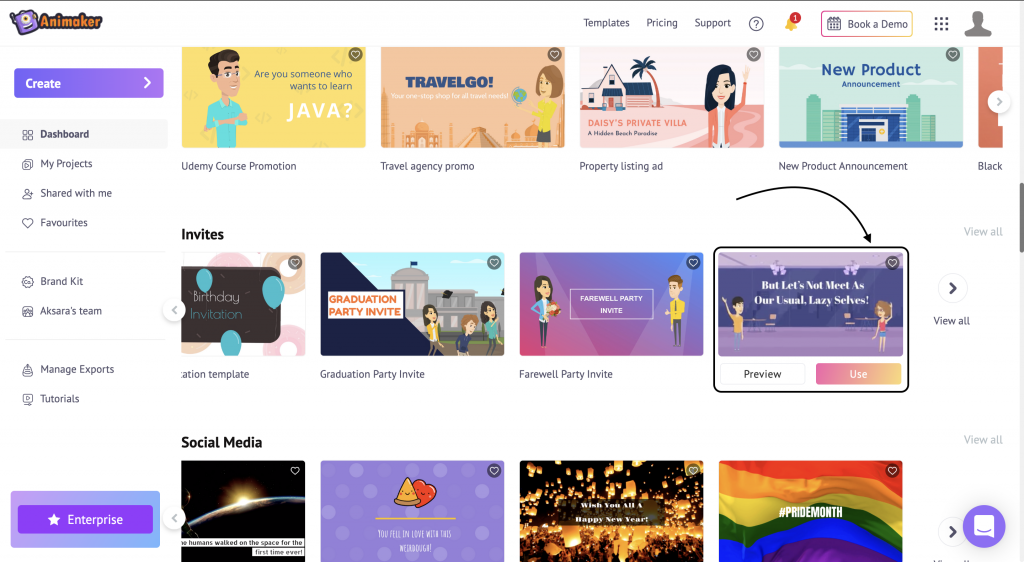 Click on the template to launch it.
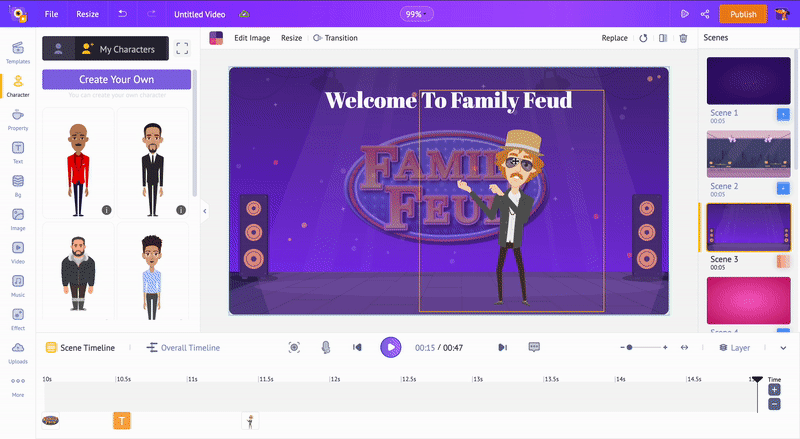
Let’s replace the existing character in the template with the newly created character. Click on the character in the scene and select the ‘Replace’ option. This opens the character tab in the library. Now, go to the My Characters section and choose the character you created.
To make things easier, here’s a GIF on how you can add your custom character -
Click on the template to launch it.
Let’s replace the existing character in the template with the newly created character. Click on the character in the scene and select the ‘Replace’ option. This opens the character tab in the library. Now, go to the My Characters section and choose the character you created.
To make things easier, here’s a GIF on how you can add your custom character -
 Boom! You just created your own animated character!
We also have an in-depth tutorial on creating animated characters and featuring them in cartoon videos. You can watch it here -
Do you want to go to the next level and create an animated movie with talking characters? Then you should check out this article on How to make cartoon videos.
We hope this article gave you an idea of how to create your own animated characters online.
Don’t wait further. Create your own animated character now!
Have any questions? Drop them in the comments section below, and we will be more than happy to help you out.
Boom! You just created your own animated character!
We also have an in-depth tutorial on creating animated characters and featuring them in cartoon videos. You can watch it here -
Do you want to go to the next level and create an animated movie with talking characters? Then you should check out this article on How to make cartoon videos.
We hope this article gave you an idea of how to create your own animated characters online.
Don’t wait further. Create your own animated character now!
Have any questions? Drop them in the comments section below, and we will be more than happy to help you out.