Boost Employee Productivity & Engagement With Training Videos

Rithu V - May 24, 2022 - Leave your thoughts. 10 min read
Video learning is no longer a new concept!
It's become one of the most preferred learning methods in recent times. Most of us prefer videos over text as it helps us retain information better and gives us the liberty to train ourselves at our own convenience.
As more and more people prefer video-based content online, several SMBs and multinational corporations look forward to creating engaging training videos to train their employees.
But, here's the catch.
Since video making seems difficult to get started and requires a learning curve, most organizations give up and just stick to text-based training materials and guides. Also, organizations find it difficult to juggle between multiple video making software at once. This makes them think twice before switching to video-based learning.
But, what if we tell you that creating professional training videos isn't that difficult anymore?
Yes!
With the help of the right video making tools, anybody would be able to create engaging training videos in a matter of a few minutes.
In fact, some video making tools like Animaker even provide you with a variety of customizable templates to make your video making process easier and quicker!
By choosing a video making software like Animaker that's easy to use, you reduce the amount of time you spend learning about the software. Thus, your video making process becomes a lot easier. 1
So, before you get started, make sure you check whether the software you picked is both user-friendly and budget-friendly.
Here's a list of the common types of training videos you can create as a total beginner.
Here are 9 common types of training videos.
- Animation Training Videos
- Screencast Training Videos
- Animation + Screencast Training Videos
- How-To Training Videos
- Micro Videos
- Scenario-based Training Videos
- Instructor-led Training Videos
- Interactive Training Videos
- Presenter Training Videos
How To Create Training Videos?
All the training videos stated above are equally effective and can be experimented with from time to time. But, if you're someone who's new to video making, you can get started with screencast videos, animation videos or combination (Animation + Screencast) videos as they are engaging, require very little learning time and can be made in just a few minutes.
Here’s a training video from Animaker that talks about how to create animation videos without Adobe.
Animaker has a built-in editor, a text-to-speech translator, a stock library of more than 1000 ready-made templates, and 100+ copyright-free music tracks.
Now, without further ado, let's dive in and learn how to create effective training videos In the easiest way possible.
1. Create a Script
It's always safe to plan things ahead and have a script at hand.
Decide on how you're going to present your video. Divide the content into proper sections. The script will help you create a roadmap outlining all your action steps and guide you throughout your journey.
Even a great video with interesting graphical elements would fail without a good script. So, always have your video script ready before you start your video creation process.
2. Start Creating Your Video
Once you are ready with the script, you can start creating your training videos.
Step 1: Sign Up For Animaker
Create your own account on Animaker by signing up.
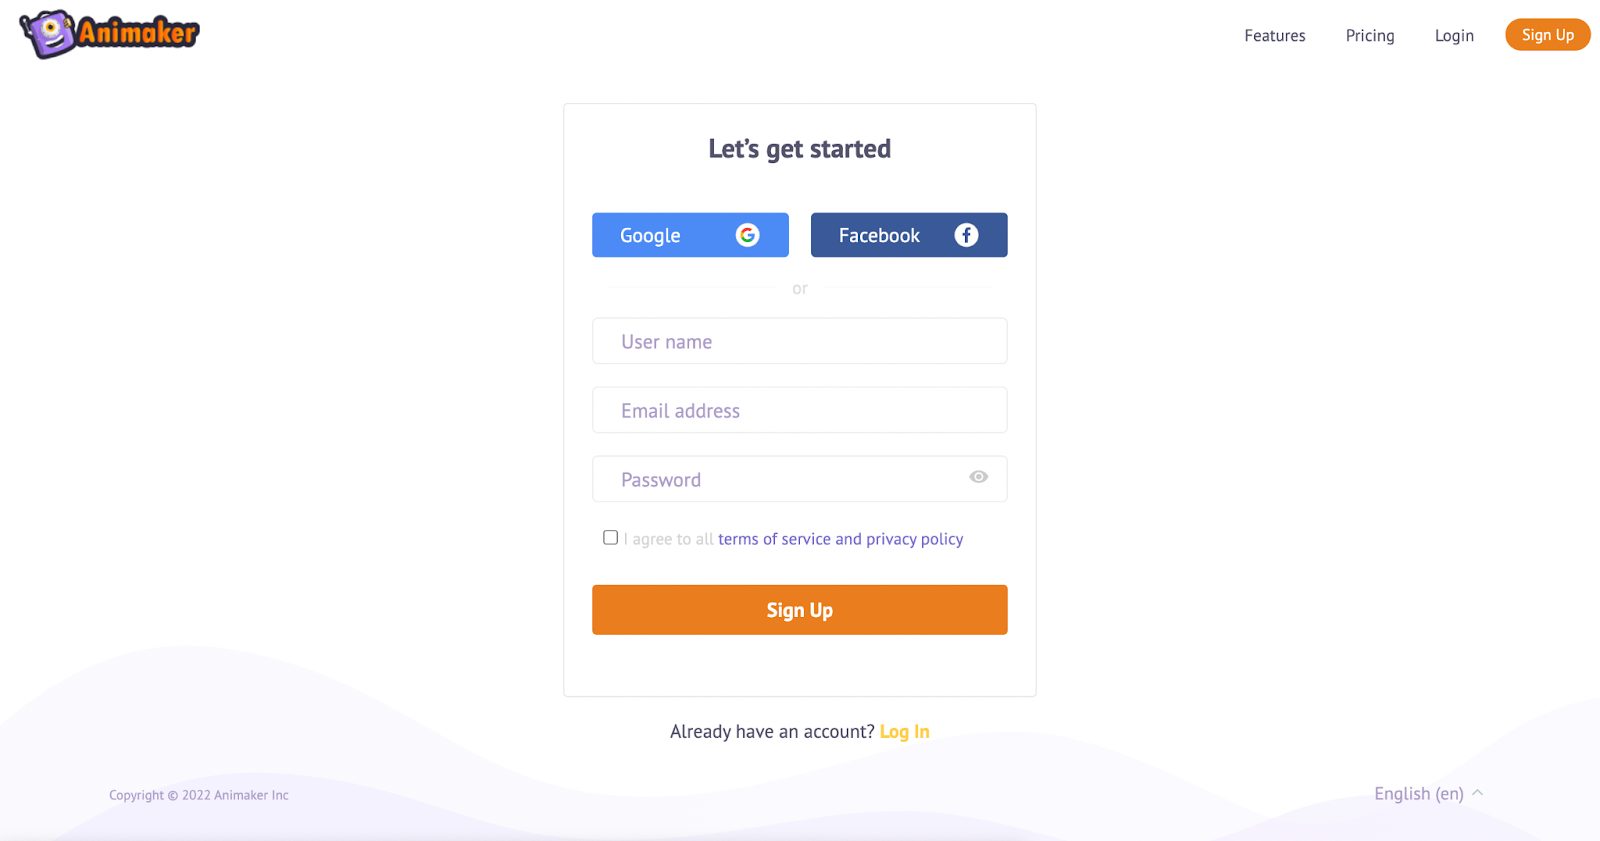
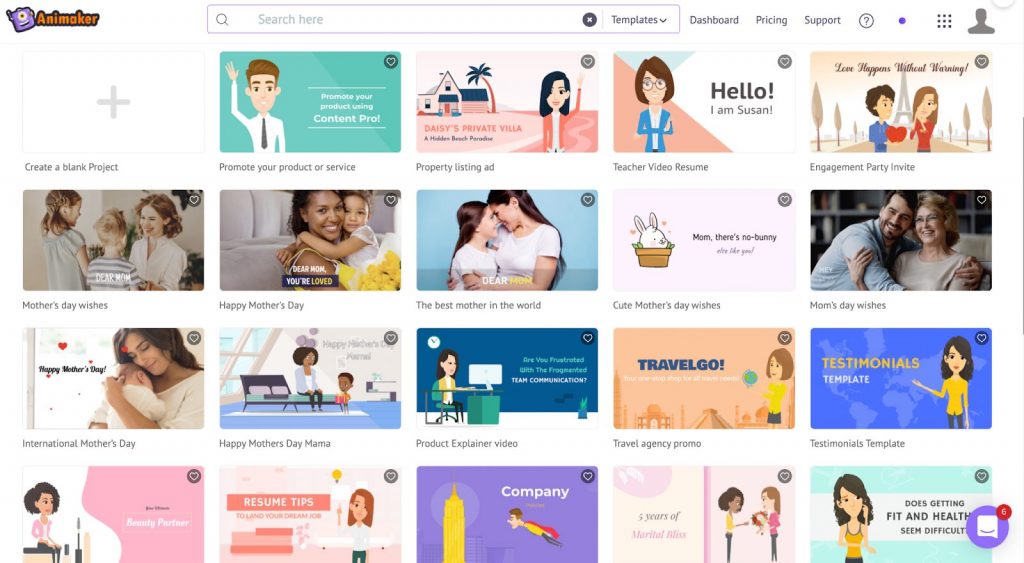
Once you sign up, you'd be directed to Animaker's dashboard.
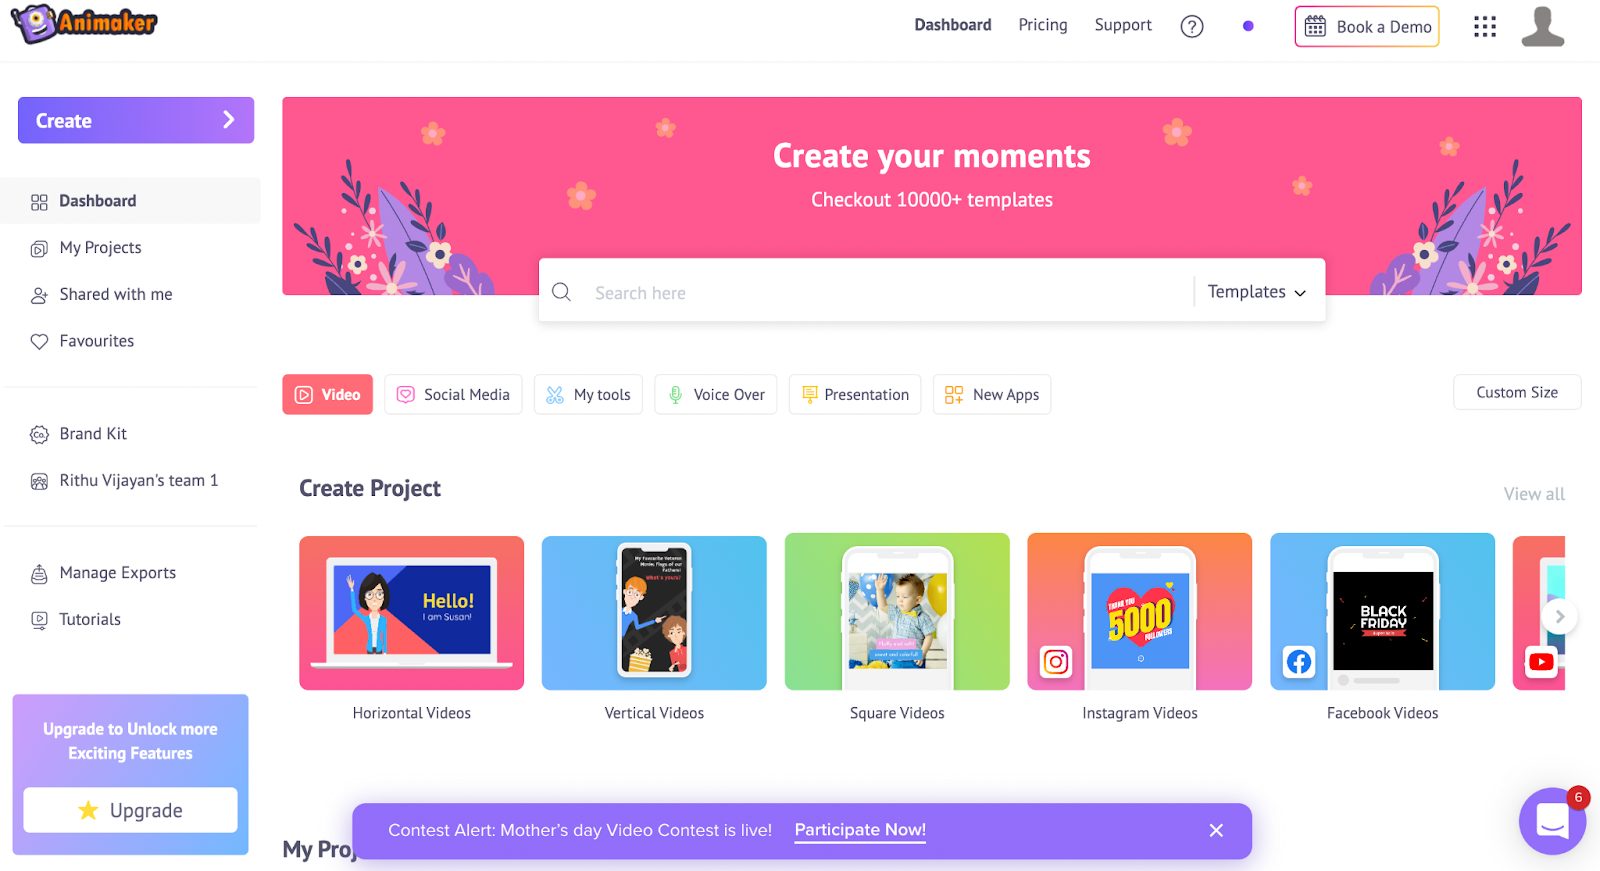
Here, you'd have access to everything you need to get your training videos done easily.
If you feel a bit overwhelmed and aren't sure about where to start, you can watch a few how-to tutorials on the left-hand side of the dashboard to help yourself.
Step 2: Get Accustomed To Animaker & Get Started
You can choose any of the ready-made templates and customize them, or create a new project from scratch.
If you're a beginner, we recommend you start experimenting with a few ready-made templates and then try creating a new project of your own.
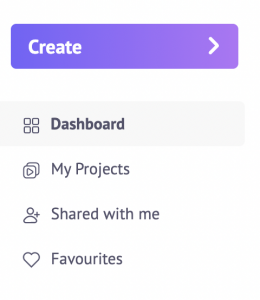
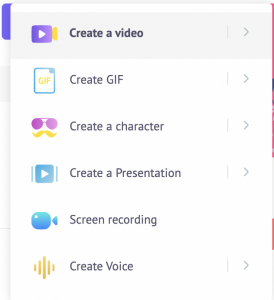
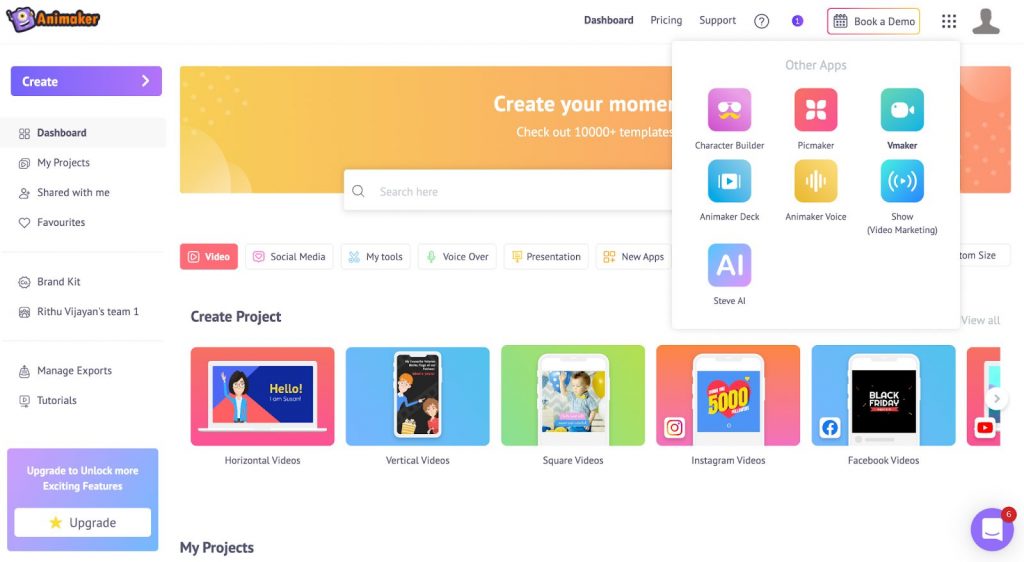
Start by clicking on the 'Create' button and select 'Create a video'.
You'd be directed to a dashboard of thousands of ready-made templates.
When you choose any of these ready-made templates, you will be given a sneak peek of how you should be using all the basic features of Animaker via a small video. Watch the video to have a basic idea about the important features and their functions.
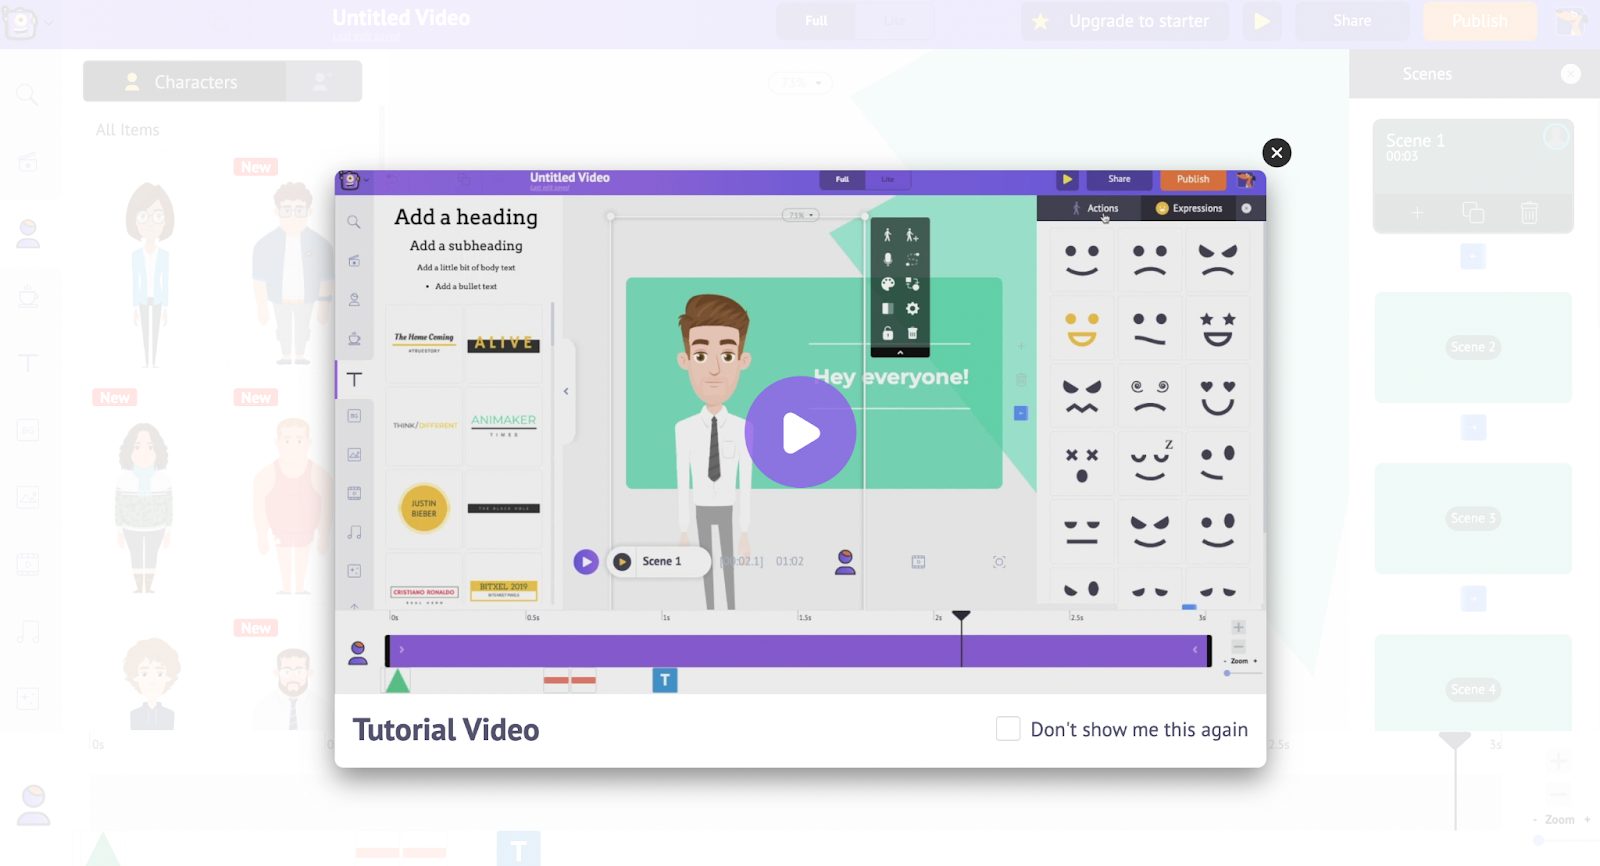
In order to make the best use of the software, it's important to clearly understand its features and use cases.
So, let's get to know some basic things about Animaker.
There are five basic sections in Animaker.
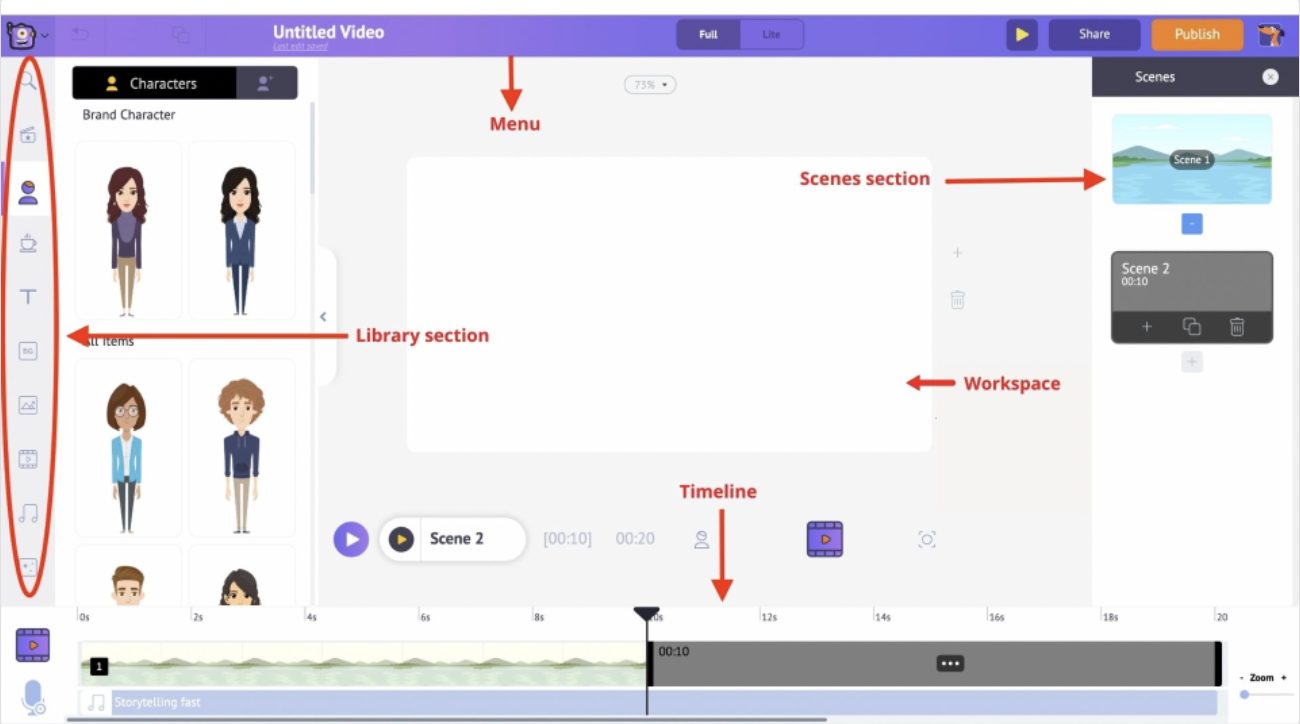
Workspace: The white space in the middle will be your workspace. This is where your videos come to life.
Library: This is the section where you have access to all the assets like music files, icons, characters, props, etc.
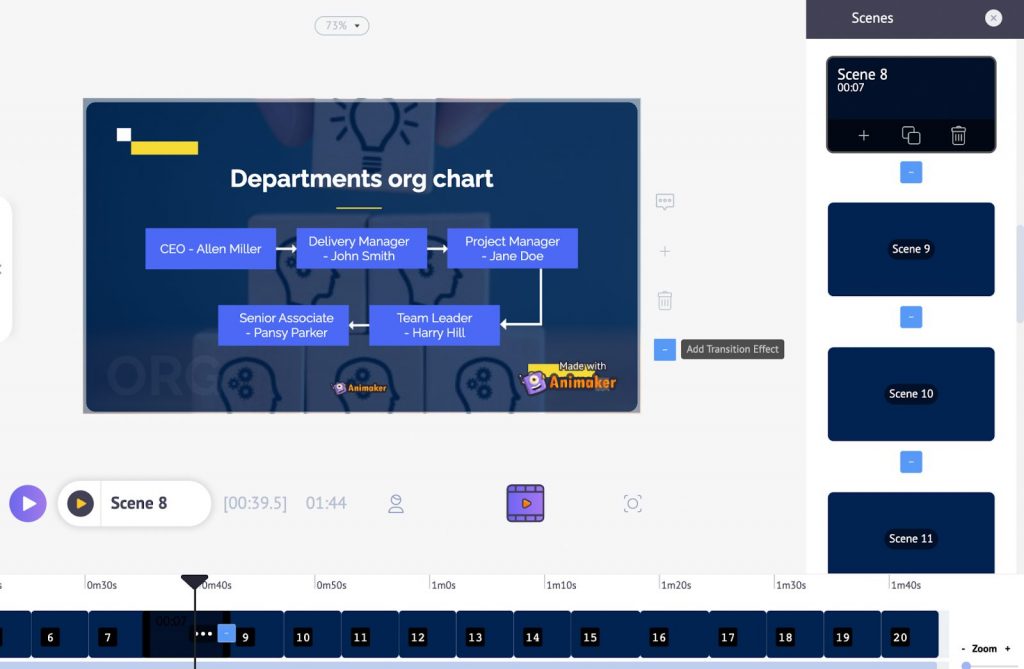
Scenes: The scenes section is where you find all the scenes included in the video. Scenes are similar to what we call slides in a presentation.
Menu bar: This is the section where you change the title of your video, play, publish and share the video with others.
Timeline: There are 3 different timelines in Animaker.
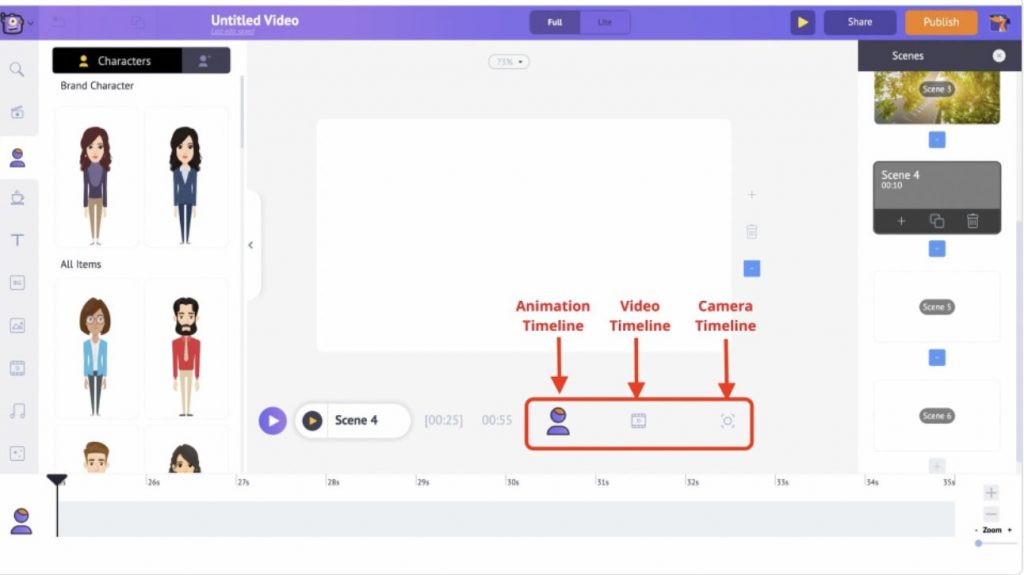
- Animation timeline: It allows you to edit your entry and exit timings for your video.
- Camera timeline: It allows you to edit the timings of your camera effects.
- Video timeline: It allows you to edit the music tracks and video files added to your video.
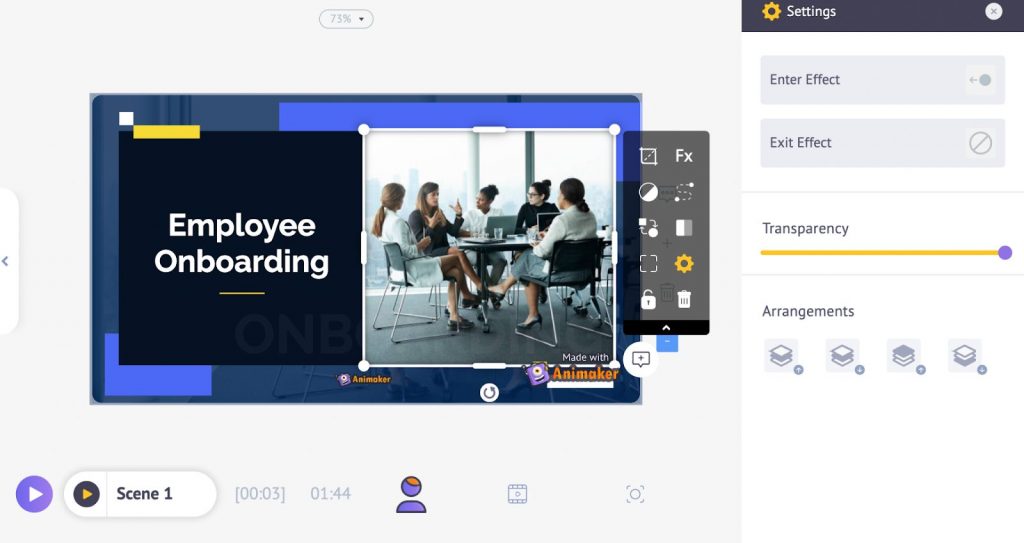
Step 3: Create Your Animated Video in Animaker
Now, it's time to create your training video.
Once you've chosen a template/a blank project to work on, you can customize each and every element according to your own preferences. You can change the background image, add moving animation characters to your scenes, upload your own files from your computer, add background music, graphical elements, text, etc.
Just click on the element you'd like to change and choose the alternative from the library on the left-hand side.
If you're a beginner, remember to choose the right template category from the list of templates. (If you're customizing an already existing template, remember to just change these 3 basic things - Images, Text, and your organization's logo.)

Step 4: Record Your Screen Using Vmaker & Insert It Into Your Original Video
Once you're done making the animated video, you can capture the screen recording part and insert it into your original video. Just follow these simple steps.
1. Head over to your Animaker dashboard and select Vmaker.
 2. You’d be taken to Vmaker’s sign up page. Sign up for Vmaker.
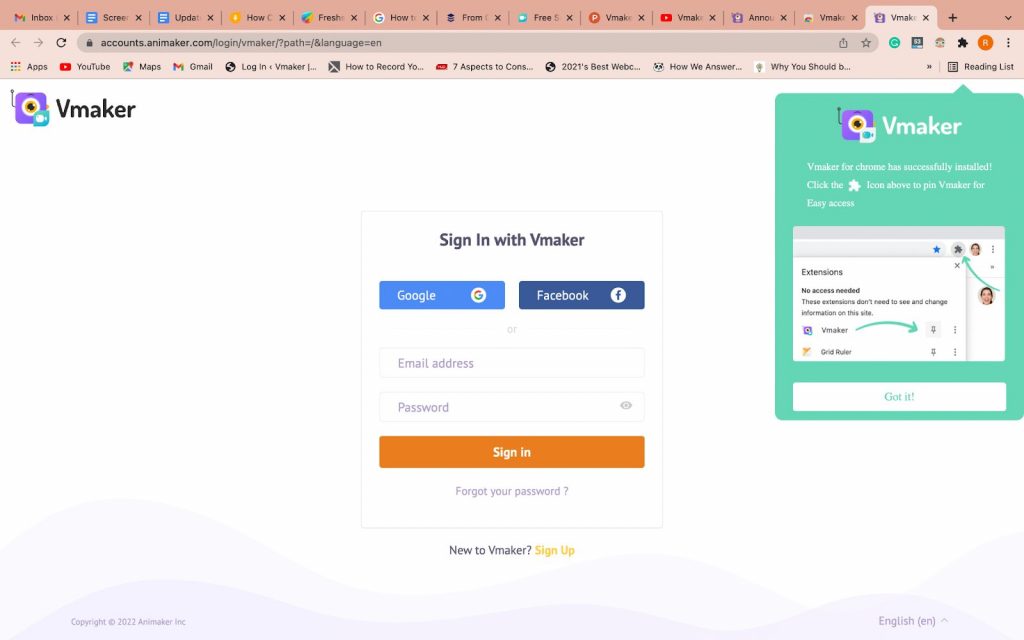
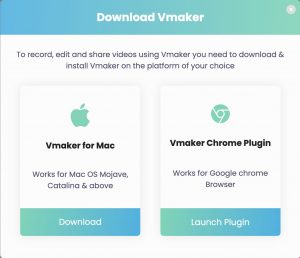
3. Once you sign up for Vmaker, you’d be directed to Vmaker’s dashboard. Click on the ‘Record’ button on the dashboard. You'd be presented with two options to install the software. You can either choose the chrome extension or macOS application.
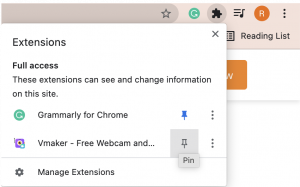
 4. Once you've successfully installed the application, pin the software to your chrome browser. This ensures you have easy access to the software.
 5. Navigate to the web page you'd like to record and click on the Vmaker icon. You'd be presented with a small pop-up box asking you to select your recording preferences.
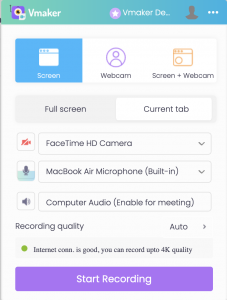
Here, you can choose to record your screen alone, webcam alone, or both your screen + webcam. It also provides you with an option to either record your entire screen or just your current tab.
Select all the other recording requirements on the page.
Note: If you wish to add a voice over to your screen recording, you can do so while recording the contents of your screen. Since Vmaker records both internal (system audio) and external (microphone audio), you can easily add voice narrations to your recording.
Once you're ready to record, you can click on the 'Start Recording' button and proceed to record.
But, if you'd like to customize your preferences further, click on the horizontal dot matrix on the top right corner of the pop-up box and select 'Preferences.'
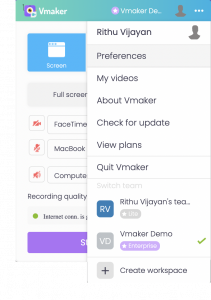
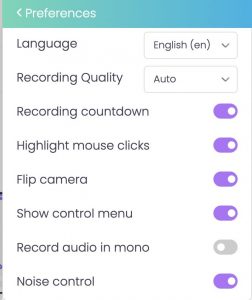
Depending on your requirements, you can turn on features that'd be helpful for you. If you’d like to capture background noises to record gamestreams, tutorials and screencasts, you can enable the noise control feature.
You can also experiment with different fun elements to enhance the quality of your videos.
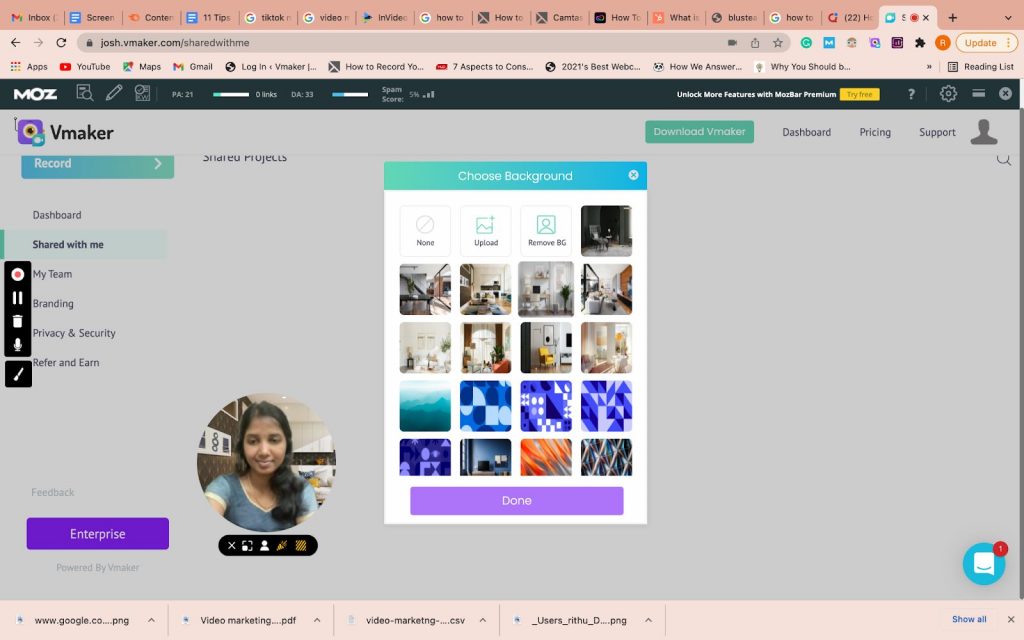
For instance, you can try changing your background, add frames and filters to your webcam bubble, or try adding your brand name to your videos.
Vmaker provides a ton of impressive features that help you experiment with different fun elements.
Here's a list of the two most used features on Vmaker:
- Virtual Background: This feature allows you to change, blur or remove your background effortlessly. Plus, you can even set your own background image by uploading it from your computer. This would be a huge advantage for business owners who’d like to add their brand images as their backgrounds
- Screen annotation & Mouse Emphasis: While recording the video, you can make use of Vmaker’s screen annotation and mouse emphasis features. While the screen annotation feature helps you draw and highlight important sections on your computer screen, the mouse emphasis feature highlights your clicks on your computer screen.

- When you’re ready to record, you can hit the ‘Start Recording' button. A timer starts, and your actions on the screen start getting recorded.Once you’re done with the video, you can stop the recording by clicking on the ‘Stop Sharing’ button.
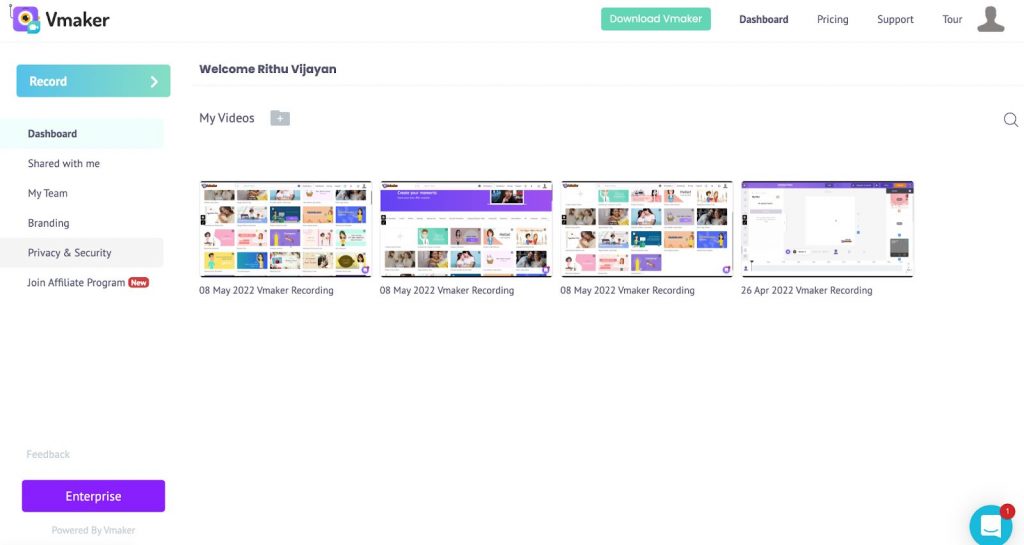 The recording will automatically get exported to Vmaker’s dashboard from where you can access it. Now, you can 'Download' the recording to your computer.To add this recording to your original video, head over to your Animaker project and click on the 'Upload' button in the library section.Note: Vmaker will very soon be integrated with Animaker. Post the integration, you’d directly be able to import videos from Vmaker to Animaker.Go to the scene you'd like to insert it and click on the upload button.
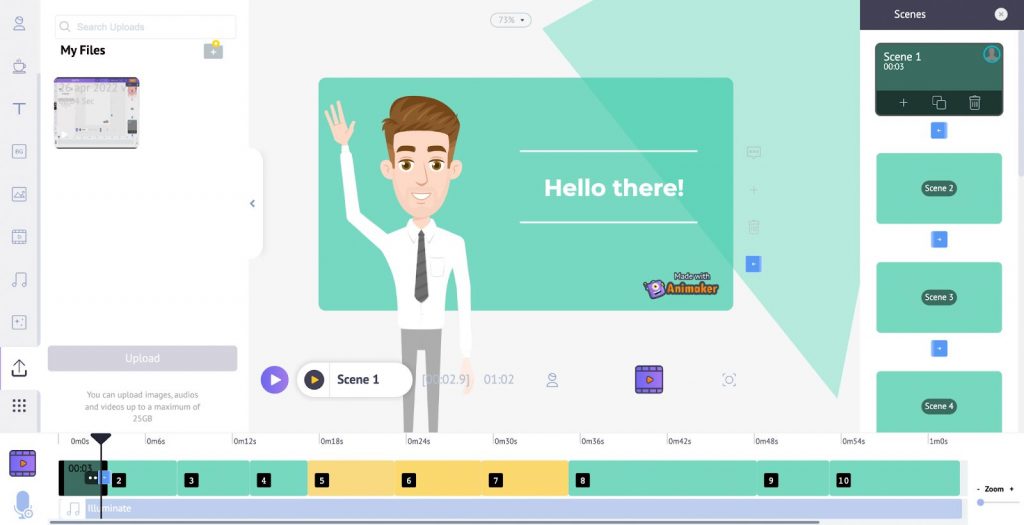
3. Create the Voiceover For Your Video
Now that you are done creating your entire video, you can add voice-overs to your animation characters.
Here are some simple steps you can follow.
Click on the animation character you'd like to add a voiceover. You'd see a bunch of options appearing in the item menu.
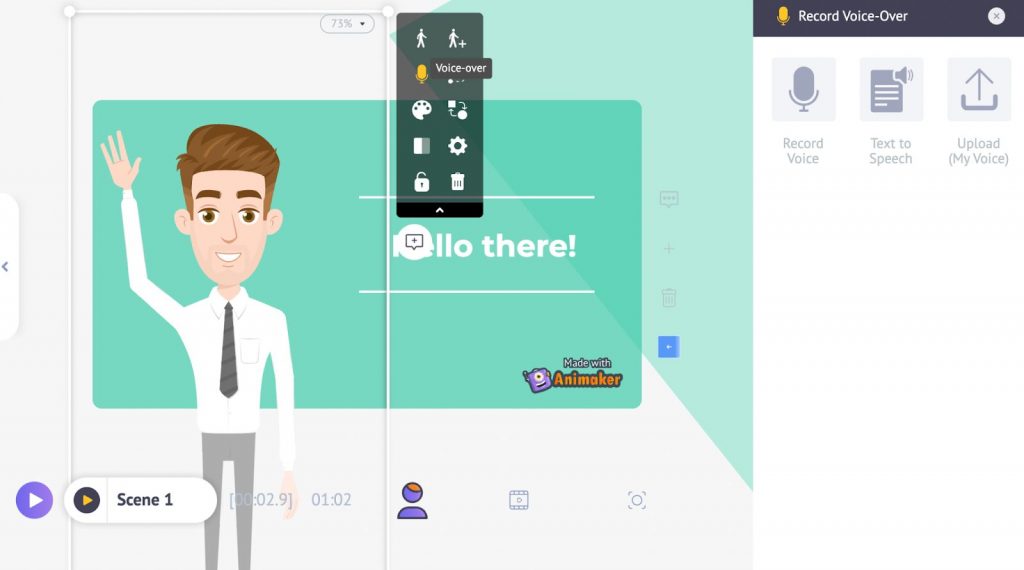
Click on the voiceover option in the item menu, and you will get three options to choose from.
1. Record Voiceover
This option allows you to record your voiceovers directly and sync them to your video.
2. Upload Voiceover
When you choose this option, you can add pre-recorded audio to your video.
3. Text-To-Speech Translation
To convert your written script to professional voiceovers, you can select the text-to-speech option.
You'd be directed to a dashboard where you can enter the text you want to convert as a voice-over. On the right-hand side, you'd be able to select the gender, language, etc.
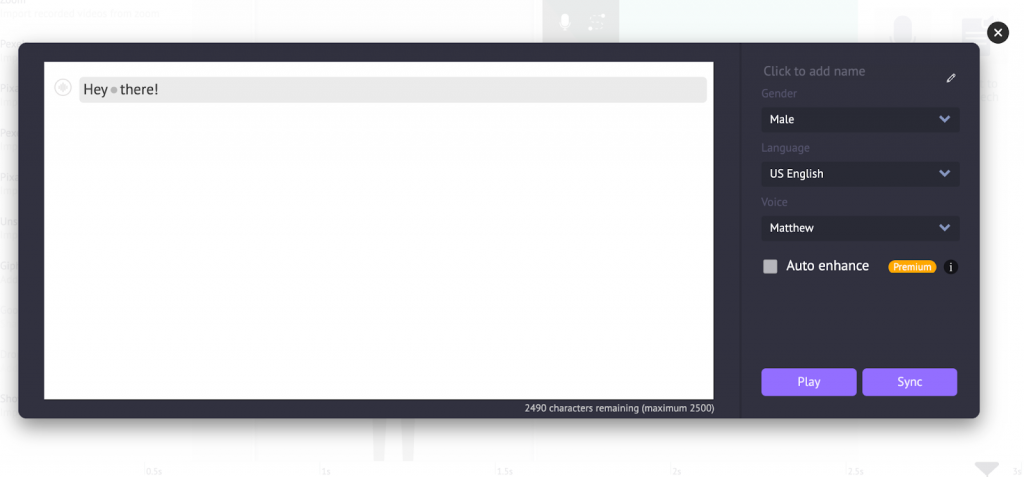 Additionally, you can also adjust the pitch, volume, and speed of your voiceovers by clicking on the icon on the left.
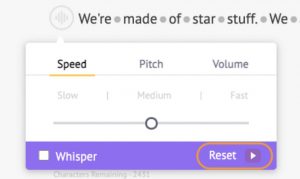
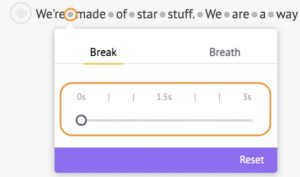
By clicking the dots in between the words, you can customize the break and breath effects.
Once you're done, you can sync the audio to the original video by clicking on the 'Sync' button.
4. Review, Edit & Share
As soon as you're done with all the above steps, you can watch a preview of your video, see if it needs any editing, and make a few changes.
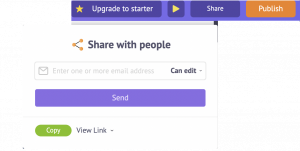
Once you're completely done, you can either share the video as a link or download it to your computer.
And, that's it. You're done!
Now that you've learnt how to create effective training videos incorporating animations and screen recordings, you can now easily create any number of tutorial videos, how-to videos, screencasts, etc.
So, what more are you waiting for?
Start creating those training videos in a jiffy!