How to make animated backgrounds? [3 ways + Bonus tip]

Aksara NKR - October 12, 2022 - Leave your thoughts. 10 min read
Animated backgrounds are a great way to grab the attention of your audience. While static backgrounds can be simple & straightforward, animated backgrounds help bring life to the video.
They can help you turn your boring background into something exciting and attention-worthy.
Animated backgrounds can be a great way to promote or show off your company’s branding or social media posters.
When these moving backgrounds are used correctly, they can amplify the video's properties, characteristics, and depth.
You can also add a music visualizer that will sync to the beat of your brand video’s soundtrack, making the background even more dynamic and engaging.
For example, featuring an animated version of your brand’s mascot in your video’s background can awe the audience and naturally fetch your brand a position in their mind!
Interesting, right?!
By now, you’ll be wondering how to make animated backgrounds. We’ve got you covered!
Here’s an in-depth video tutorial to help you step up your animated background creation game.
Alternatively, you can follow this step-by-step textual guide to create an uber-cool animated BG. So, let’s not wait further and jump straight into the article.
How to make animated backgrounds?
In this article, we will focus only on the easiest ways to create moving animated backgrounds, most straightforwardly [Without downloading any software] and pretty much with zero experience.
So, for this tutorial, we will use a tool called Animaker. It’s a browser-based video creator app with a very straightforward UI, allowing newbies without prior experience to create and edit free-moving background animations quickly and effortlessly.
With Animaker, there are different ways we can create animated backgrounds -
Now, let's learn how to create animated backgrounds using these different methods. To create your own animated background, you must create a project first. Here are the steps to create a project:
Step 1: Signup and Login
Getting started, signup or login with Animaker. Head over to Animaker.com and click on Signup. If you already have an account, log in using your credentials.
Step 2: Create a Project
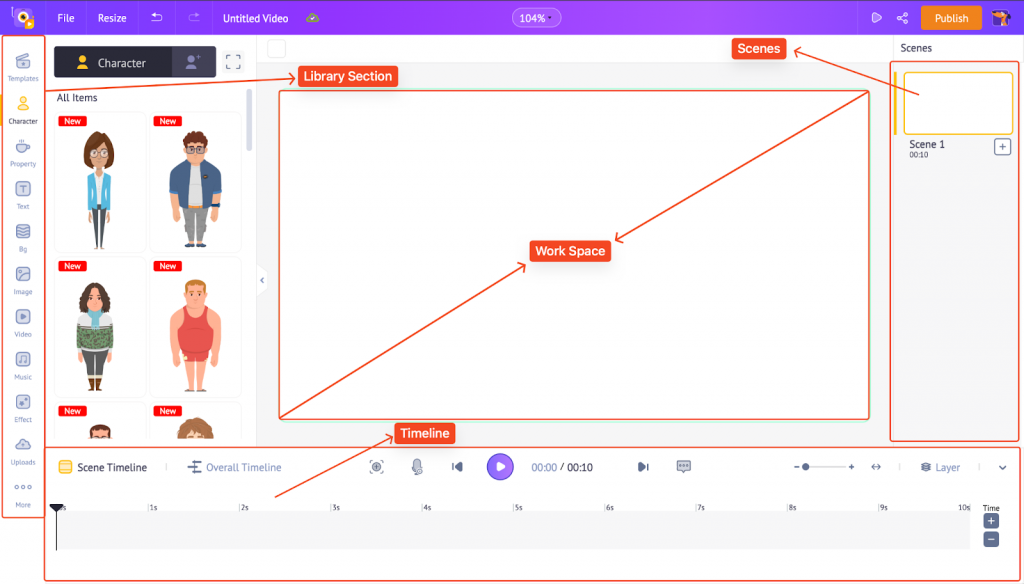
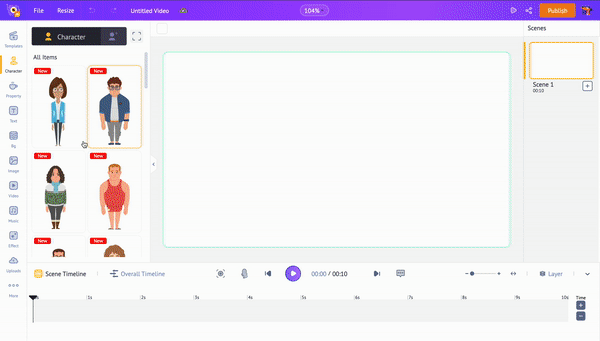
Once you sign up or log in, you will be redirected to the dashboard. Click on Create > Create a Video > Blank page on this screen.
Once you click on the blank page option, you will be welcomed by the project dashboard - On the left is the library, on the right is the scenes section, the white center space is the workspace, and finally, at the bottom is the timeline.
Step 3: Create an animated background
The next step is to start creating our animated backgrounds. There are three different ways to create an animated background, but the first two steps to signup/login and create a project remain the same.
3.1 How to create animated backgrounds using properties
First, let’s see how to create an animated background using properties.
Animaker’s Property library has over 70000 assets. Experts have designed these properties using the app's animation features. Using these properties, you can create highly customized animated backgrounds.
For this tutorial, we will be creating something like this -

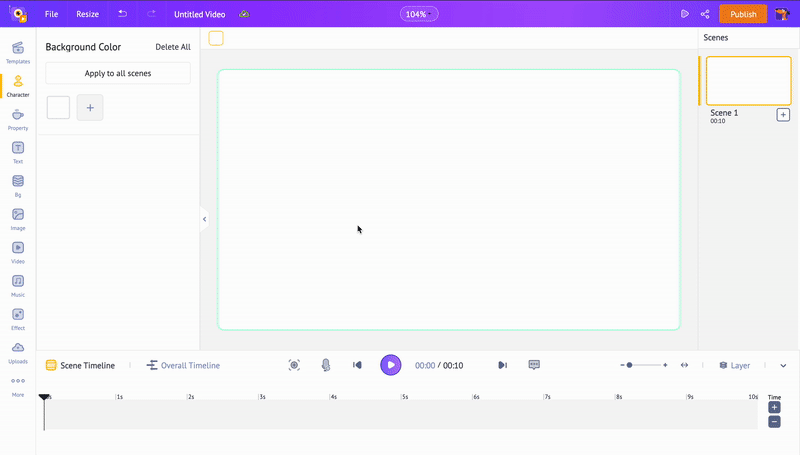
- Applying the BG Color - By default, the background color will be white. Let's change the boring white background to something classy. To customize the background color, simply click on the background. This opens the “Background Color” window. Click on any color from the palette to apply it to the background like this…
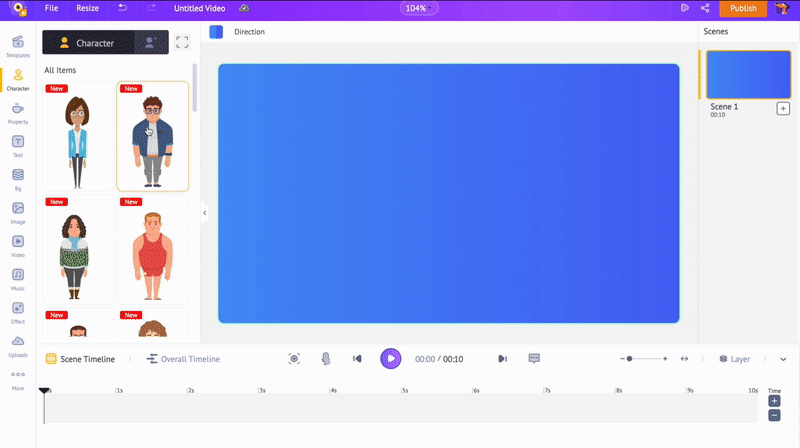
 The last color I applied was red. For this example, we will change the background to a shade of blue, #201F58, to be precise. You can click on the background and select a color from the “Background Color” tab. Or, you can select the “Change Color” option on top. This again opens the “Background Color” tab, where you can change the color.
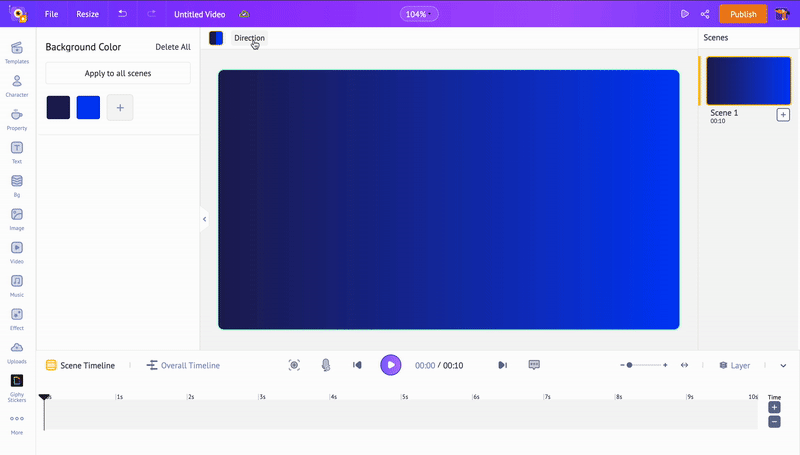
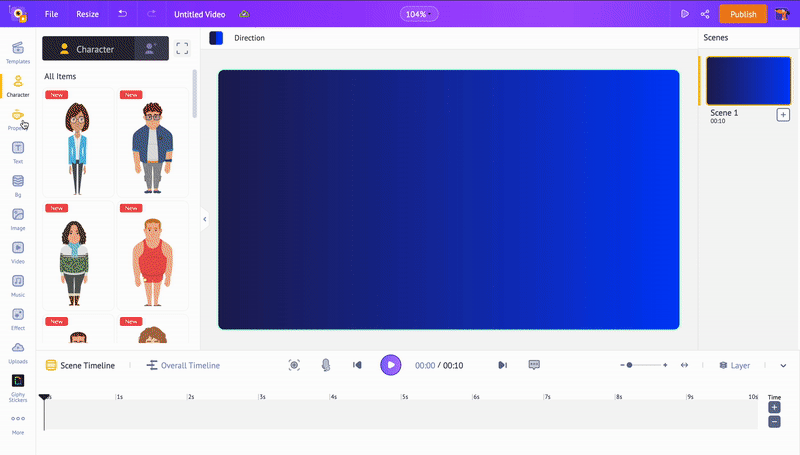
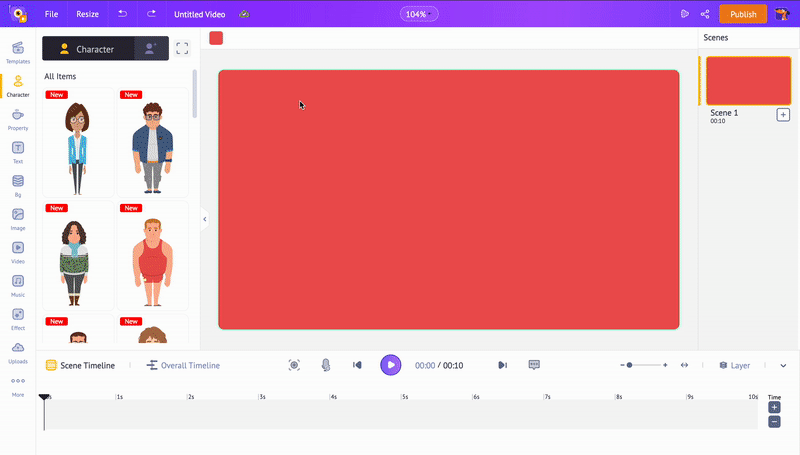 Next, let’s create a gradient background. For this, we need to add one more color.For this, click on the Change color option on top. Then, click on the Plus icon under the Background Color tab to add one more color to create a gradient. For this example, we will use a darker shade of blue here - #003EF9.
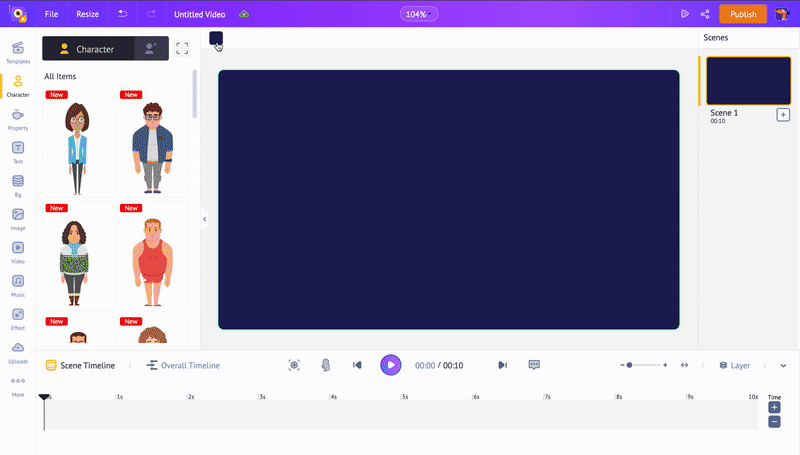 Additionally, you can also change the direction of the gradient if needed. To do this, click on the ‘Direction’ option on top and select a direction from the options listed.
- Adding properties - Now that we have the background color set, let's add a property and animate it. To add a property to your workspace, head to the properties menu on the library (left side) and choose the desired property you want to add. For this tutorial, we will use a gradient shape. Similar to changing the background color, you can change the property's color by simply clicking on it.After changing the color, you can position it wherever you want.
 Now, it’s time to animate the prop! We will use the smart move function to animate our property. To add a smart move function, click on the property and click on smart move. Then, under the animation menu, select the rotate animation. Once you set the desired animation, click on apply. To customize the duration of the animation, you can move the thumb of the property to the end of the timeline. Additionally, you can preview the smartmove by using the preview button right above the timeline.
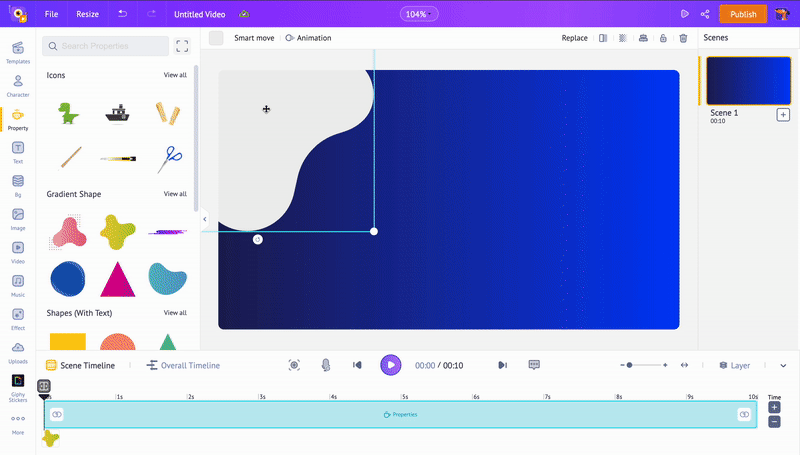 Now that we have one property animated, we can simply copy-paste and duplicate it to make the animated background loop video.
That’s it! Wasn’t it simple to create your own animated background with properties? Now let’s jump into the next way - how to make an animated BG using GIF stickers.
3.2 How to create animated backgrounds using GIF stickers
Within the Animaker app, you can easily add any GIFs to your scene. The best part of GIFs in Animaker is that it’s directly integrated with GIPHY. Thereby, there are millions & millions of GIFs, Animated stickers, etc., to make your perfect moving animated backgrounds.
Now, let’s create a BG with GIF stickers like this…
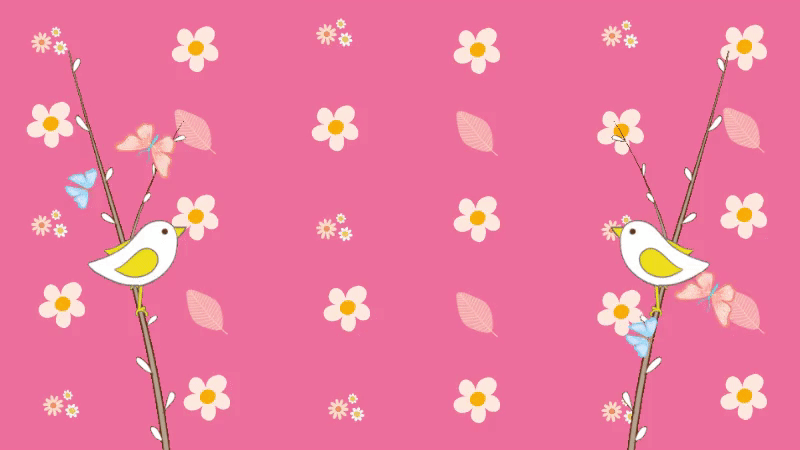
- Adding BG Color - Once you create a new project on Animaker, let’s start by changing the background color. To change the background color, click on the background. This opens the “Background Color” window. Next, click on any color from the palette to apply it to the background. Here, we will add the color #ED6D9C to the BG.
- Adding GIF Stickers - Click on More [on the bottom left of your screen] from the library. Here, you’ll be able to see Giphy stickers. Click on it to add the elements you see in this loop animated background.
 We will be adding flowers, birds, and butterflies to our scene. So simply search for it, add it to the scene, and just let the GIF do its magic. You can simply rearrange and customize however you want.
To begin, let’s add some flowers first.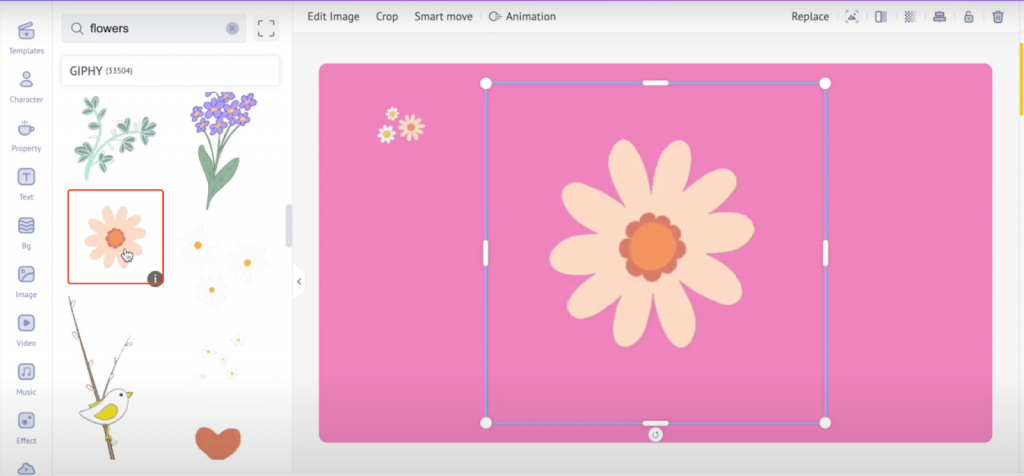 We can add different flowers and duplicate them to make our background look attractive. You can use the Ctrl + C or CMD + C to copy and Ctrl + V or CMD + V to paste the properties.
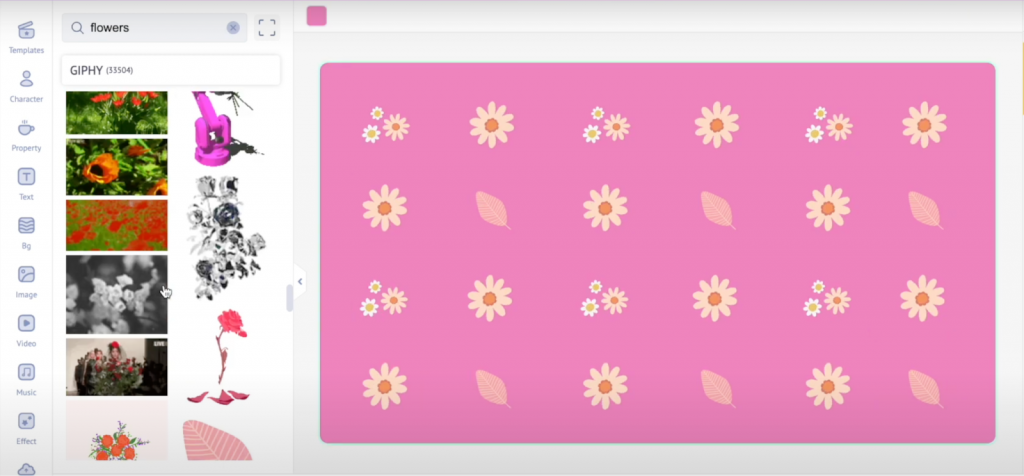
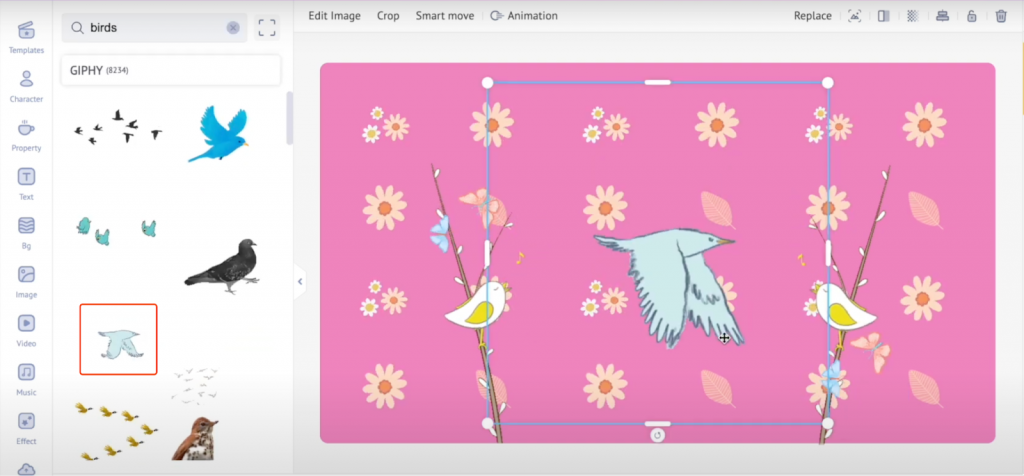
To make the scene more natural, let's add some birds. We can duplicate this and add one more bird on the other side -
 And to finish it off, let’s add a bird flying across the scene -
Once added, you can resize it. But this bird is static! So, let’s make it enter from the left and exit through the right side.To do so, click on the bird and select the “Smart Move” option on top. Then, select the “left to right” motion from the options listed on the left. This creates two thumbs for the bird. Next, place the left thumb outside the left border and the right thumb outside the right border like this…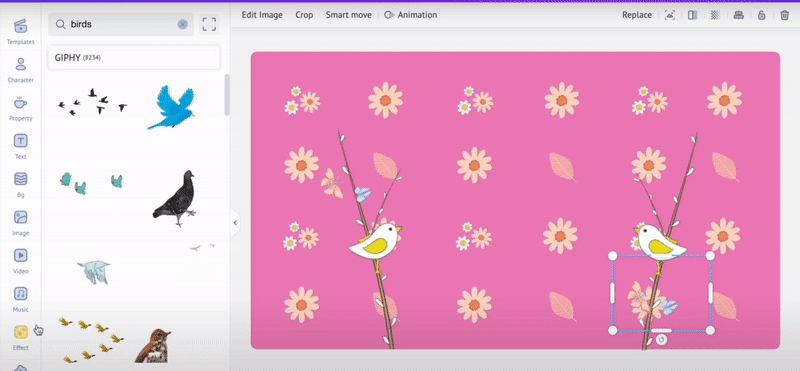
Once the smart move animation is added, it will look something like this -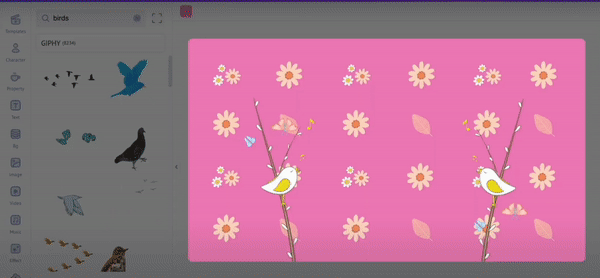
As simple as that, we have our animated background ready.
Let’s check out the third method of creating animated BGs.
3.3 How to create animated backgrounds using Stock Videos
Now, let’s see how we can create animated backgrounds using stock videos. Just follow the steps down below, and you will be able to create something like this -
Searching and applying stock footage as BG - Once you create a new project, head over to the video section in the library and choose the desired stock footage you want to use. In our example, we used a pattern loop video as the background. So, you can simply search for the word ‘pattern’ in the search bar and add it to your video.
You can preview any stock footage video from the library by simply hovering over them. Once you click on the video, it will get applied as the background to your scene.
That’s it! That’s how you add animated stock footage as your background!
3.4 How to create animated backgrounds - Bonus tip
WooHoo! Now you know all the different ways you can make your very own customized animated background. Now, we are going to use all these ways effectively, combine what we learned, and create a stunning animated background just like this -
- Applying BG color - After creating a new project, let's start by customizing our background to make it look like a sky. Then, to apply a gradient background color, click on the background and choose a color. Next, click on the Plus option to add more colors to the gradient, as in step 3.1.
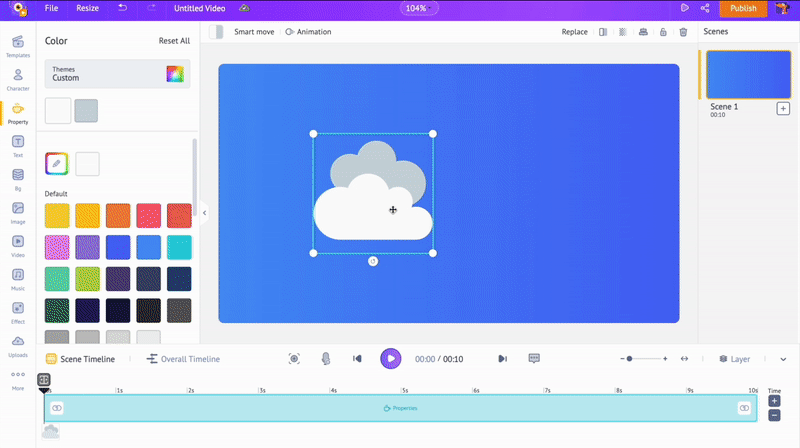
- Adding properties - Let’s add some clouds. Head to the properties section and search for clouds. We will use four different clouds to make the animated background visually attractive and show some variety. Similar to the background, you can click on the property and change its color if needed.
 Let’s give a falling animation to the scene. To do that, we can animate the clouds. We will make these clouds enter from the bottom and exit at the top. To animate the clouds, simply click on the cloud property and click on Smart Move.
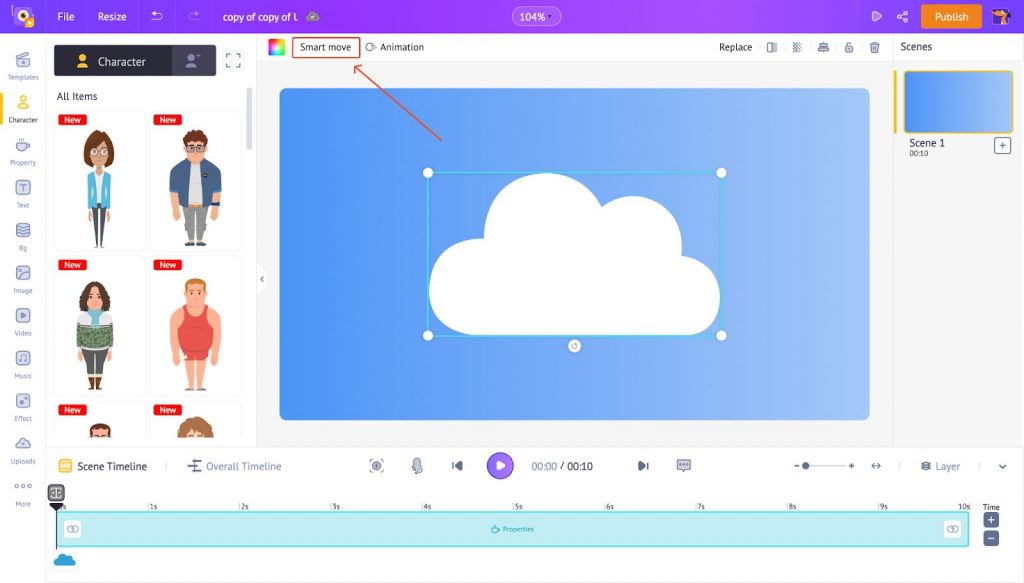
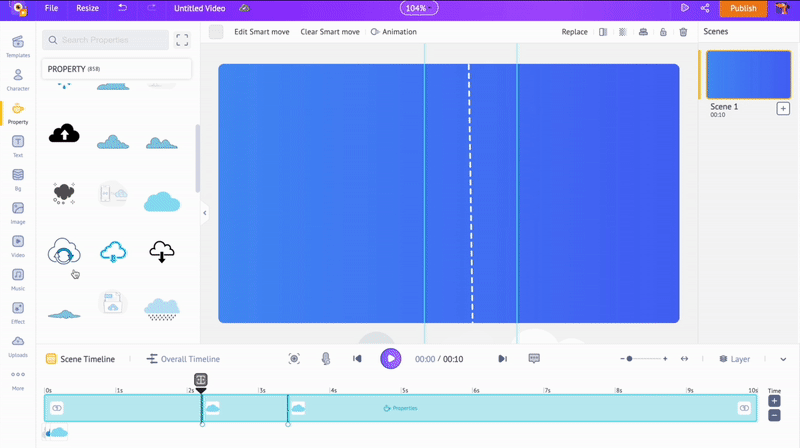
In this example, we have used the Left to Right preset animation. In the Left to Right animation, you'll see two points - Point 1 (Left) and Point 2 (Right).
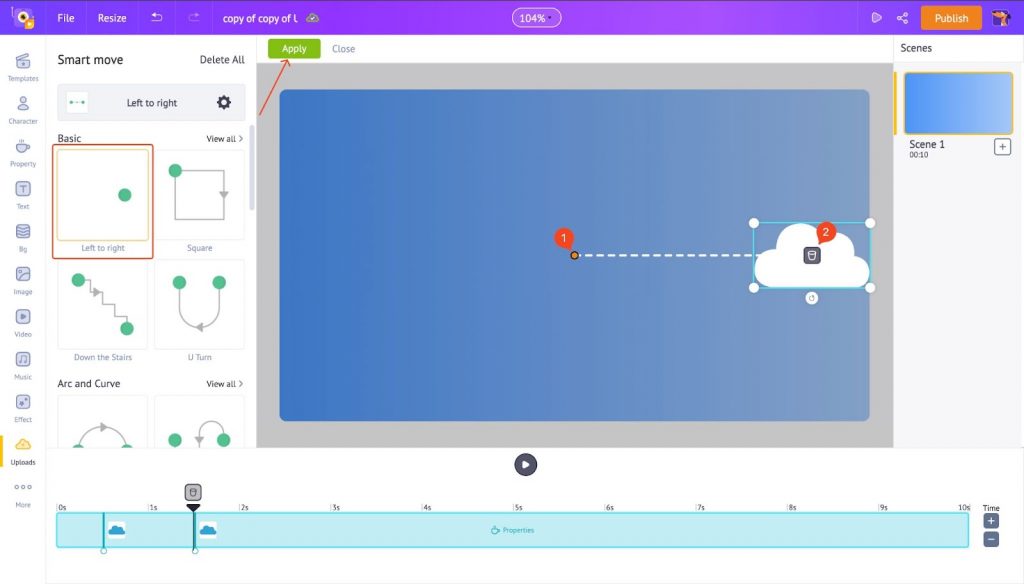
To move the cloud from bottom to top, move Point 2 (Right) to the top, outside the workspace. Similarly, move Point 1 (Left) to the bottom, and you’ll have the same effect you saw in the BG sample above. You can use the thumbs on the timeline, as seen in the below GIF, to control how quickly the cloud should pass. Click on the play button to preview the smart move.
 Similarly, let’s add more clouds from the properties section and add Smart move animation.
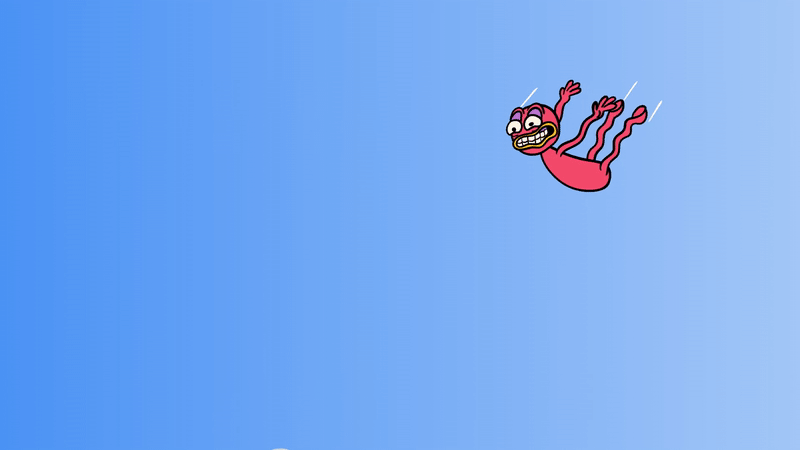
 - Adding GIF stickers - As soon as the background has been set and the animated clouds are added, you can add the GIF sticker. Click on the three dots in the bottom left corner and select Giphy Stickers. Next, type Falling in the search bar to find the same GIF sticker from the BG sample. Click on it. Then, resize/reposition it.
 As simple as that, you now have a cool-looking animated background with a combination of properties and GIF stickers!
Step 4 - Download the BG as GIF or Video
To download your super cool animated background, simply click on Publish and download it as a GIF or video format.
That’s how you download your animated BG as a GIF or a video!
This is just the tip of the iceberg, and the sky is the limit for your creativity; you can explore and get creative while designing your animated background.
Now, wasn’t that simpler than you think?!
Would you also like to know how to create animated videos? Check out the link provided! Refer this in-depth guide and make awesome animated videos with our ultimate 2d animation software.
We hope this article helped you learn and create your first animated background. If you have any doubts, please drop them in the comments below.