How to Add Subtitles to YouTube Videos [Step-by-Step Guide]

Aksara NKR - March 14, 2023 - Leave your thoughts. - Last Updated: November 14, 2025 7 min read
Subtitles in your video play a major role and help in a way that you might not have thought. Subtitles are textual representations of the dialogue in the audio and other important audio elements in a video. This is what a subtitle looks like -

Source : Giphy
If you are someone who watches a movie or a TV show in different languages, you’d have definitely used subtitles, right? This help to overcome language barriers and help to connect the gaps.
At present, they have become an essential part of any media content that aims to reach a wider audience, including people with hearing impairments, non-native speakers, and others.
They play a major role in providing accessibility & reaching wider audiences by improving the viewing experience for everyone.
In this article, we will check out the different ways you can subtitle your YouTube video and expand your audience & reach.
How to add subtitles to Youtube videos?
Adding subtitles to a video can be done in many different ways. In this article, we will be focusing on two methods -
Let’s jump into the topic!
How to subtitle YouTube videos using YouTube Studio?
YouTube Studio is an all-in-one platform that allows creators to manage, analyze and optimize their video content. YouTube has made it super easy to add captions to your videos.
Here’s how you can add subtitles to YouTube videos -
Step 1:
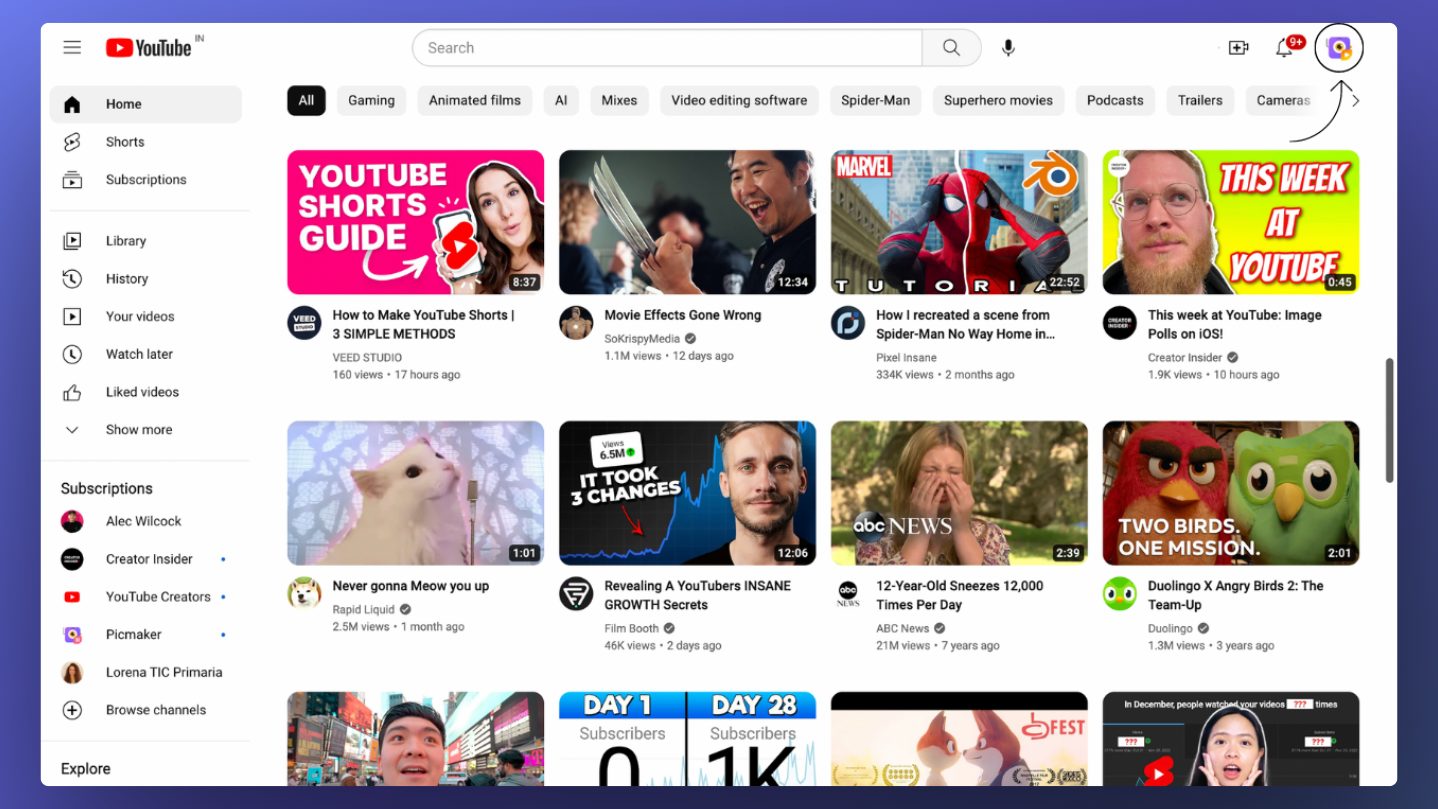
Sign in to your YouTube account and click on your profile in the top right corner.
Step 2:
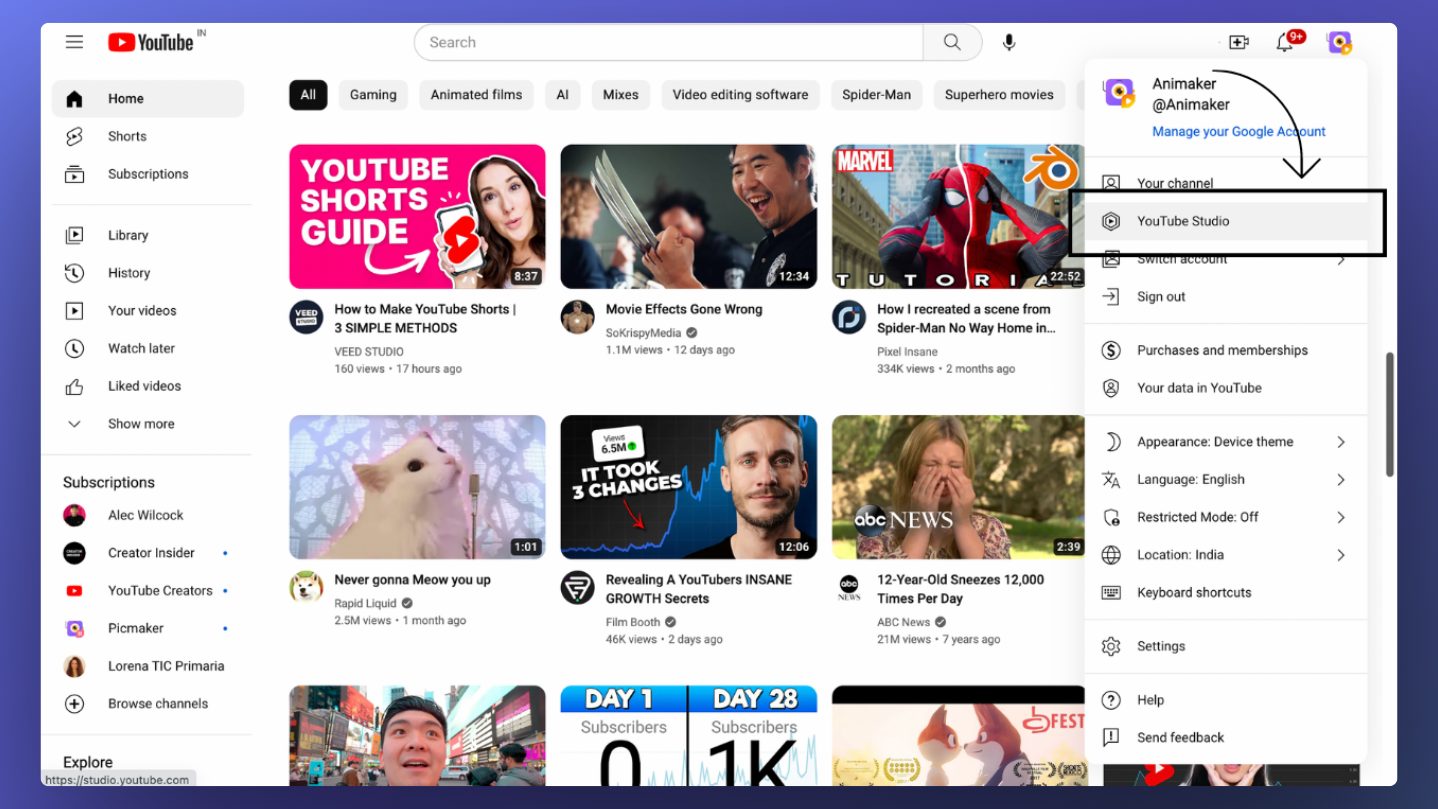
In the drop-down, click on YouTube Studio.
Step 3:
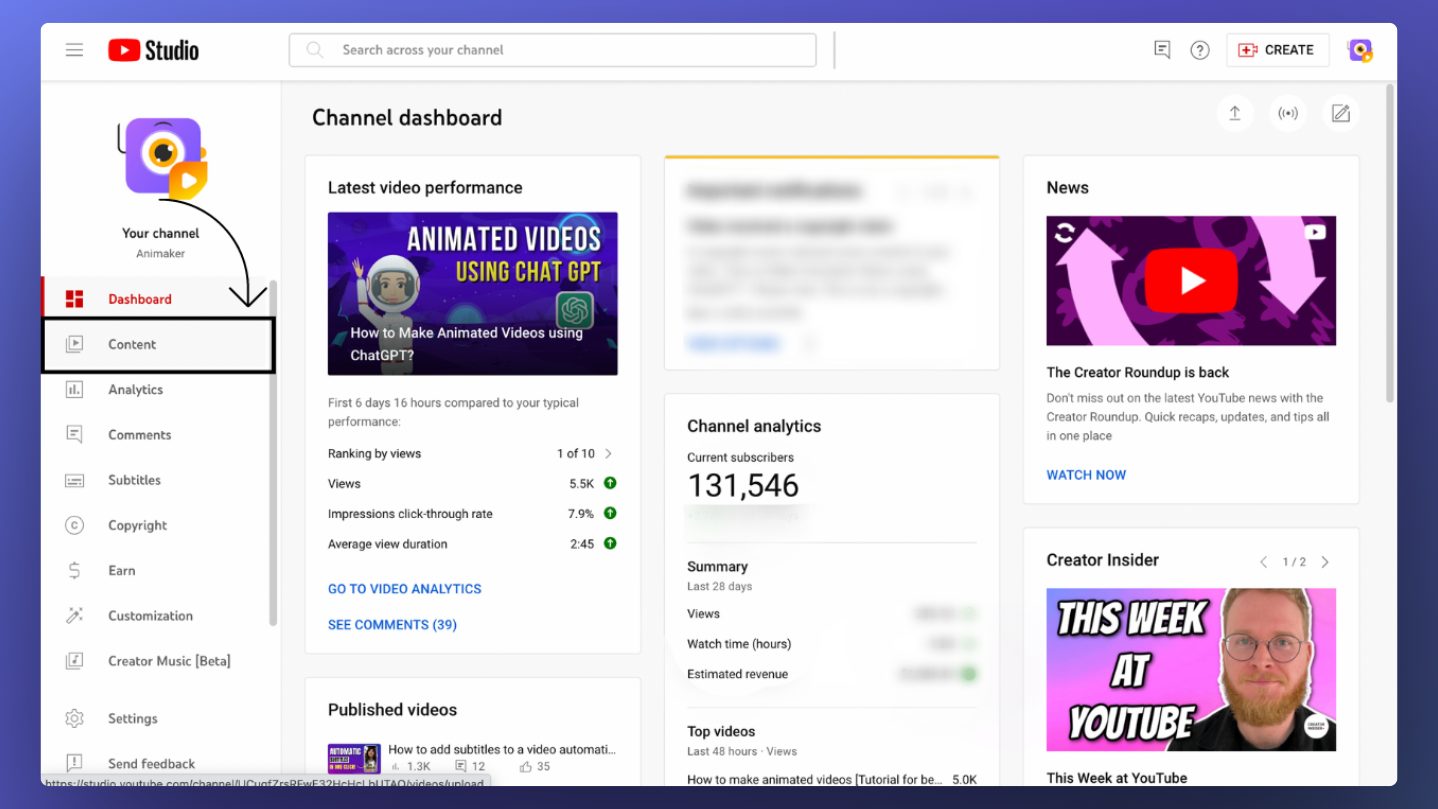
In the YouTube Studio dashboard, click “Content” in the left menu.
Step 4:
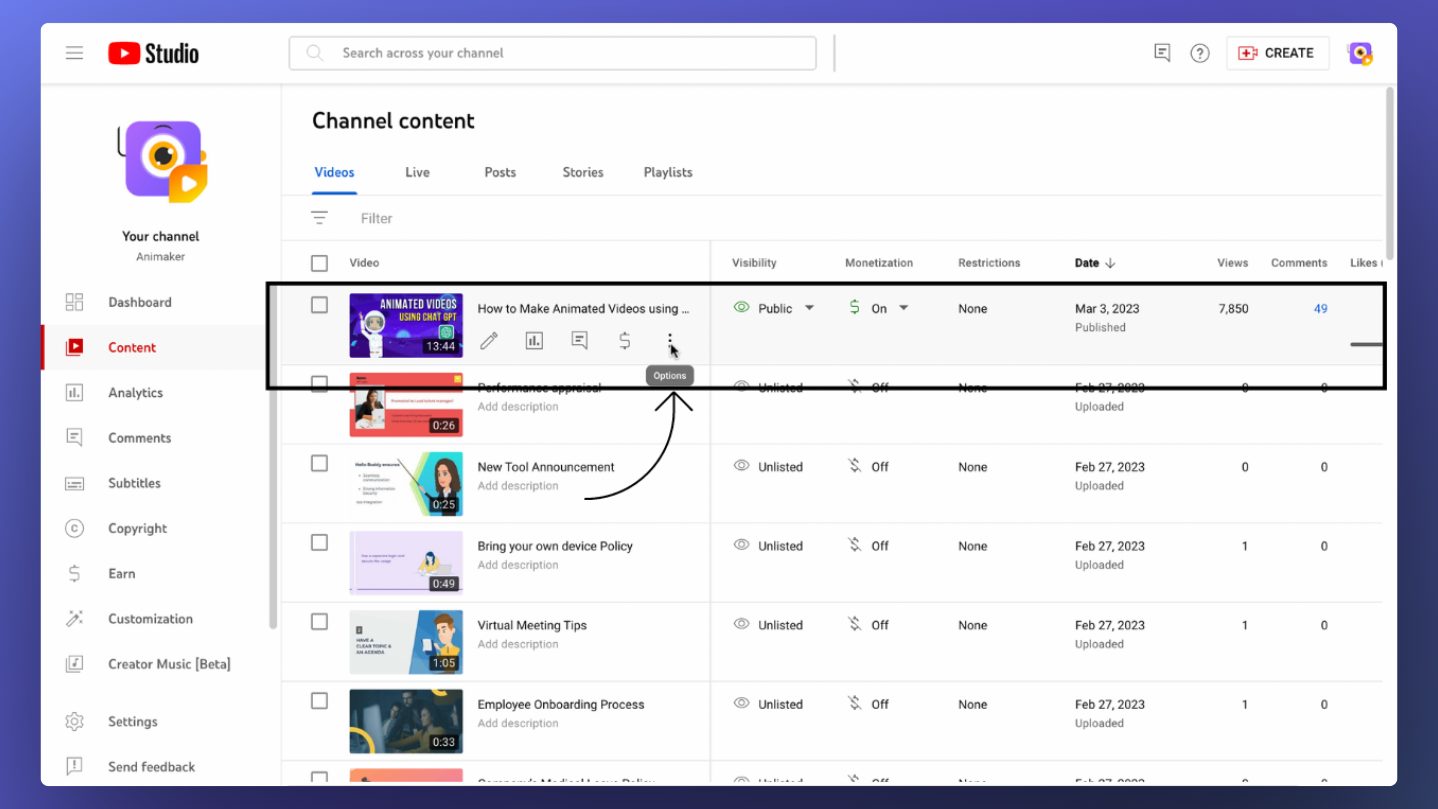
Find and select the video to which you want to add captions.
Step 5:
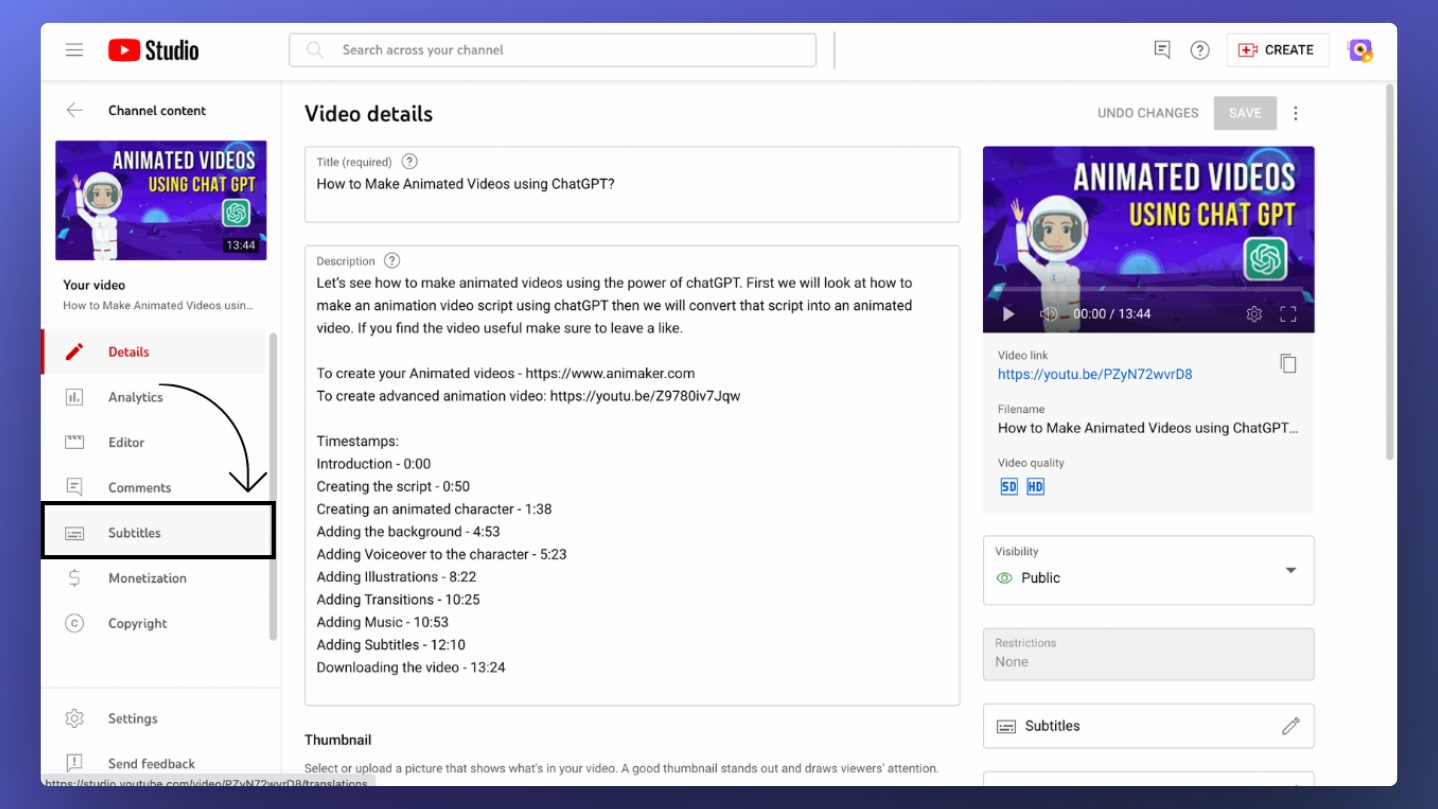
Click “Subtitles” in the left-side menu in the video dashboard.
Step 6:
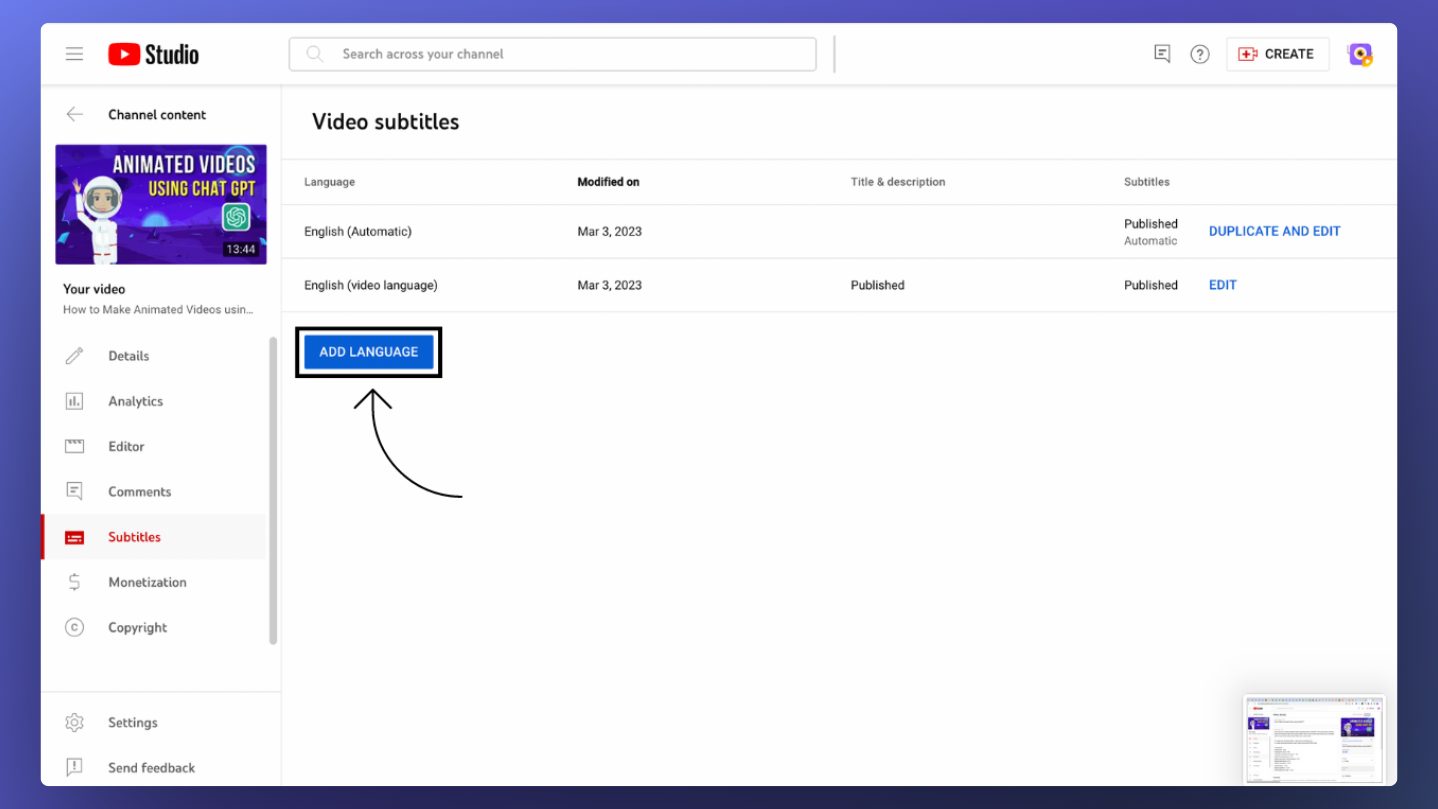
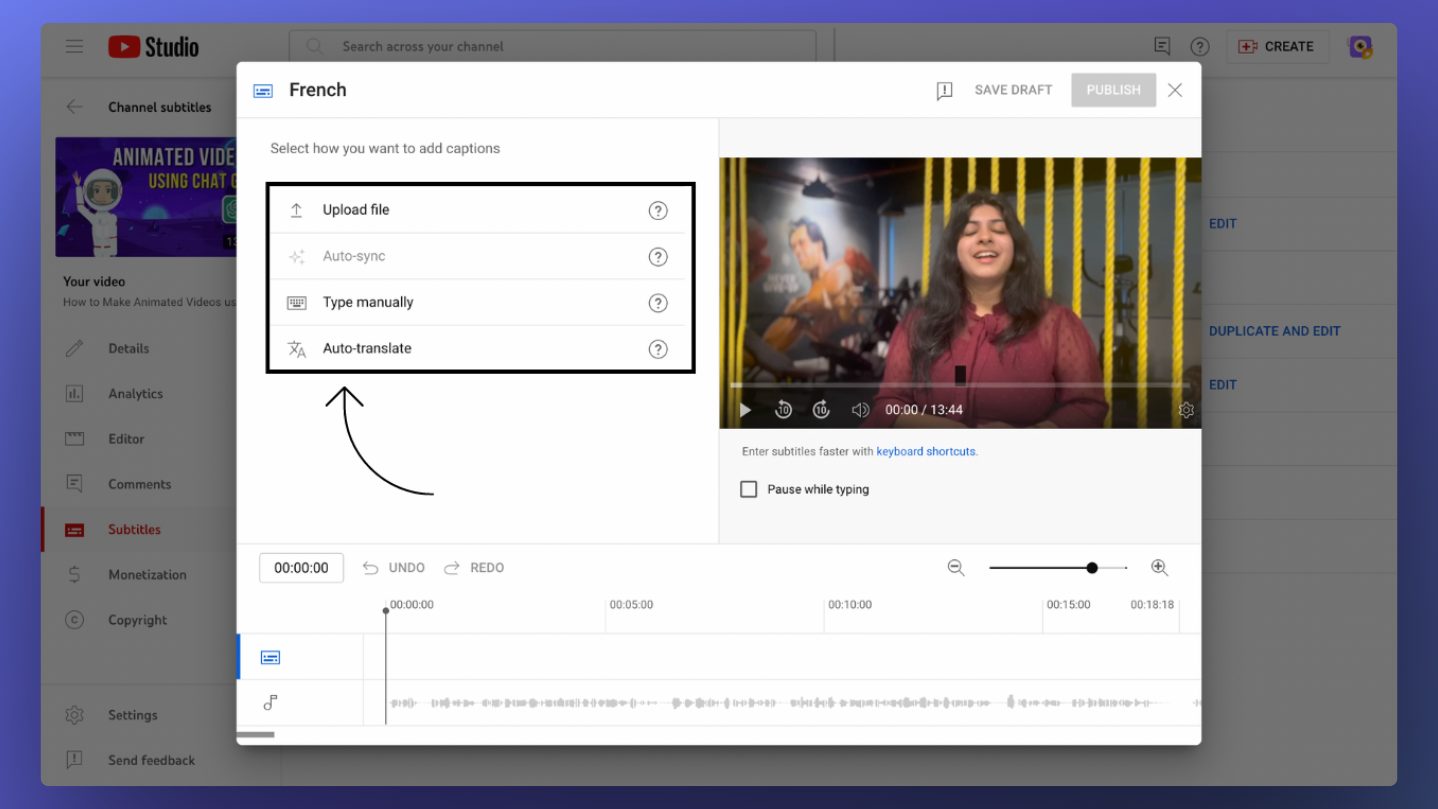
Click “Add language” and select the language you want to add subtitles.
Step 7:
Once you click on add, there are four ways you can add subtitles to your video -
Upload file: If you already have a subtitle file for your video in the right format, then you can use this option to upload your own subtitle to the YouTube video. To upload your own subtitles, select the Upload File option and upload your subtitle file. Check out the link provided to learn subtitle file formats supported on YouTube.
Auto Sync: If you have a full transcript of your video, you can use this feature, and YouTube will automatically sync it with your audio. To use this feature, click Auto Sync and enter the words in the video or upload a transcript file.
Type Manually: If you want to type your subtitles manually, this dashboard lets you type the subtitles manually and adjust the time.
Auto Translate: To use the Auto Translate subtitle feature on YouTube, you should have already added the subtitle for your video in your native language. If you have already added, this feature will be available to use. This uses YouTube’s Speech recognition technology to create subtitles for your video in different languages automatically.
Step 8:
Once you have added your YouTube video captions, click “Publish” to make the changes live.
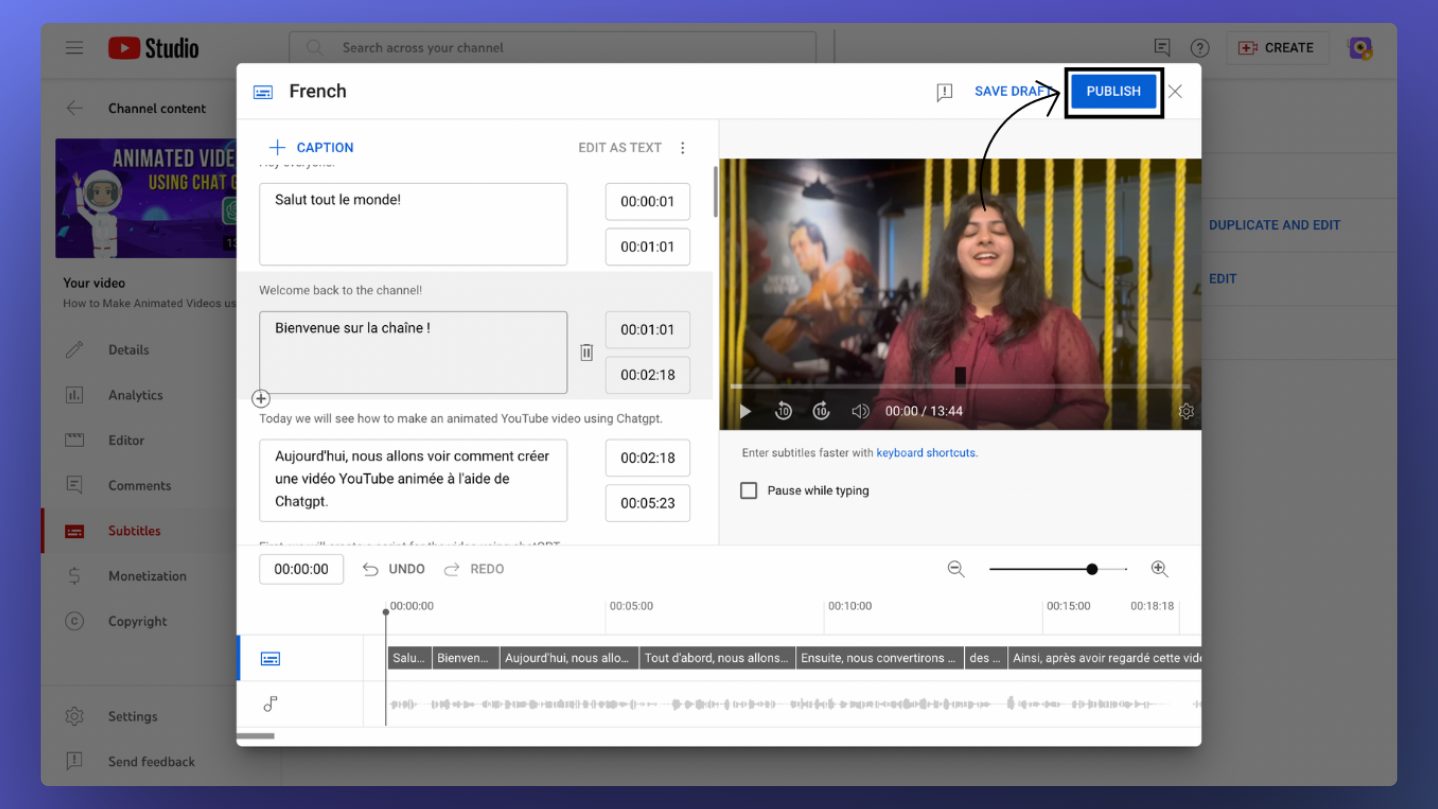
Step 9:
You can also customize your subtitles by clicking on the three dots next to each caption.
Phew, that was a long process to add subtitles to your YouTube video. Right?
To take the load off you, let me share with you a simpler way to add subtitles. For this, we will be using Animaker Subtitles, a tool that lets you add subtitles to your YouTube videos in two minutes, less than half the time you spent adding subtitles on YouTube.
How to subtitle YouTube videos using Animaker Subtitles?
Animaker is a cloud-based DIY Video creation suite that allows users to edit & create live-action videos and animated videos from your browser. It has helped over 18 million users to create their own videos with easy & accessible features.
Along the same lines, the latest addition to the Animaker suite of tools is the Animaker Subtitles. This subtitle generator tool uses the power & technology of AI to transcribe your audio to beautiful captions effortlessly and automatically.
Let’s see how to add subtitles to YouTube videos automatically using Animaker.
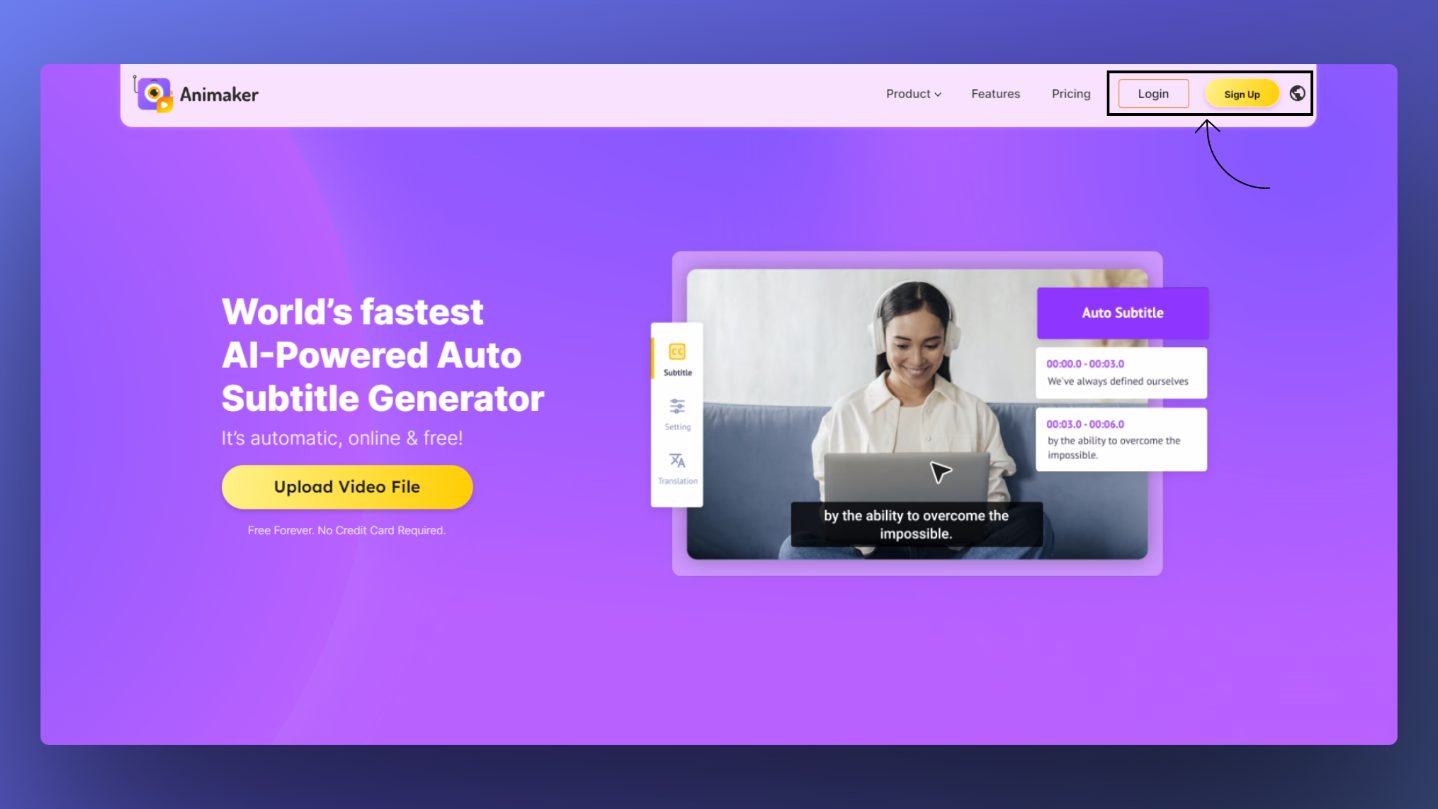
Step 1:
Login or signup with Animaker.
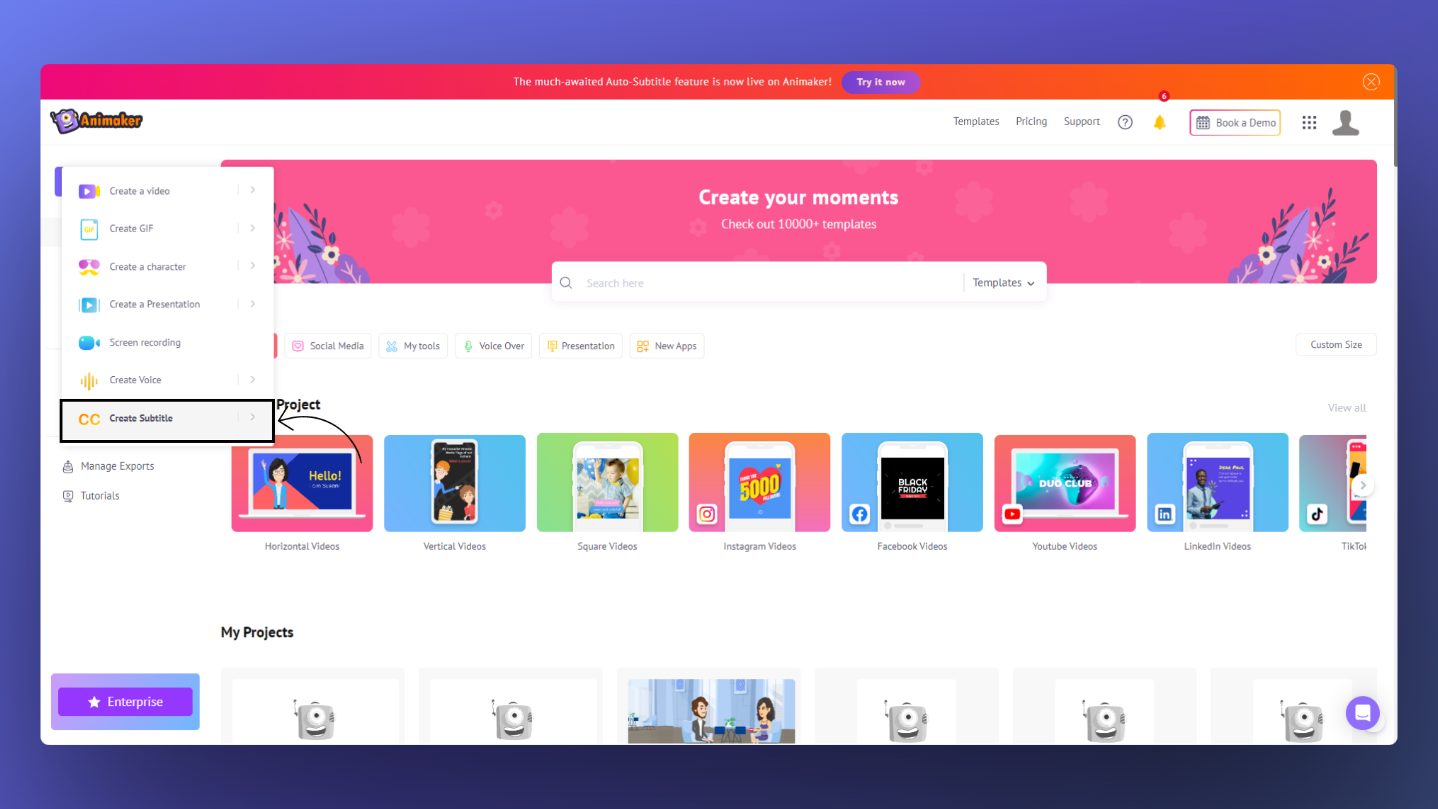
Step 2:
Head over to your dashboard. Click on “Create”
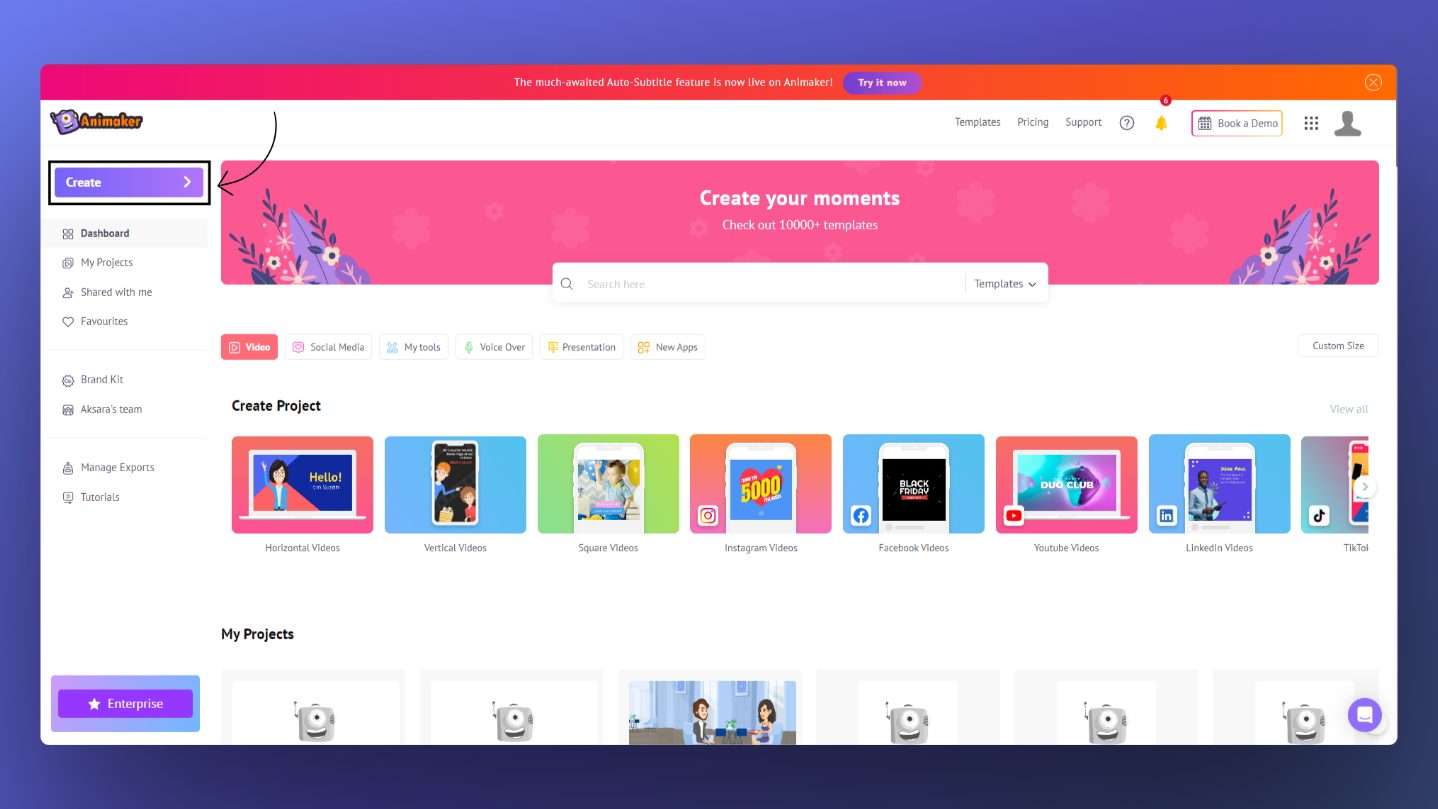
and click on “Create Subtitle.”
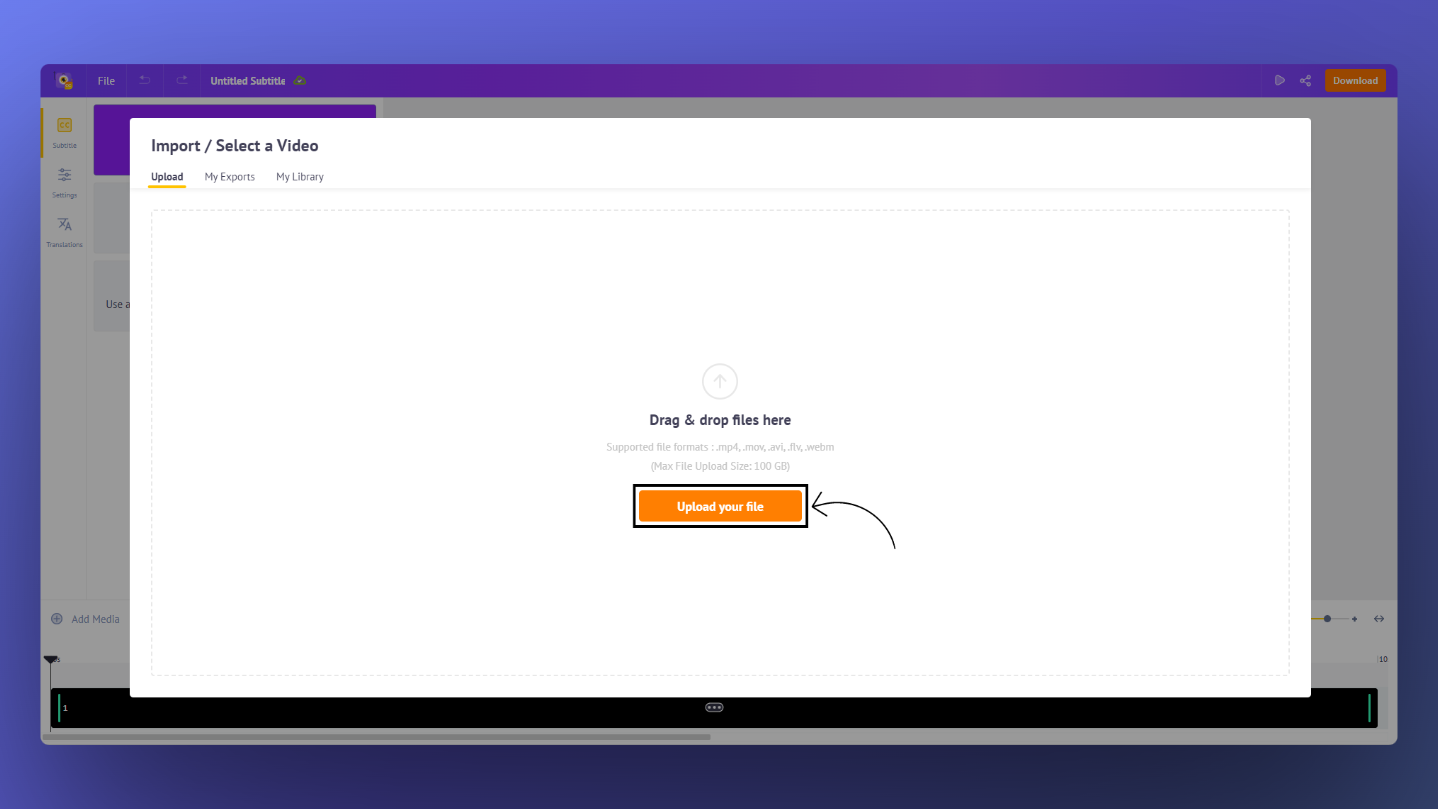
Step 3:
Upload your video to Animaker Subtitle by dragging & dropping the file.
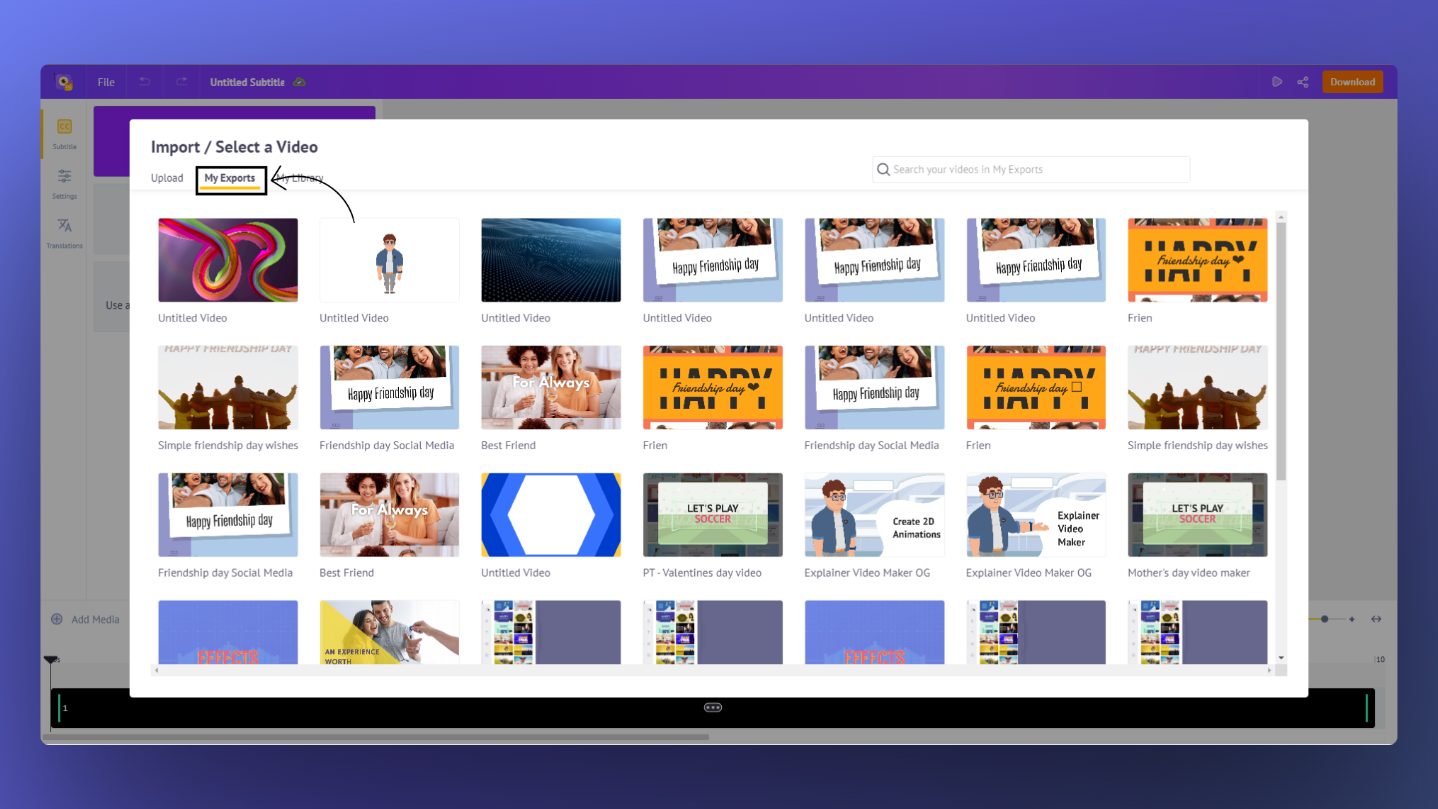
Alternatively, if you have created your YouTube video on Animaker, you can select the exported project in the “My Exports” section and add it to your project.
Step 4:
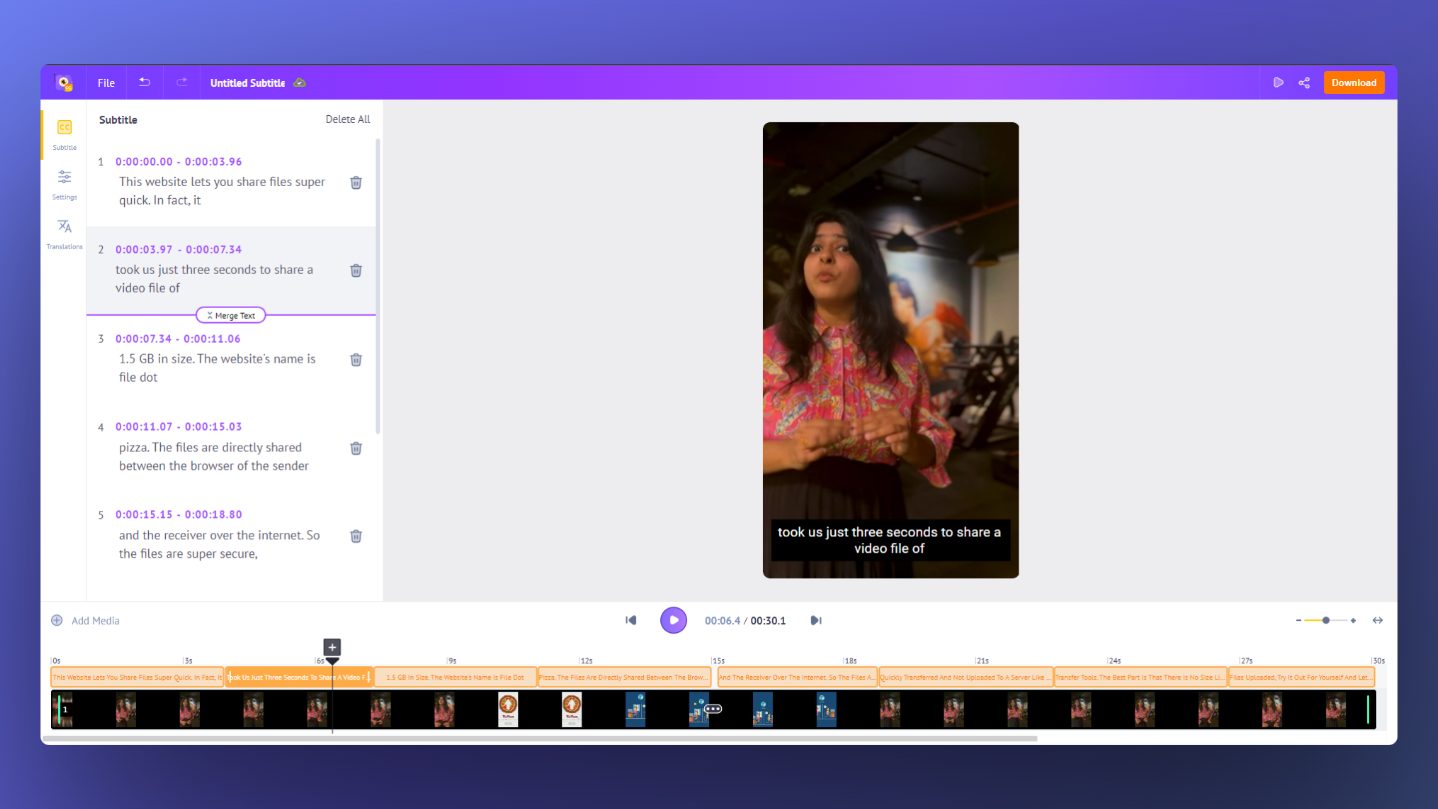
Click “Auto Subtitle” and wait for the AI to do the magic.
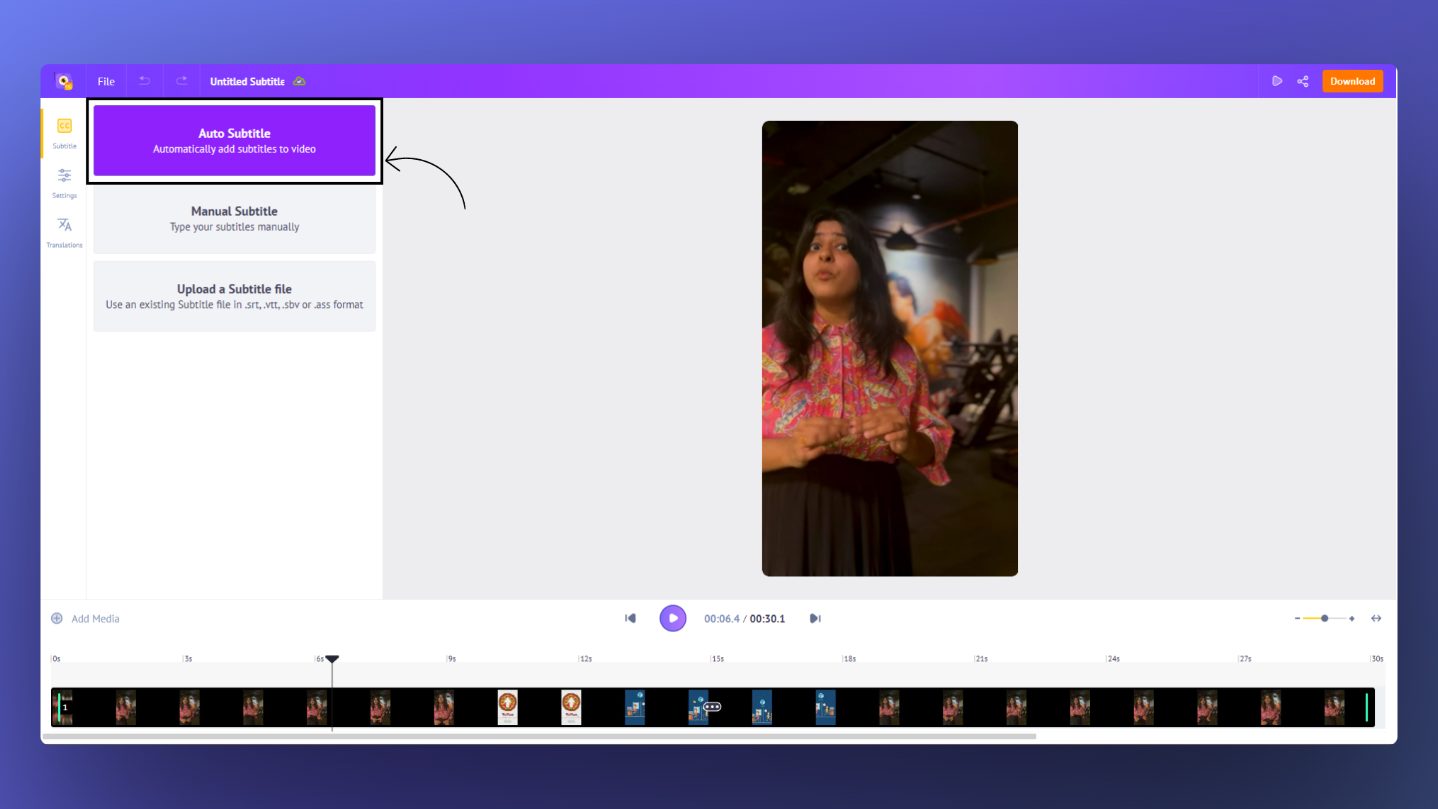
Step 5:
As simple as that, you have subtitles added to your YouTube video automatically.
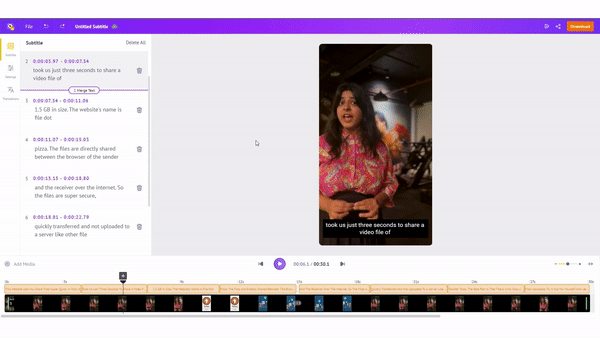
Additionally, you can add captions to your YouTube video in two more ways. The first way is using the Upload subtitle feature, where you can upload an existing subtitle file and sync it with your video. The second way is by manually typing the subtitles & adjusting the duration of the subtitles from the interface.
Once you have added the subtitles, you can format them by changing their font, font color, font, size, alignment, etc. If you don’t want to change these features one by one, you can also use the text prebuilt, which helps you format your subtitles in a cool way in just a click!
To format your text or use a text-prebuilt, go to “Settings” and select one from the huge list of prebuilt available.
Once you have added subtitles to your video, an auto-translate feature allows you to automatically translate your subtitles to 100+ languages in a single click.
Wasn’t that simple and mindblowing?!
If that’s mindblowing, hear me out, there’s more you can do with Animaker Subtitles.
For instance, you can turn the boring subtitles you see on youtube into this!
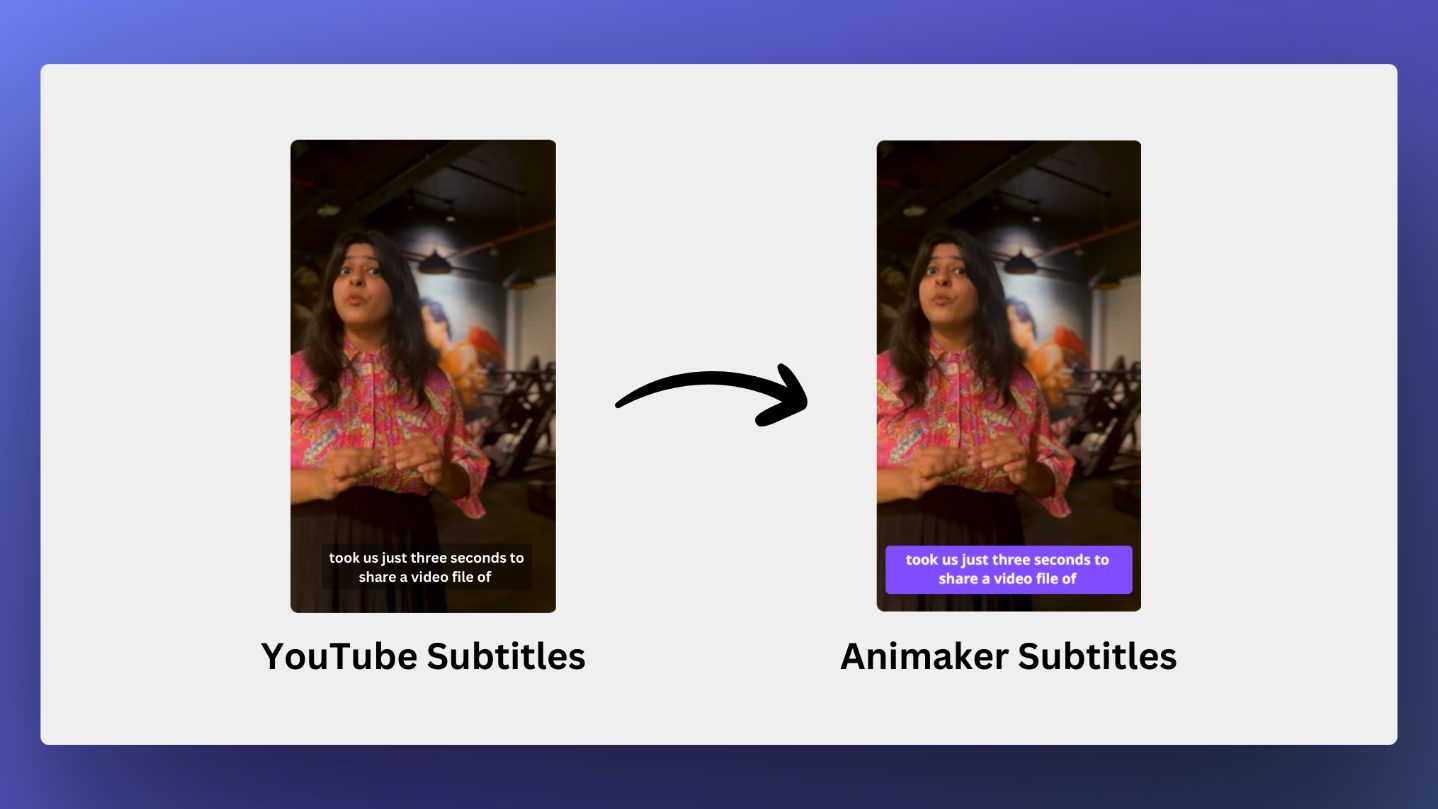
Isn’t this looking so cool?!
If you want to do the same to your subtitles, you have to read our ultimate guide on How to make subtitles that takes you through all the ways you can create & customize subtitles using Animaker Subtitles.
This will make your video stand out from the rest with eye-catching colors and unique subtitles. Additionally, you can stop worrying about YouTube subtitles issues where people have reported the auto subtitles are not adding properly to their videos.
To make things even simpler, check out this in-depth tutorial on how to subtitle YouTube videos automatically -
Hope this article helped you to add subtitles to your YouTube video and explore different ways you can do it. If you have any questions, feel free to drop them in the comments below.