How to Make 2D Animation? [A Beginner-Friendly Walkthrough!]

Shreshtra - October 3, 2025 - Leave your thoughts. 15 min read
If you’ve ever found yourself lost in the magic of a 2D animated movie or show, you know how powerful animation can be.
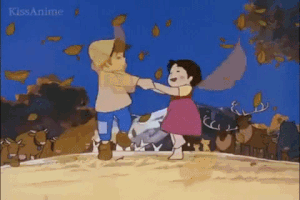
Whether it’s the nostalgia of childhood cartoons or the slick, modern animations in today’s viral videos, 2D animation has a special way of capturing our attention and stirring our emotions.
But have you ever wondered how to make 2D animation yourself?
Gone are the days when making a 2D animation required expensive studios and professional expertise.
With the right tools, you can bring your creative ideas to life from the comfort of your own space.
In this guide, we’ll break down everything you need to know about making 2D animation, including:
- What is 2D Animation?
- Different Types of 2D Animation
- Tools & Software for 2D Animation
- How to Make 2D Animation (A Step-by-Step Guide)
- Essential Principles of Animation
- Tips for Beginners
- Common Mistakes to Avoid
If you’re just getting started, we recommend reading through the basics first.
But if you’re already familiar with 2D animation, feel free to jump ahead and head straight to the how-to section.
By the end, you’ll have a clear roadmap to start making your own 2D animations with confidence.
What is 2D Animation?
2D animation is the art of creating characters, objects, and backgrounds that move within a two-dimensional space.
Think of it as your drawings suddenly moving across the paper! The visuals will have height and width, but will not have depth and volume.
If you want to learn more about the evolution of 2D animation, check out the link provided.
Different Types of 2D Animation
2D animation comes in several styles, each with its own look, feel, and method. Here are the most common ones -
1. Traditional (Hand-Drawn) Animation
Traditional Animation meant drawing each frame by hand, with minor changes made to every frame to create the illusion of movement when played in sequence.
This hand-drawing technique is done either on paper or now on devices with digital tools.
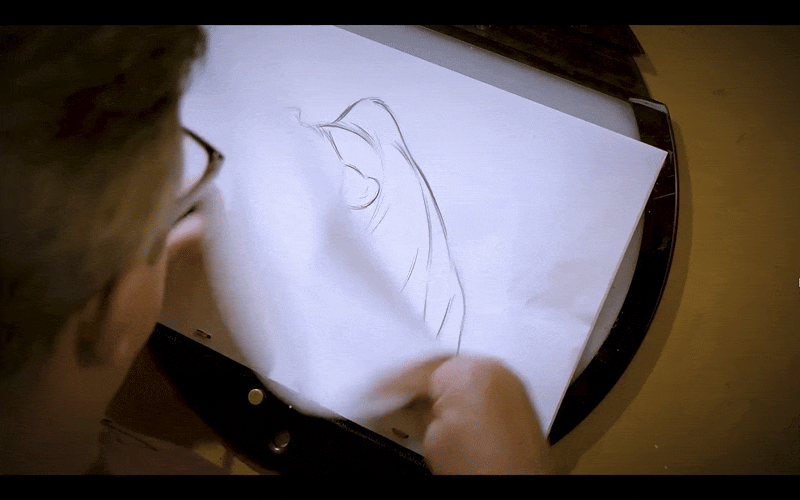
While this method is very expressive and artistic, it is time-consuming and requires strong drawing skills.
2. Digital 2D Animation
Digital animation takes the traditional approach and modernizes it with the help of software.
Instead of drawing everything by hand, animators can choose between frame-by-frame digital drawing, rigging characters with digital skeletons, or using presets for smoother motion.
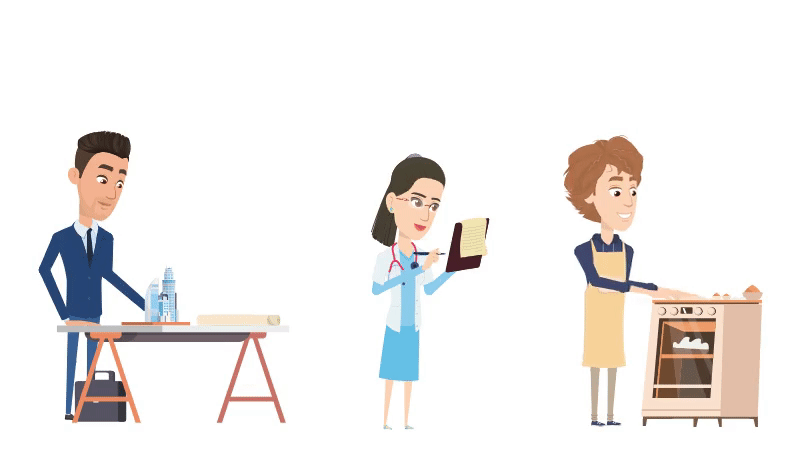
These 2D animations are made with preset actions using an online software called Animaker.
This approach makes the process faster, easier to edit, and much more accessible, making it one of the most widely used styles today.
3. Cut-Out Animation
In cut-out animation, characters and objects are cut out into separate parts, such as arms, legs, or facial features, that can be moved independently.
Imagine it like controlling a puppet - you don’t redraw the whole figure, just reposition the pieces.
4. Motion Graphics
Motion graphics focus less on characters and more on animating text, shapes, and logos.
They’re widely used in ads, explainer videos, and title sequences because they look clean and professional while getting ideas across quickly.
Since they don’t rely on complex character work, they’re generally easier to produce, but the style is better suited for information and branding than storytelling.
Tools & Software for 2D Animation
When it comes to 2D animation, the right software can make all the difference. From first-timers to seasoned animators, there’s software for every level.
I have listed some of the best animation tools below. These tools and their capabilities are backed up by their G2 rating!
(G2 is the world's largest software marketplace, making it a trusted source for reviews, ratings, and comparisons of business software and services)
Built for beginners, used by pros
These tools are easy to use and perfect for newcomers.
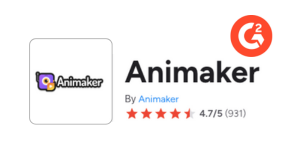
- Animaker
Animaker is an online animation platform with 30M+ users, known for its character builder and abundant animation assets.
As of Sep 2025, G2 rating - 4.7/5 (rated by 931 users)
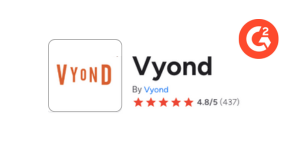
- Vyond
Vyond is a cloud-based animation platform with drag-and-drop functionality and character animation.
As of Sep 2025, G2 rating - 4.8/5 (rated by 437 users)
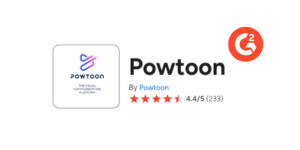
- Powtoon
Powtoon is a 2D animation online platform that is known for its ability to help create animated explainer videos.
As of Sep 2025, G2 rating - 4.4/5
Studio-grade Softwares
These tools are packed with advanced features for studios and seasoned animators.
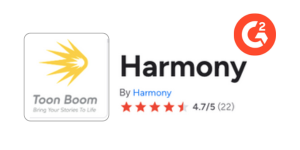
- Toon Boom Harmony
Toon Boom is an industry-standard 2D animation software used by top studios for TV shows, films, and games.
As of Sep 2025, G2 rating - 4.7/5
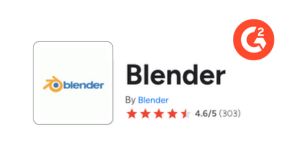
- Blender (Grease Pencil)
Known for its 3D capabilities, it also supports 2D workflows.
As of Sep 2025, G2 rating - 4.6/5
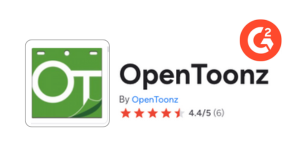
- OpenToonz
OpenToonz is a free, open-source, professional 2D animation software used in studios and productions, including Studio Ghibli films.
As of Sep 2025, G2 rating - 4.4/5
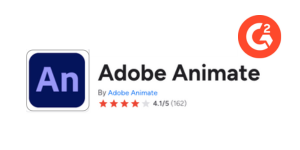
- Adobe Animate
A product of Adobe for creating interactive animations, web content, and multimedia projects.
As of Sep 2025, G2 rating - 4.1/5
Each has its own strengths, whether it’s ease of use, advanced features, or affordability. So the best choice depends on your needs and skill level.
Want a detailed breakdown of these tools, along with their pros and cons? Check out our full guide to the best 2D animation software here!
How to Make 2D Animation (A Step-by-Step Guide)
Making your first 2D animation doesn’t have to be complicated.
With the right approach, you can turn an idea into a finished animation by following a few simple steps. Here’s a breakdown to guide you through the process.
Step 1: Concept & Storyboarding
Step 2: Choose Your Animation Method & Tool
Step 3: Make 2D Animation with your chosen method
Let’s get started!
Step 1: Concept & Storyboarding
Every animation starts with a strong idea. Consider what story you want to tell or what message you want to convey.
It can be as simple as a short character interaction or as structured as a full video.
Once you have the concept, break it down into a script. Even a rough outline of dialogue or scene descriptions will work.
This helps you visualize the flow before jumping into creation and ensures your animation stays consistent.
Step 2: Choose Your Animation Method & Tool
Different animation styles require different workflows. Choose the method that best fits your project, along with a tool that supports it.
Frame-by-Frame (digital)
In this method, you’ll need to draw each frame for full control and expression. A tool that you can use for this method is Opentoonz.
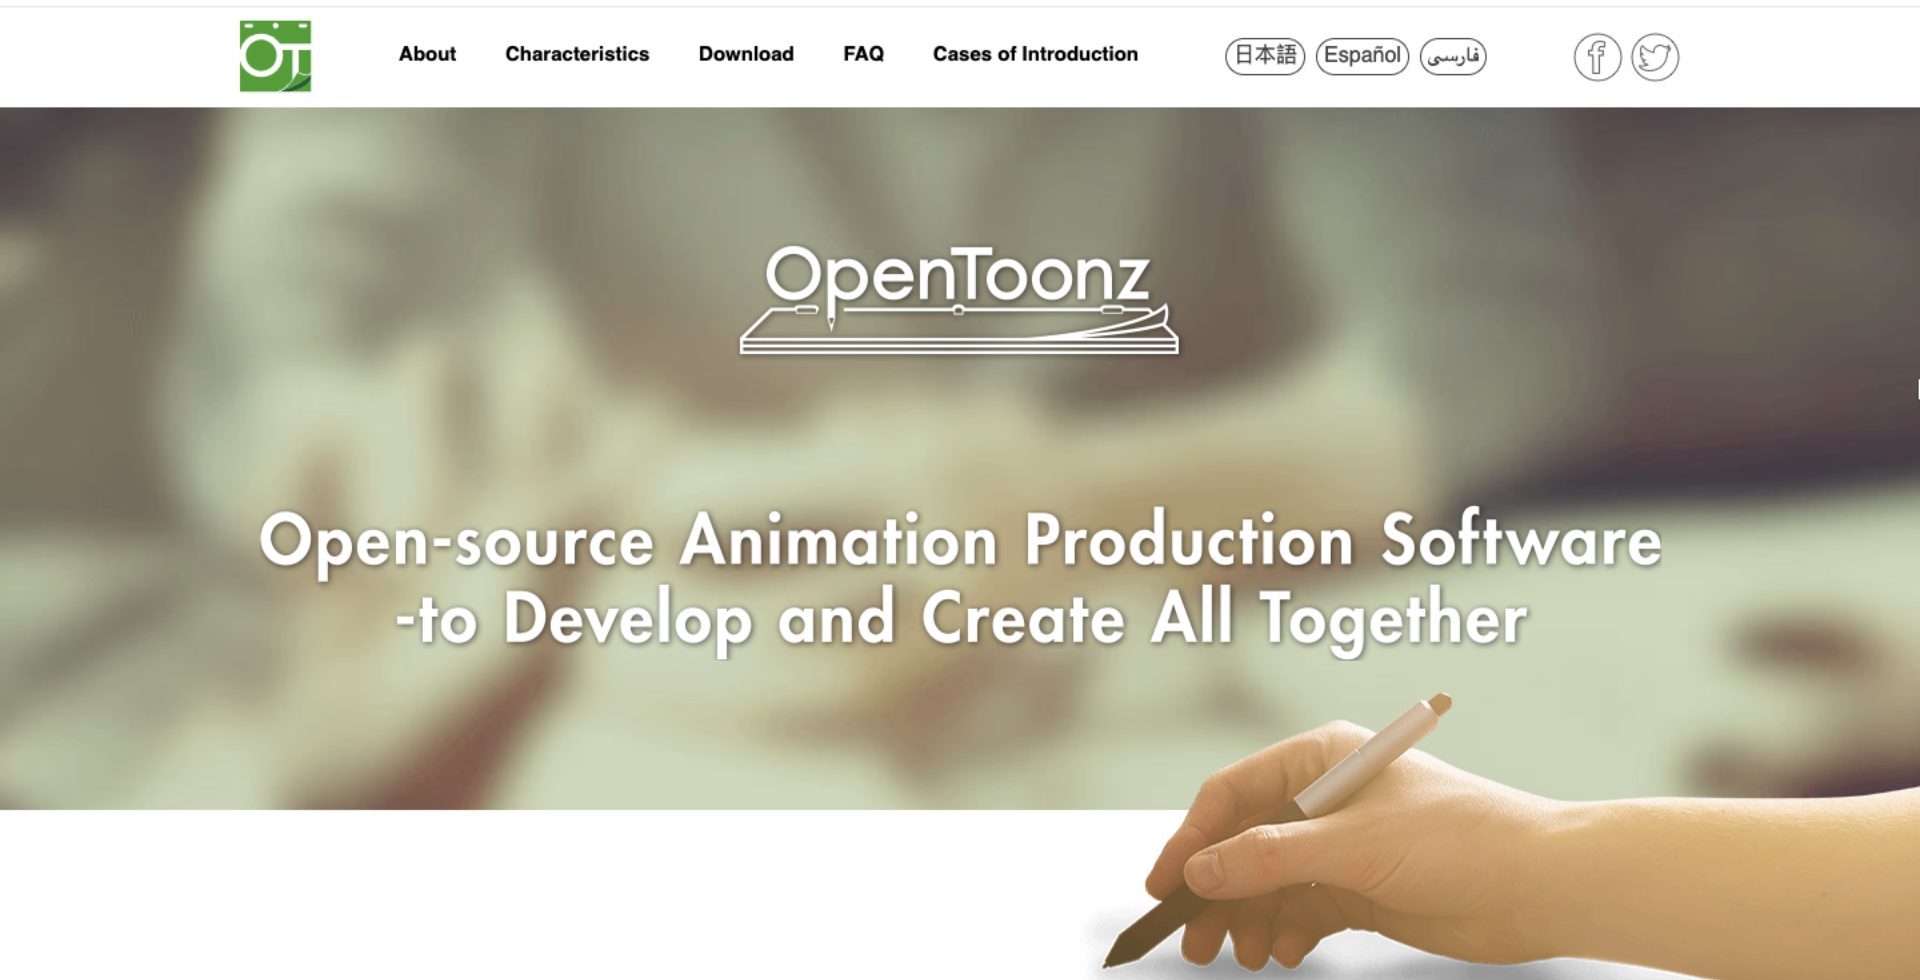
It’s an open-source software often used for traditional-style digital animation, making it a popular choice among independent creators.
Rig-based
Here, characters are built with movable joints, like a digital puppet. Animation is done by adjusting the joint points, called rigs. You can use Moho for this animation method.
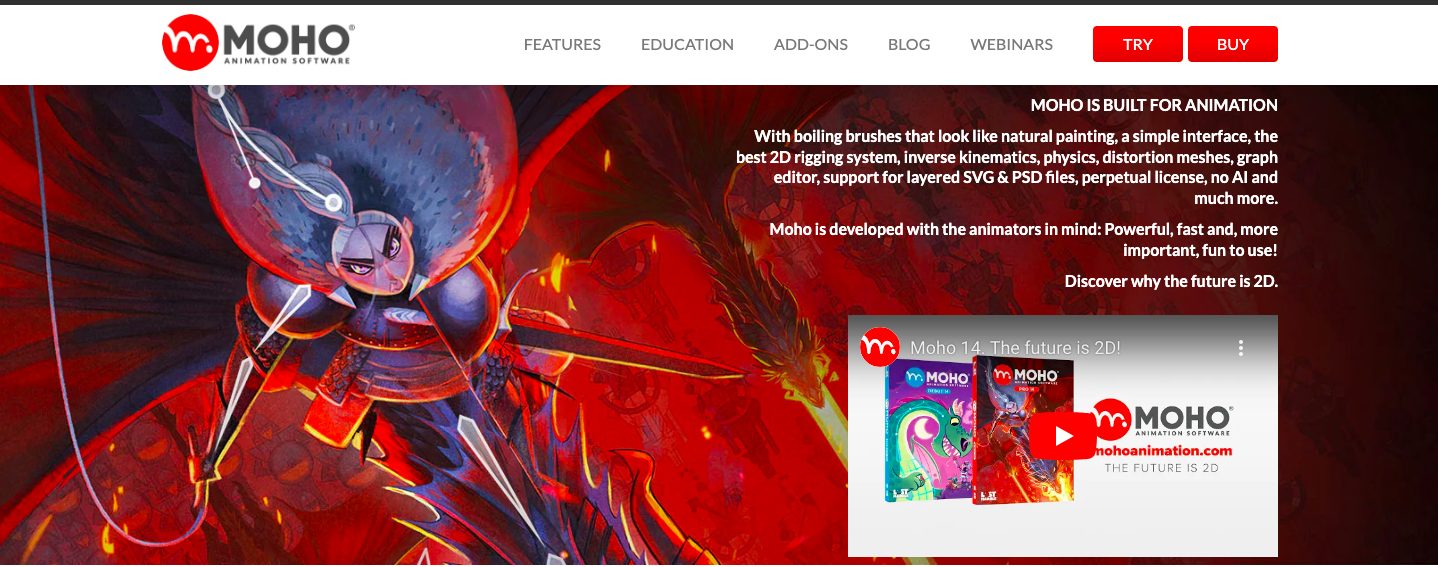
Moho is known for its powerful rigging system that makes character animation smoother and faster compared to drawing each frame. While it’s not free, you can try it with a 30-day trial.
Drag-and-drop / template-based
This method lets you create animations quickly using pre-designed characters, props, and preset actions. It’s ideal if you want speed without worrying about a complex animation process.
A great tool for this method is Animaker.
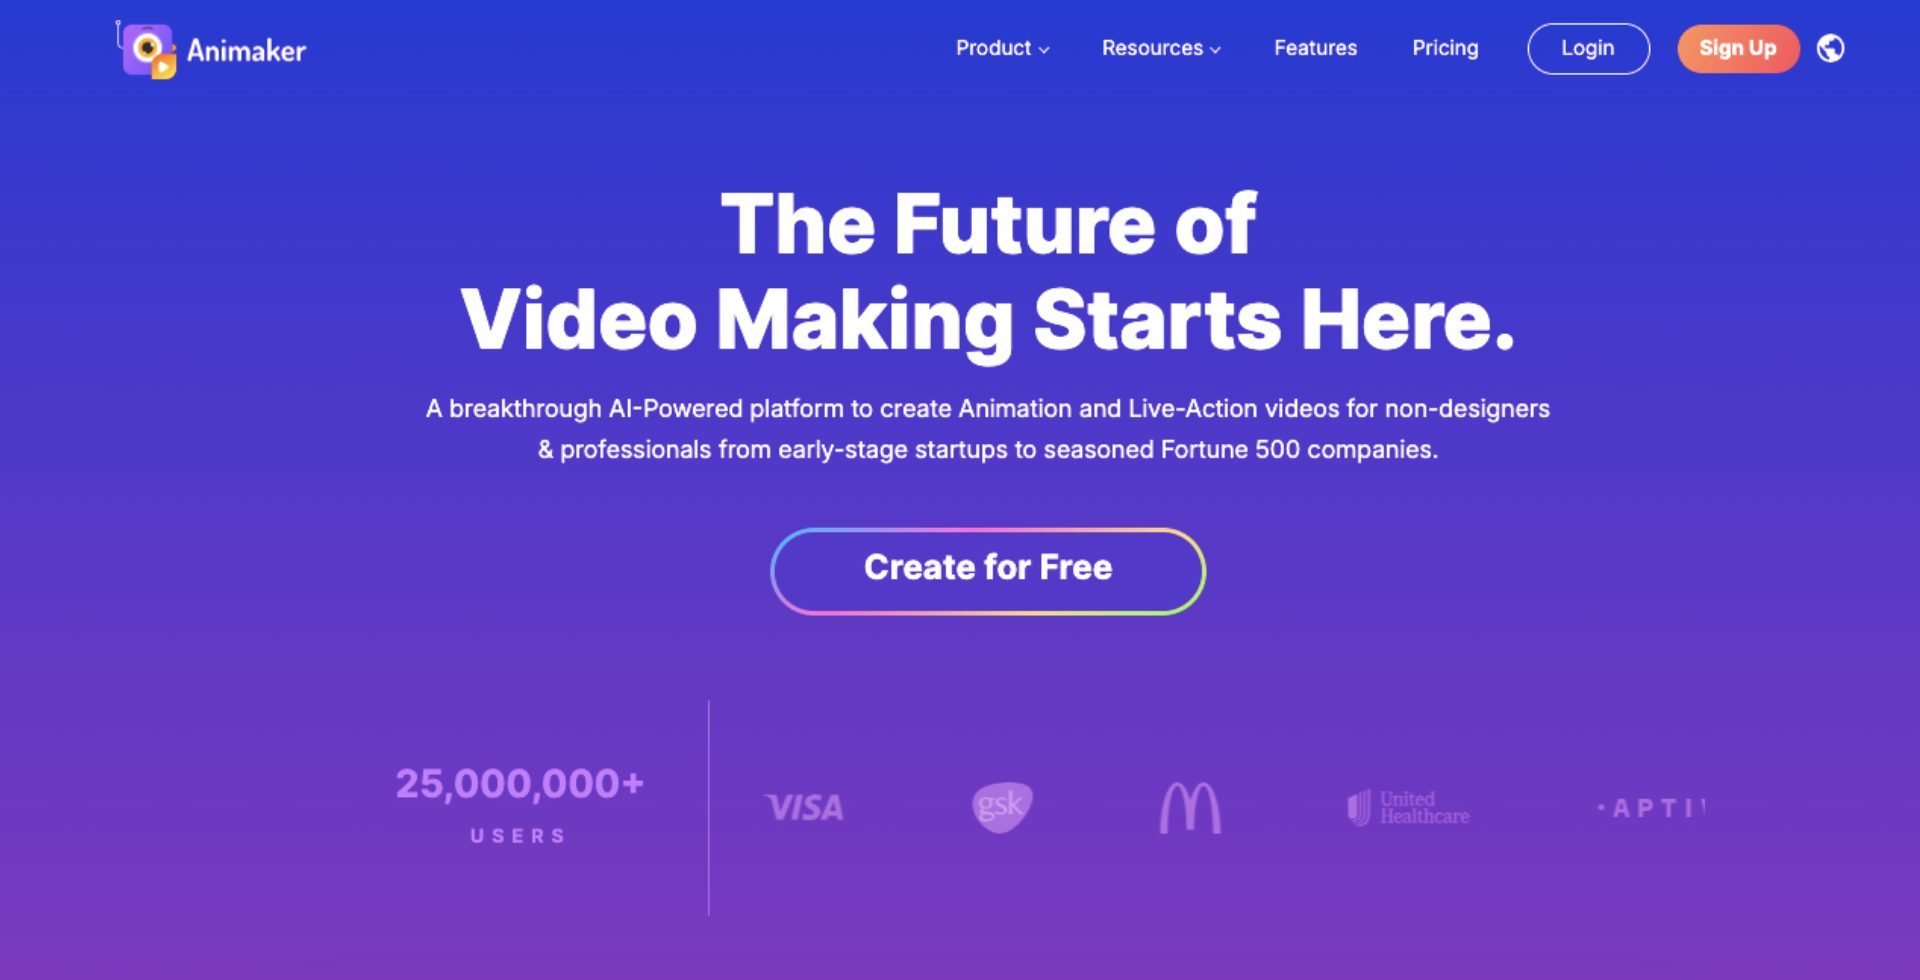
Animaker is an online animation software trusted by over 30M+ users worldwide for its user-friendly interface while still delivering professional-grade animation results.
Motion graphics/text animation
This method is typically for animating shapes, icons, and typography with smooth transitions and dynamic movement. Canva is a solid option for this method.
Known for its simplicity, Canva makes motion graphics and text animations accessible to anyone, perfect for creating quick, polished visuals.
These are some of the most common methods you can choose from.
Think about the style you want to achieve, the time you can invest, and your skill level, then pick the method that best fits your project.
Step 3: Make a 2D Animation with your chosen method
Once you have picked your method, let’s look at how to make 2D animation. Below, you’ll find how to approach each style using the recommended tools.
Feel free to jump straight to the method you’ve chosen.
Frame-by-frame
If you’re new to frame-by-frame animation, the best way to learn is by watching it in action. Check out this beginner-friendly video guide -
And to keep things simple, here’s a handy 7-step checklist of the process in OpenToonz.
1. Set up your scene
Start a new project and set up your canvas resolution, frame rate, and background color. (The industry standard is 24 frames per second.)
2. Create a new level
Use the Level Strip (a panel that stores your drawings frame by frame) to create a new raster or vector level.
For those just starting out, a raster level works with pixels, which is better for freehand, while a vector level works with points and lines instead of pixels and is easier to edit.
3. Draw your key poses
Sketch the main actions (like standing or waving) on separate frames. These are the "anchor" drawings of your animation.
4. Add in-betweens
Fill in the motion between key poses with extra frames. These make the movement smooth and natural.
5. Use the Onion Skin
This feature lets you see faint outlines of the previous and next frames, so you can align your drawings better.
6. Play back your animation
Check the flow and timing of your sequence using the playback controls.
7. Refine and adjust
Clean up your drawings, fine-tune in-betweens, and tweak timing until the movement feels right.
That’s how you can create a frame-by-frame animation in OpenToonz.
From here, you can either move on directly to Step 4: Add Audio or explore how to make 2D animation using the other methods we’ve covered.
Rig-based
Rig-based animation can look a bit technical for beginners, but here’s a straightforward 5-step breakdown to get started in Moho.
1. Set up a new project
Open a new project and import or draw your character.
2. Add bones (rigs)
Use the Bone tool to attach joints to your character parts, like arms, legs, or facial features. These act as the “skeleton” of your puppet.
3. Bind rigs to the character
Link the character’s body parts to the rigs so they move together when you adjust the rig.
4. Pose your character
Create poses by moving and rotating the bones across different frames to build your animation. You can even add subtle facial movements by rigging the face for expressions.
5. Test and refine
Play back your animation, fine-tune the bone movements, and adjust timing until everything feels smooth and natural.
Note that this is just the basic workflow for rig-based animation in this tool.
Once you get the hang of this method, you can experiment with advanced rigging setups for more detailed and complex animations.
Check out the detailed tutorial below to see the rigging animation in action -
From here, you can proceed to Step 4: Add Audio or explore other methods for creating 2D animation with drag-and-drop or motion graphics.
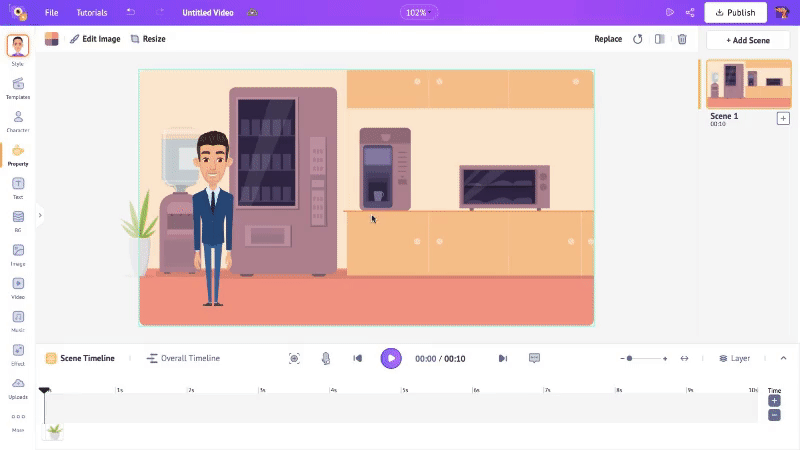
Drag-and-drop
Drag-and-drop animation tools let you build videos by simply selecting and placing elements onto the screen.
This makes it one of the fastest and most beginner-friendly ways to create 2D animation. Here’s how you can make 2D animation using Animaker.
1. Create a new project
Sign up or log in to Animaker and pick a blank project.
2. Add characters and props
Drag and drop elements from the library - characters, props, and backgrounds into your scene.
3. Apply pre-set actions
Use prebuilt actions (walk, wave, talk, etc.) to animate characters quickly. You can then add Action Plus to create a series of actions with just a click.
Then adjust the timing between each individual action in the timeline.

4. Customize timing & transitions
Adjust the duration of each element on screen and add smooth scene transitions.
5. Preview & fine-tune
Play back your animation and polish the scenes until it feels right.
This is a basic way to get started with Animaker. However, if you wish to learn more in detail, you can check out this video tutorial -
Now, you can skip to Step 4: Add Audio or explore one more method for creating 2D animation.
Motion graphics
Motion graphics is the easiest entry point into 2D animation. Here’s how you make a quick animation using Canva with these 6 simple steps.
1. Create a new design
Open canva and choose a video design.
2. Add your visual elements
Place the visual elements you want, like text, graphics, or shapes. These are what you’ll animate later.
3. Apply animations to elements
Use built-in animation presets for how things enter, exit, or move. You can either animate each element separately from the others, allowing each layer to have its own motion.
4. Layer and Order Elements
Arrange which element appears on top, which ones should come in later, and which ones to delay.
This builds visual hierarchy. For example, you can choose to have the title show first, then supporting shapes or lines, then additional text.
5. Time the Animations
Adjust the start time and duration of each animation. Use transitions to smooth between scenes or between elements appearing.
6. Preview Frequently
Play the animation back often to see how it feels. Check if the text is readable during the animation, if the entry and exit feel natural, and if there's jerky motion or sudden jumps.
Here’s an easy-to-follow Canva YouTube tutorial that shows how to make a smooth text reveal animation.
Step 4: Add audio
Sound is essential to bring add depth to your animation. Without it, even great visuals can feel flat.
Start with a voiceover if your animation tells a story or explains something. You can either record it yourself or use AI voice generators for a polished narration.
Most animation tools have built-in options to import and sync audio with your scenes. If not, you can edit sound separately and sync it later.
Next, add background music to set the tone. To avoid copyright issues, explore free and royalty-free music libraries online.
Some popular tools include -
Explore these tools and add the right audio to your animation.
Step 5: Edit & Refine
Once your animation and audio are in place, polish the final product.
Adjust timing to make movements look natural, add transitions if you haven’t already, and enhance key moments with text animations or effects.
This step helps your animation feel smooth and professional rather than rushed.
Step 6: Export and share
When you’re happy with the final result, export your animation in a format suited for your needs - MP4 is common for web and social media.
Choose the resolution and settings based on where you’ll share it.
Finally, upload and share your creation with the world.
Essential Principles of Animation
For anyone starting out in animation, it helps to learn the core principles that make movements feel natural and engaging.
These were first outlined by Disney animators Ollie Johnston and Frank Thomas in their 1981 book “The Illusion of Life: Disney Animation”.
The 12 principles of animation are -
- Squash and Stretch
- Anticipation
- Staging
- Straight Ahead Action and Pose to Pose
- Follow Through and Overlapping Action
- Slow In and Slow Out
- Arc
- Secondary Action
- Timing
- Exaggeration
- Solid Drawing
- Appeal
While these principles were developed for traditional hand-drawn animation, they remain just as useful in modern 2D and digital workflows, helping you create smooth, believable, and appealing animations.
Tips for Beginners
Keep it simple.
Focus on short projects, and don’t be afraid to experiment. Small steps will build your confidence and skill over time.
Keep an eye on the timing of the animations, making sure it is not very fast or too slow.
Use references and real-life movement to build your animations to make them as lifelike as possible.
Common Mistakes to Avoid
When you’re starting out, it’s easy to get both excited and overwhelmed. Beginners often make these mistakes -
1. Overcomplicating character designs - Trying to add too many details too soon can slow you down and leave projects unfinished.
2. Poor audio synchronization - Mistimed voice-overs or sound effects can break the flow of your animation.
3. Inconsistent art style - Mixing different drawing styles or proportions can make your animation feel disconnected.
4. Neglecting storytelling - Focusing only on visuals without a clear story makes it harder for viewers to connect with your work.
So, keep an eye out for these common mistakes!
***
Learning how to make 2D animation doesn’t have to feel overwhelming.
There are plenty of ways to get started, no matter your skill level, from motion graphics and drag-and-drop editors to frame-by-frame techniques,
By combining visuals, audio, and timing, you can go from even the simplest idea into an engaging animation.
And since today’s tools make the process beginner-friendly, experimenting is both easy and fun.
So dive in, explore the method that excites you most, and start creating animations that bring your imagination to life!