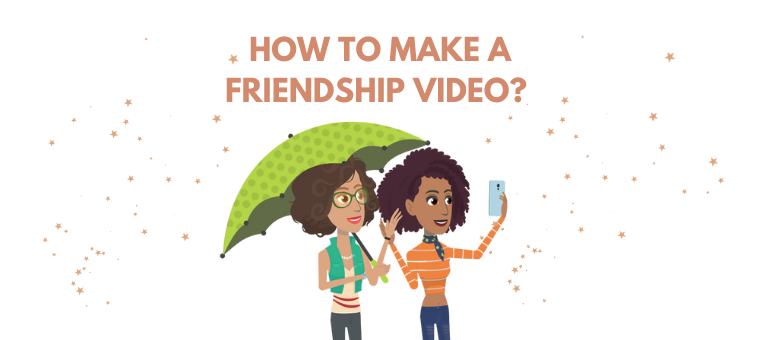
How to Make a Friendship Video?
[ Quick & Easy way ]

Keerthana Haresh - July 27, 2022 - Leave your thoughts. 8 min read
Friends are a significant part of our life.
We spend a fair share of time with them - having fun, learning, bonding, and creating memories.
Isn’t that why we call them “second family”?
So, doesn’t this second family need special treatment, especially since Friendship Day (July 30th) is just around the corner?
How about you give them a personal, emotional video highlighting their awesomeness?
Don’t worry! Making a video is not as tough as you think! Animaker makes the process simple for you.
So, let’s dive right into creating an excellent friendship video!
How to make a friendship day video using Animaker?
There are two ways to create a friendship video.
1. Edit a friendship video template
We’ll be with you throughout the process to ensure you create a stunning masterpiece!
1. How to edit a friendship day video template:
Editing a template will be the best idea if you prefer to spend significantly less time creating a video. Creating an awesome video will take just minutes if you follow the steps below.
If you prefer learning from a video, check out this video tutorial on how to edit Animaker templates:
Ready to learn? Let’s go!
Step 1: Signup/Login
If you're a new user, sign up for a free account. Or, if you already have an account, just login into the app.
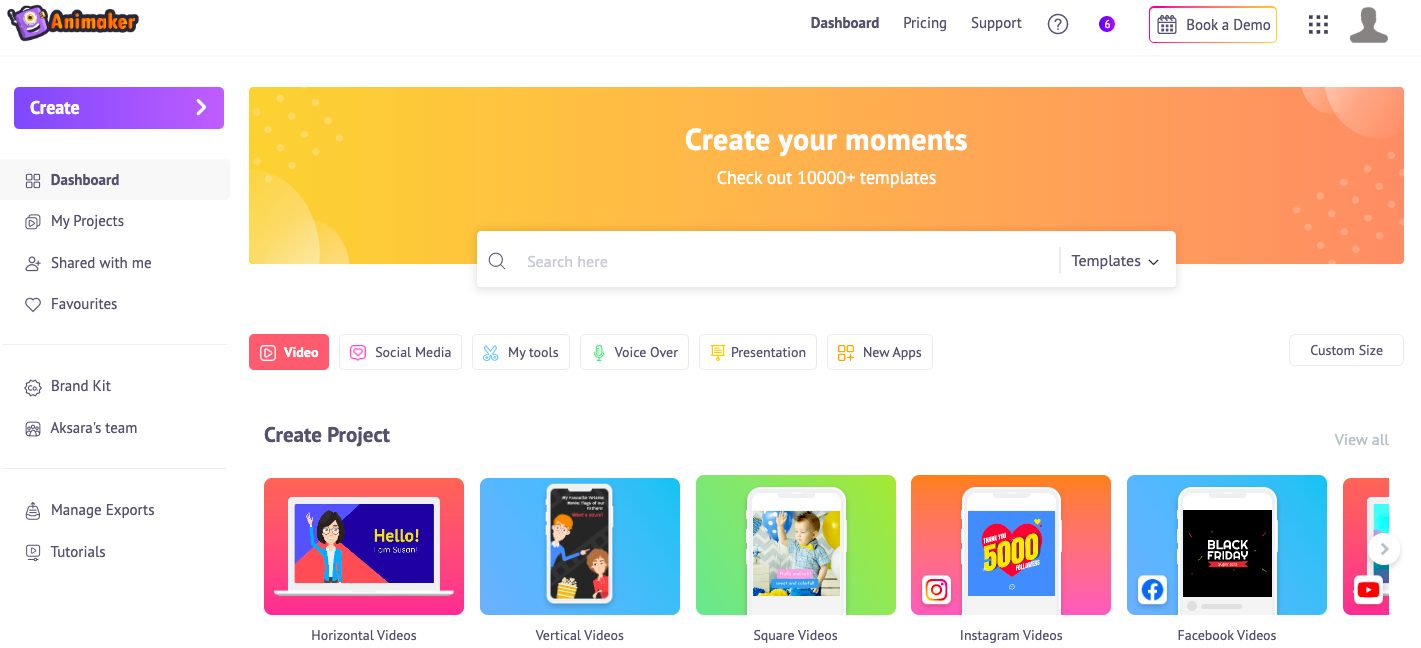
Step 2: Select the perfect template
Once you log in to your account, you will find yourself in the Dashboard. Here, you can explore the massive collection of professionally made video templates.
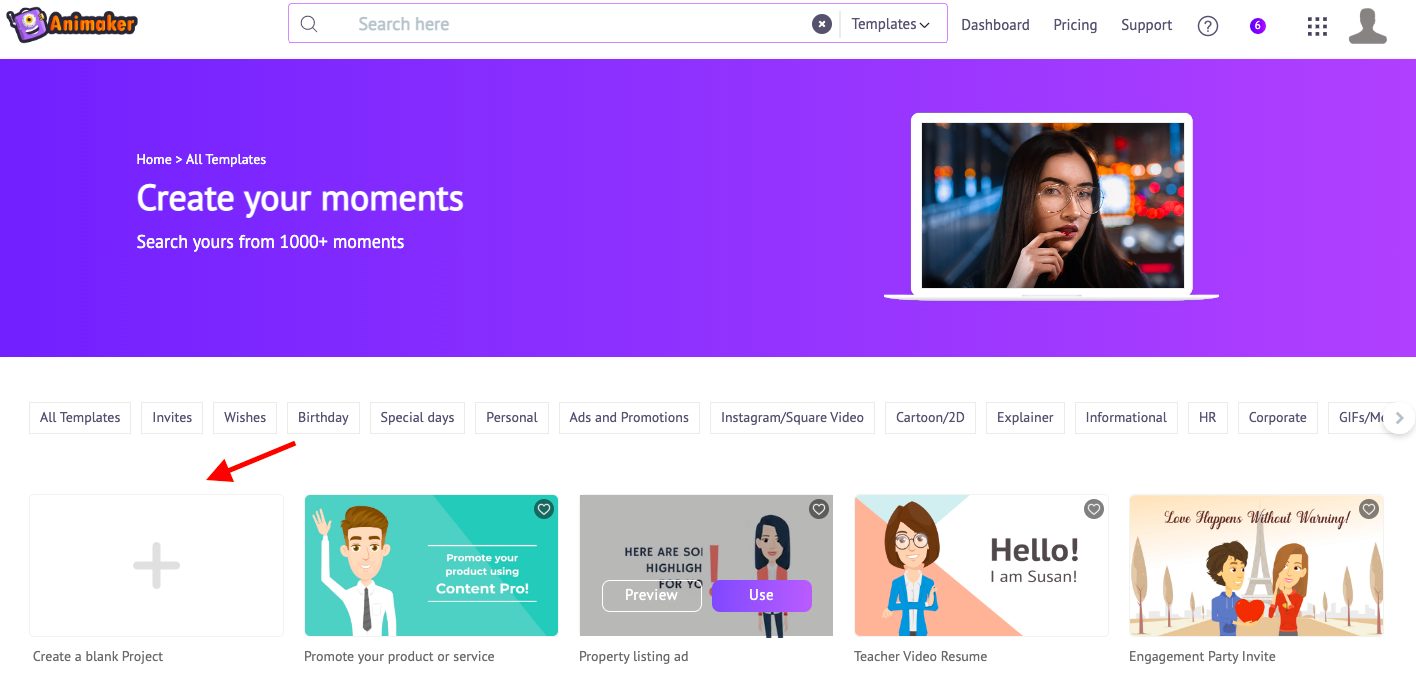
Now, search for the term “friendship day.”
This lists all the beautiful templates explicitly made for Friendship Day.
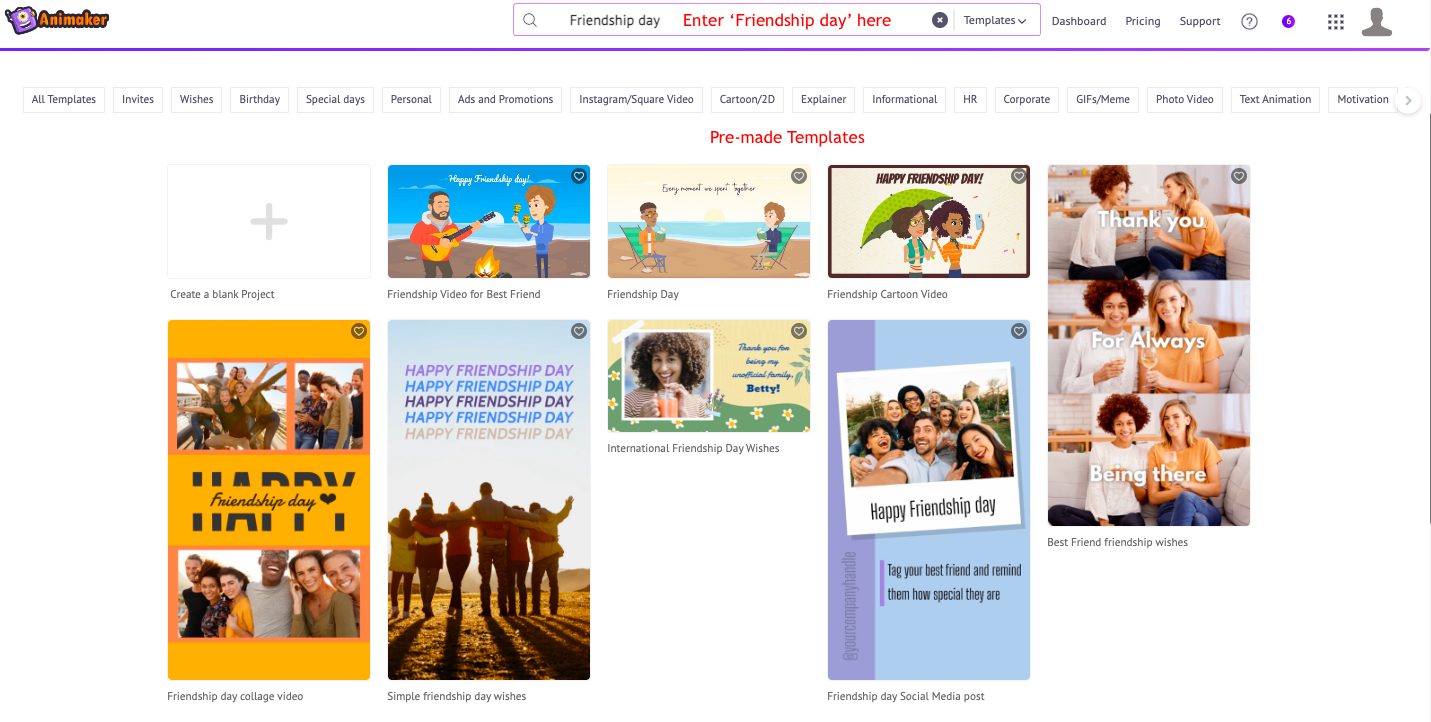
To check how the various templates look, use the “Preview” option. After previewing them, pick a template and click on the “Use” button. It will be launched as a new project.

Now, I have selected the "International friendship day wishes" video.
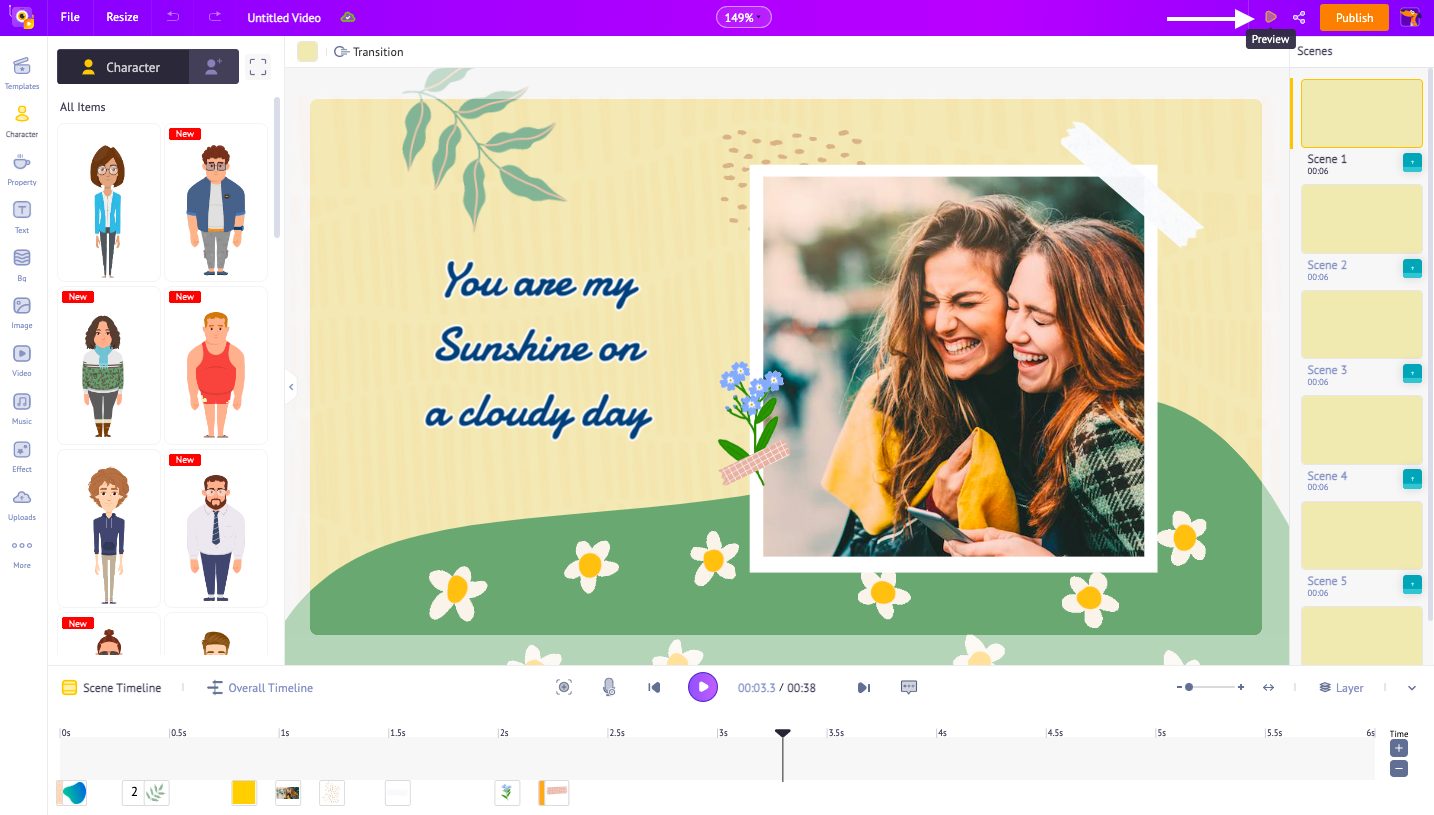
Before jumping into editing the template, let’s take a look at the Animaker interface.
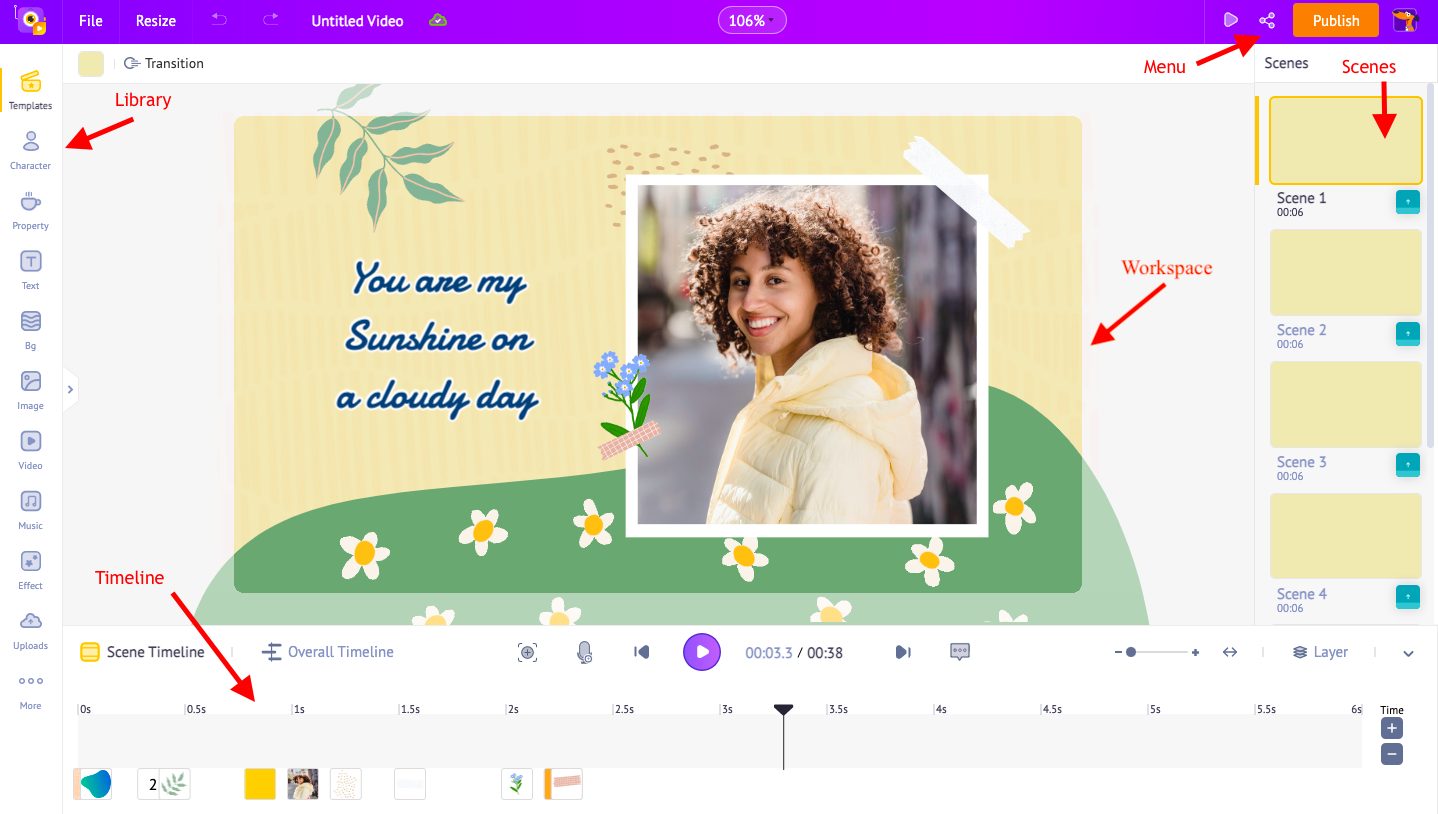
- Library: This is where you will find all the elements like characters, animation effects, music tracks, properties, BGs, text, etc.
- Timeline: This is where you make the time adjustments to the video elements & effects.
- Scenes: This is where you will find the scenes of your video. The scenes combine to form your whole video.
- Menu: This is where you will find options for resizing, sharing, publishing & more.
- Workspace: This is where you put together all the assets and carve your scene.
Step 3: Edit the template
Now, it’s time to start the editing process.
This is a perfectly made template where everything, from the images to the music track, has been added. Doing a slight edit here and there would customize it to suit your needs!
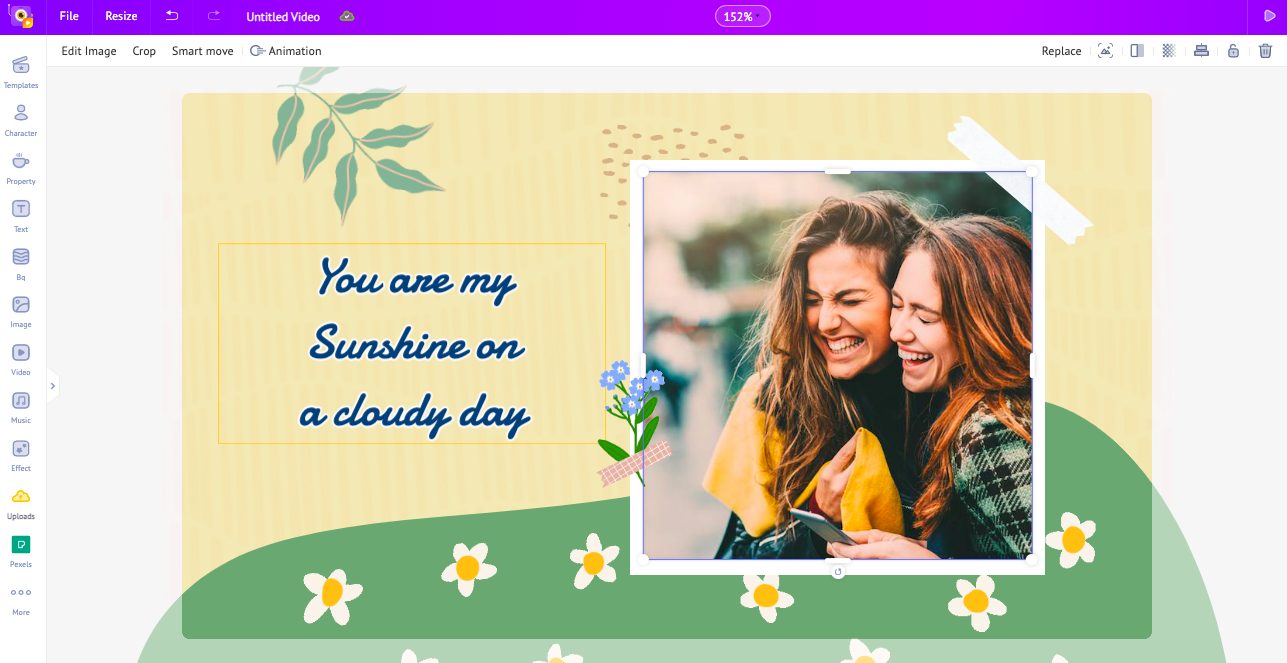
Swapping images:
In this template, I simply want to replace the images with that of my friends. To do that, I have selected the list of images with which I want to replace the existing images.
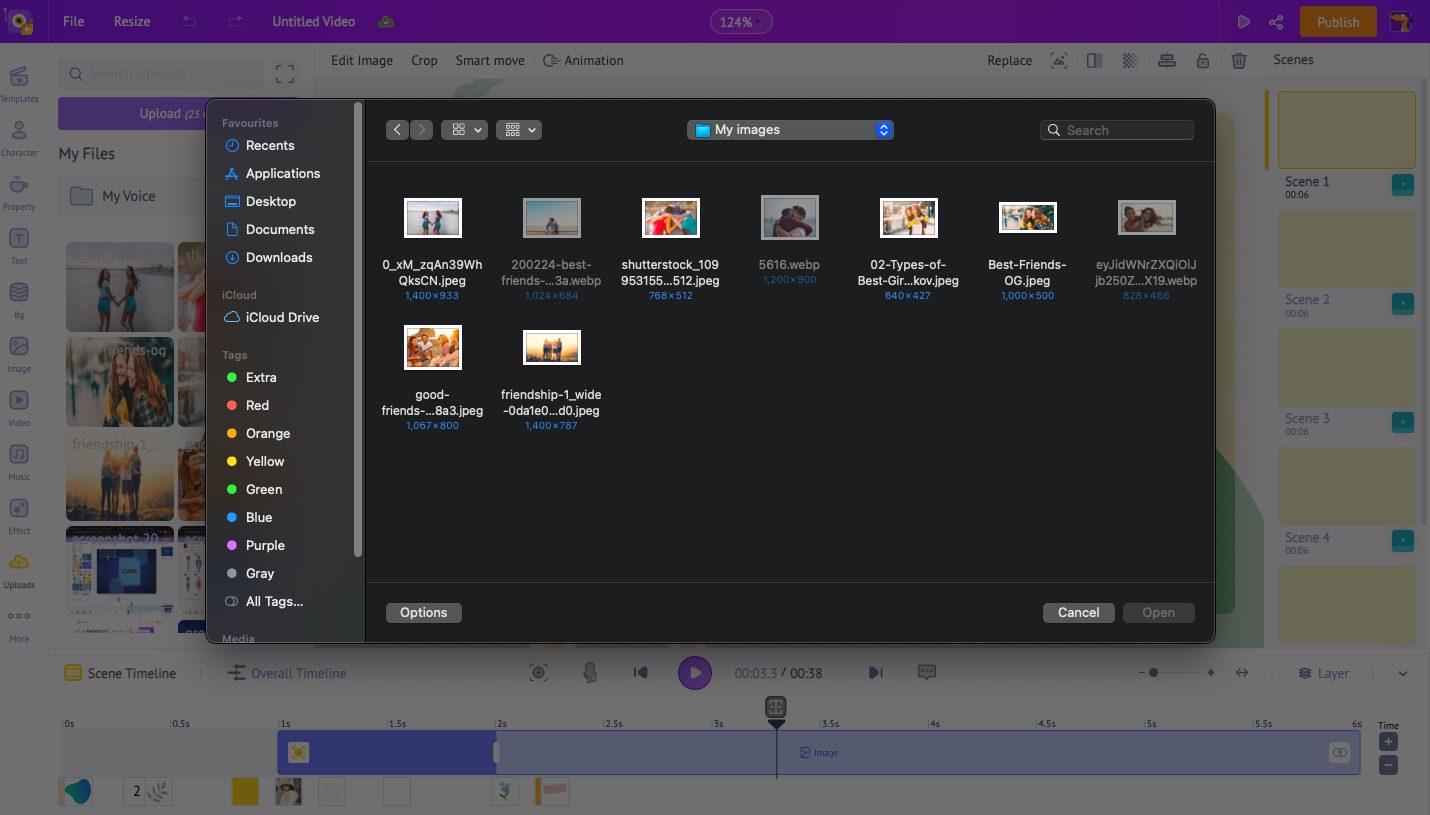
So first, decide on the list of pictures and upload them to the “My uploads” section. Here’s how!
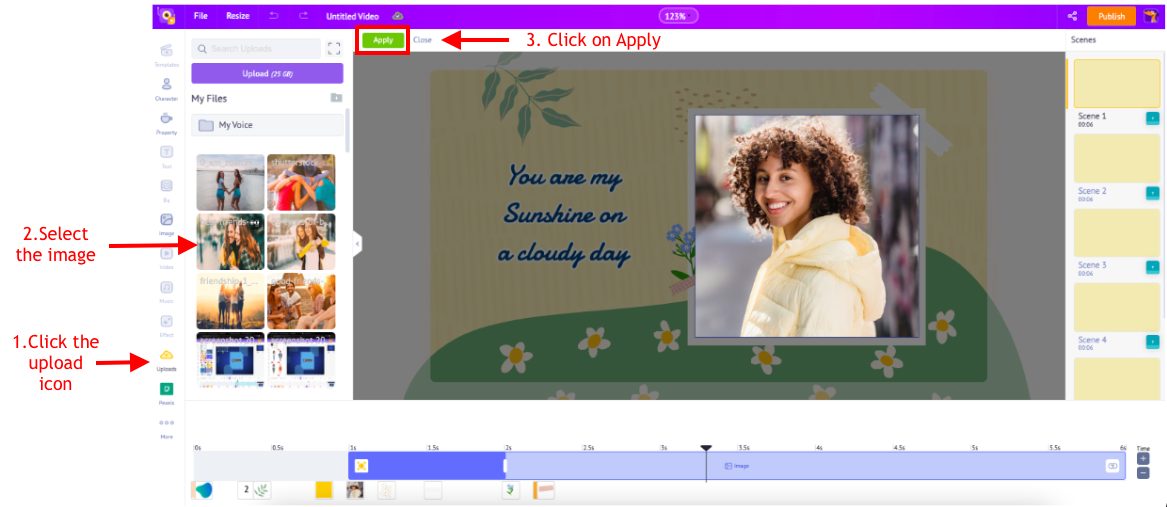
1. Click on the Uploads option in the library.
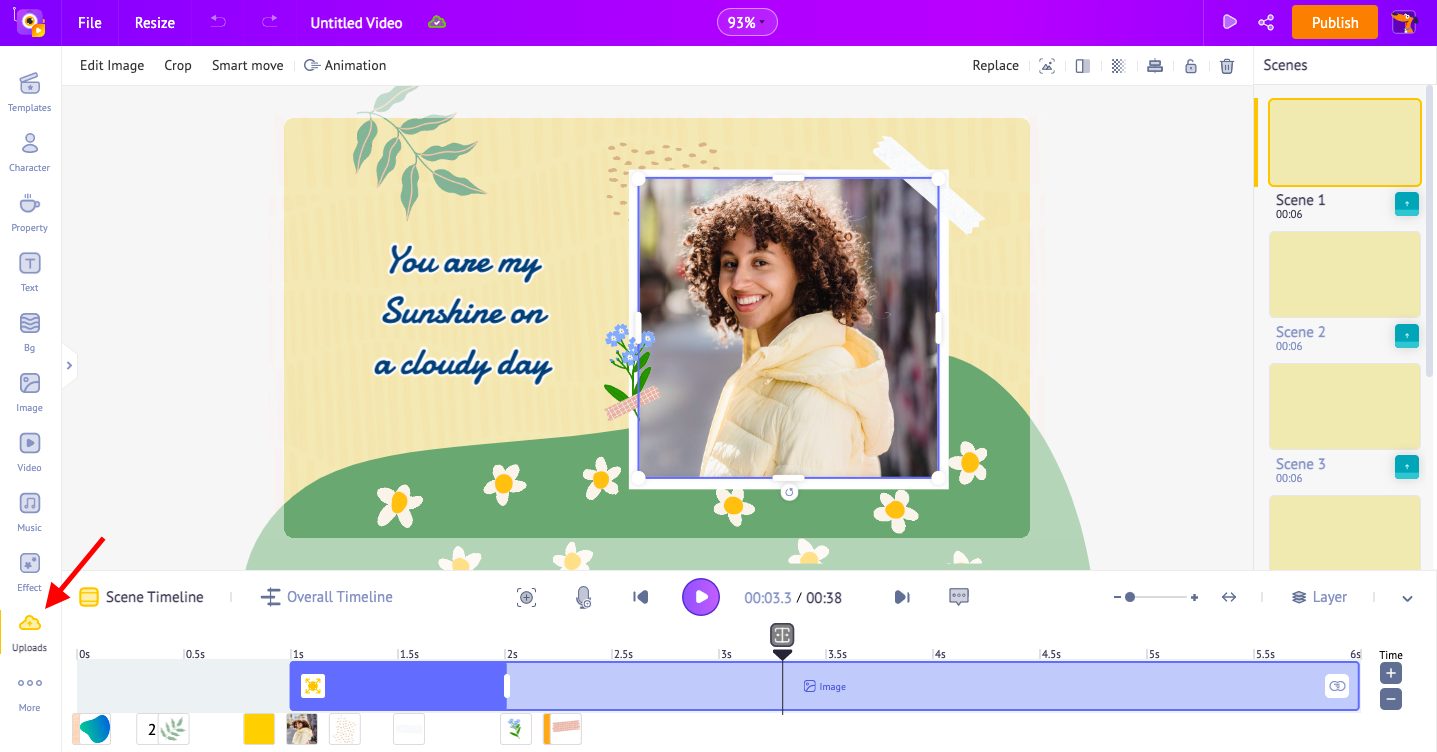
2. Click the Upload button and select the files, or just drag and drop the file directly into the app.
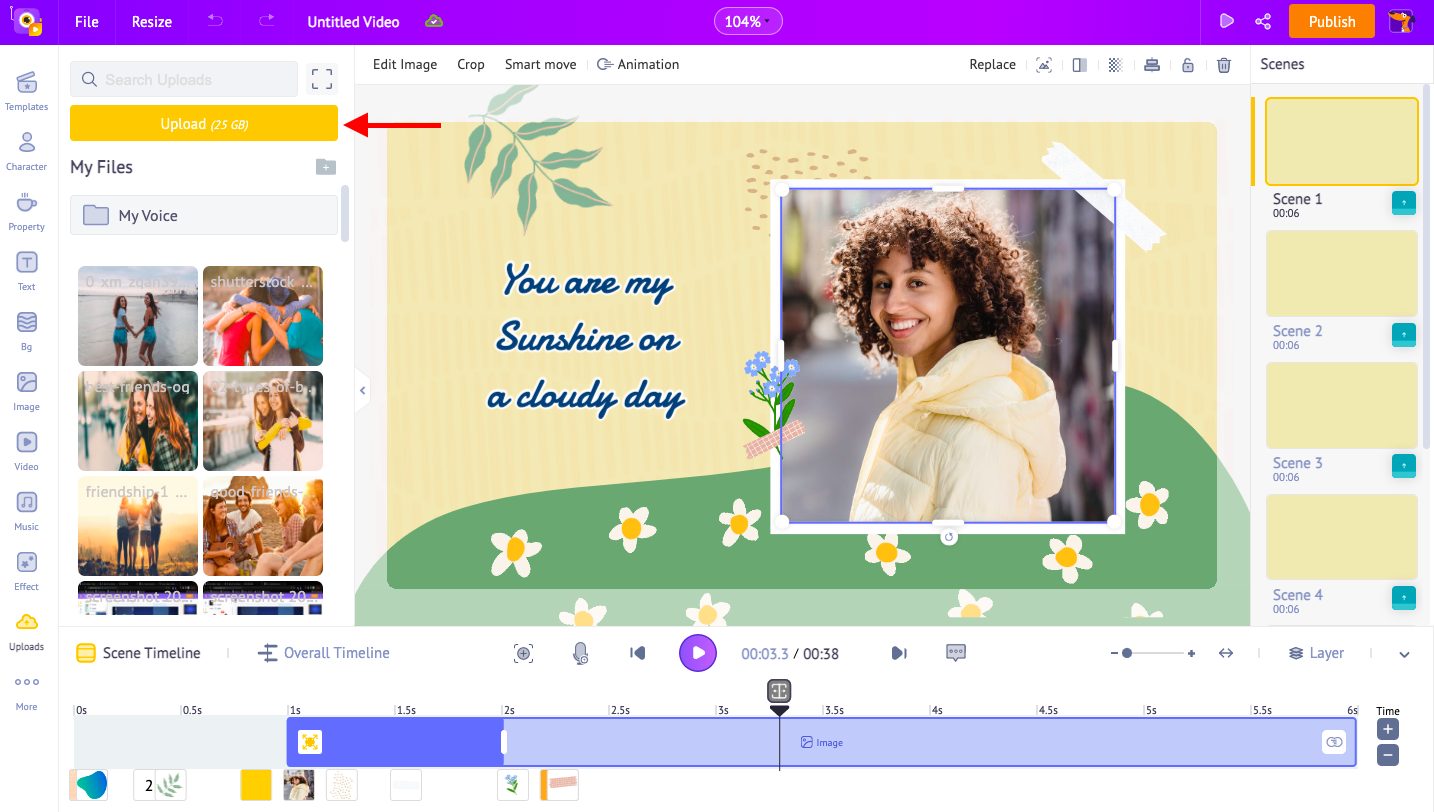
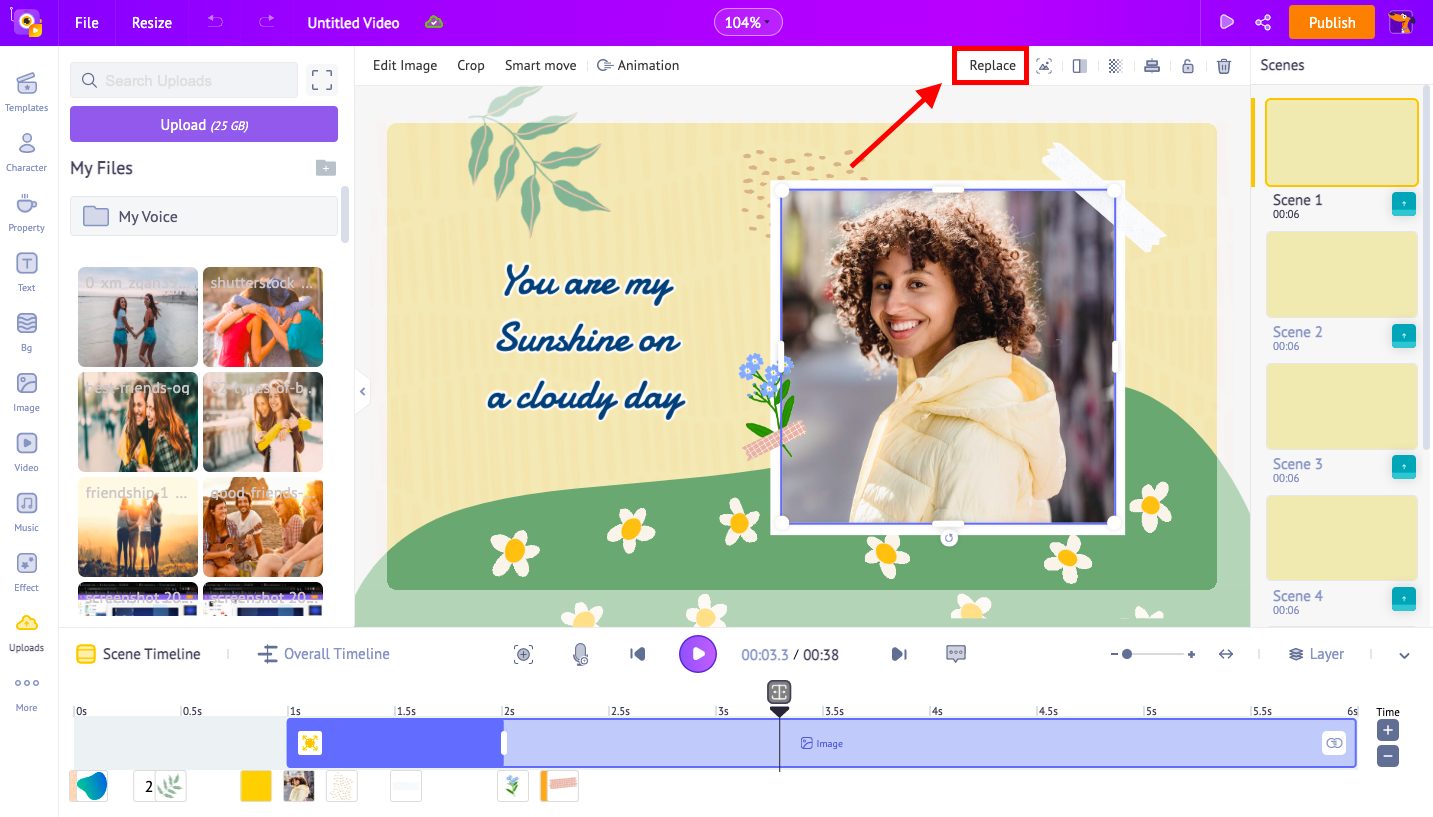
3. Once your files have been uploaded, click on the existing image in the workspace & click the "Replace" option.
4. Now, pick the picture you want to swap from the upload section and click on Apply.
Check out how the swapped image looks. Slick, huh?
This is how you swap the images in the template. That was easy, wasn’t it?
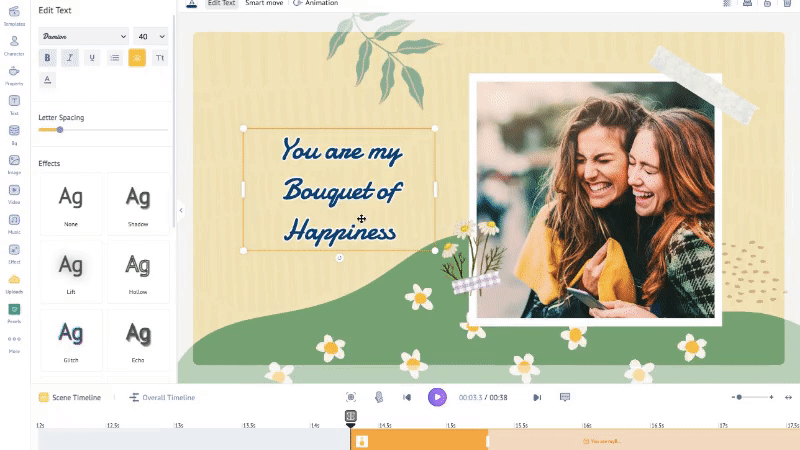
Editing text:
Now, the text in the template is perfectly fine. But, if you want to change it, simply click on it and edit the content.
Similarly, you can swap the images and change the text in the remaining scenes. As simple as that!
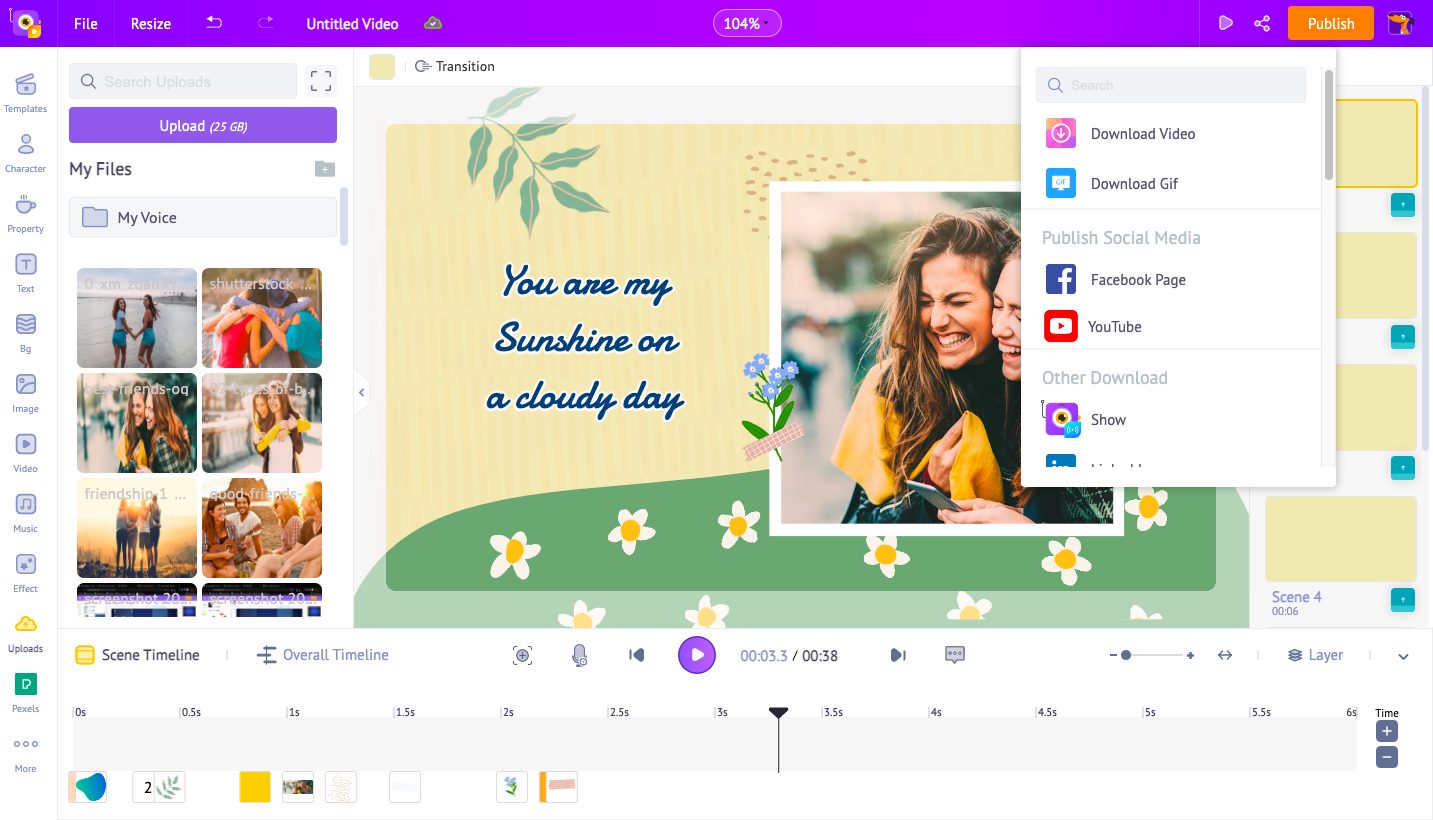
Step 4: Preview & Share
Once you make all the changes, previewing and exporting your video is the only step left.
Use the preview option to have a final look at your project.
Does your video look perfect? That’s awesome!
Now, you can directly export & send it to your friends! You can also share it on various social media platforms and tag them!
Here are some cool templates created especially for Friendship Day!
Choose one, edit it as per your needs, and surprise your friend!
Click here to check out more friendship templates.
2. How to create a friendship video from scratch
Wanna go full-on and create a video from scratch for your friend? Follow these simple instructions!
If you like to learn how to create a video from scratch from a video tutorial instead, check out this video!
Step 1: Create a new project
If you're a new user, sign up for a free account. Or, if you already have an account, just login into the app.
Once you have logged in to your account, you will be redirected to the dashboard.
Click the “Create” icon to get redirected to the Moments page.

Choose the “Create a blank Project” to begin your video creation.
Animaker has various size options (vertical, square, or horizontal) for you to create a video from scratch.
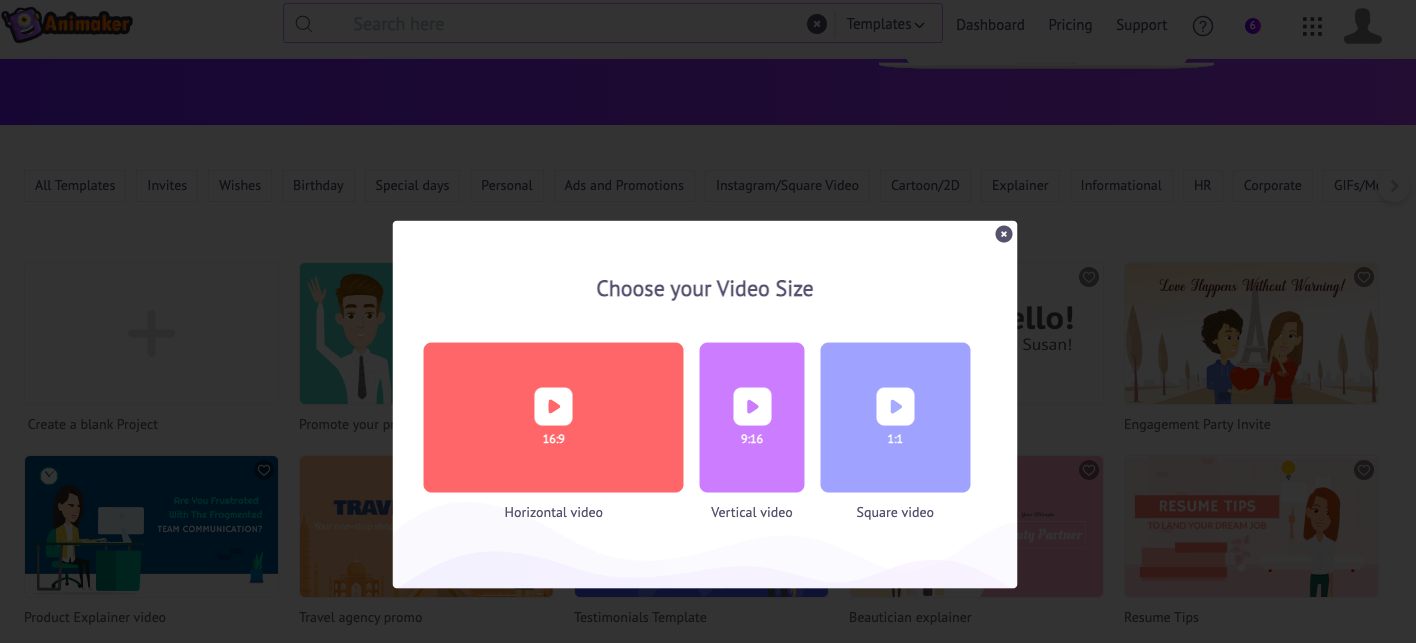
Now, I’m going to choose the horizontal one.
Step 2: Construct the scenes
Let’s construct the scenes one by one. To do that, you must add the necessary components to each scene.
1. Scene:
You can set the scene background using the Background tab in the library. This tab has a variety of BGs like gradient, photo, and video backgrounds.
Use the search tab to enter your search term to look for a particular BG. This lists a lot of extraordinary results from which you can select one.
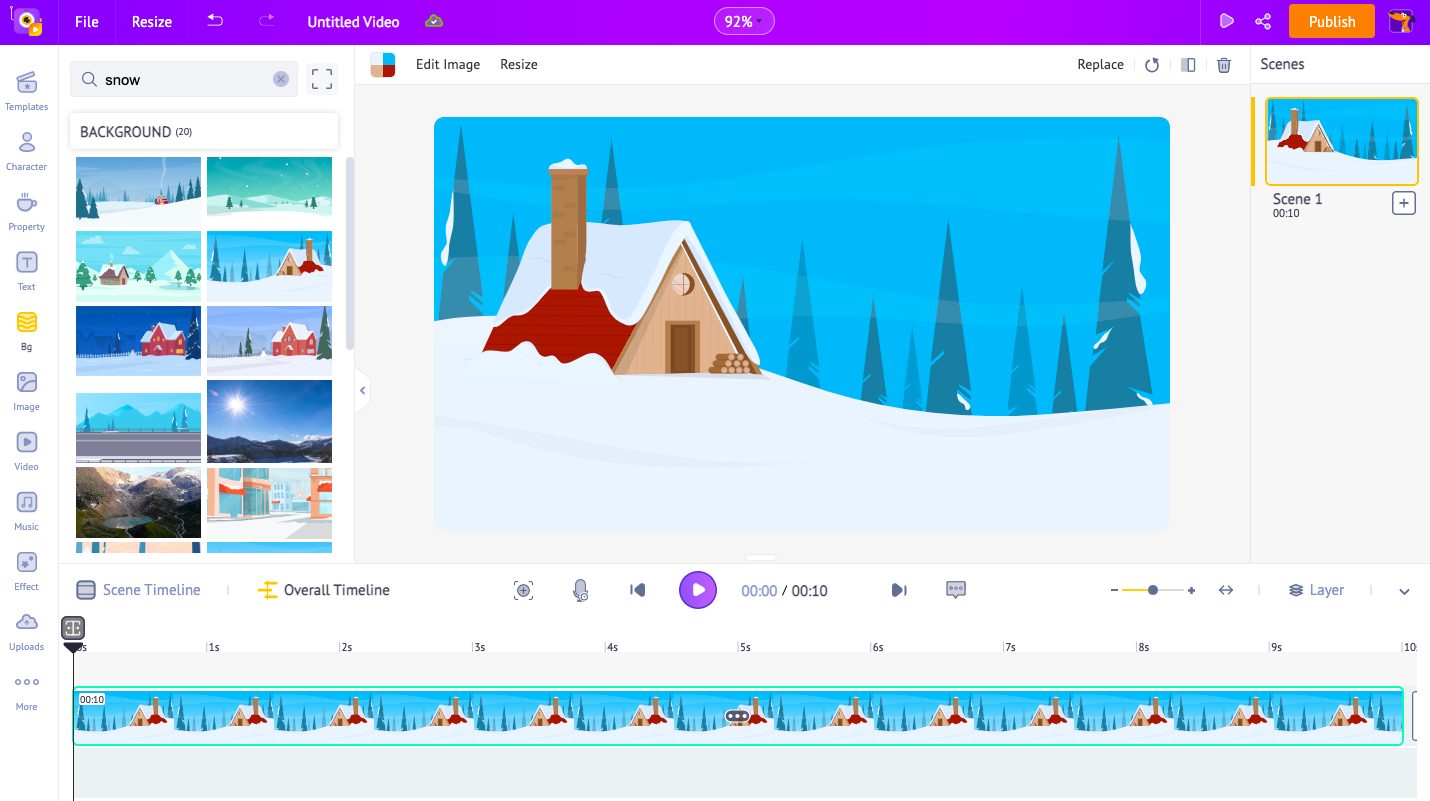
Let’s search for the term “snow.” Look at the list of superb BGs getting displayed!
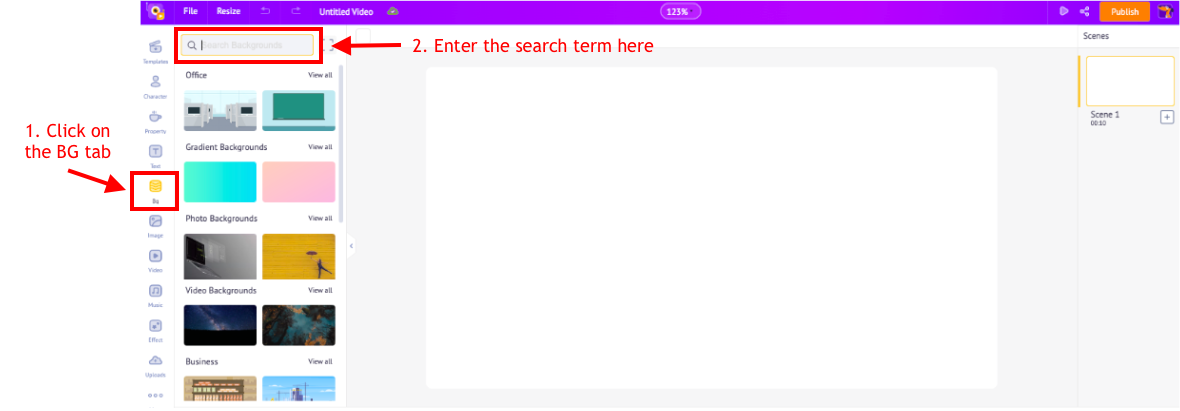
Click on the BG you want to add. This is how the BG gets applied to the scene!
2. Characters:
Now that the BG is added let’s spice up the video with some characters.
The Animaker library has a massive collection of characters of different ages, ethnicities, and sizes. So, selecting a pre-made character wouldn’t be a challenging task. You can simply choose one and customize it.
Or, you can also quickly make a character just like you or your friend from scratch using our Character builder.
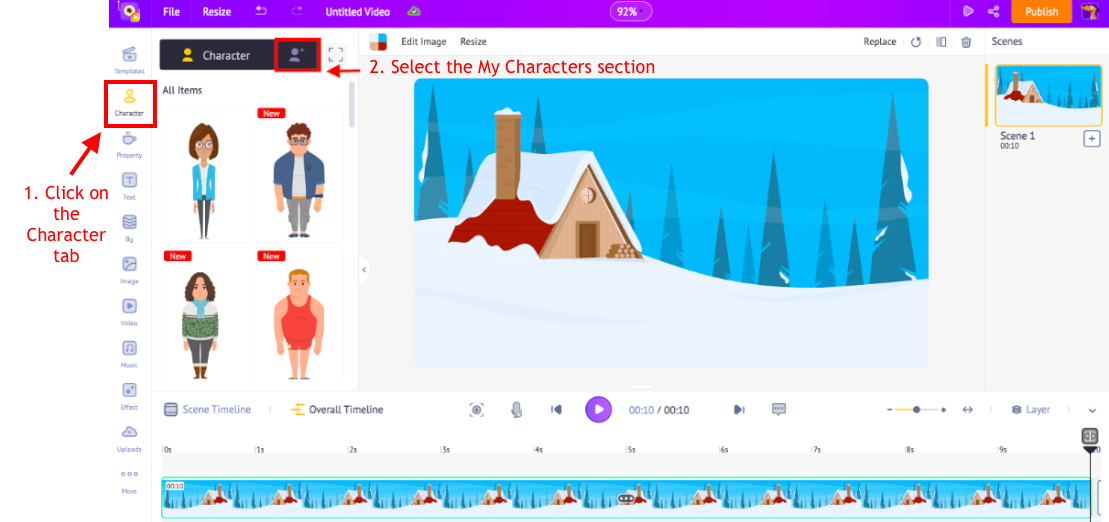
Let’s see how to create our own character.
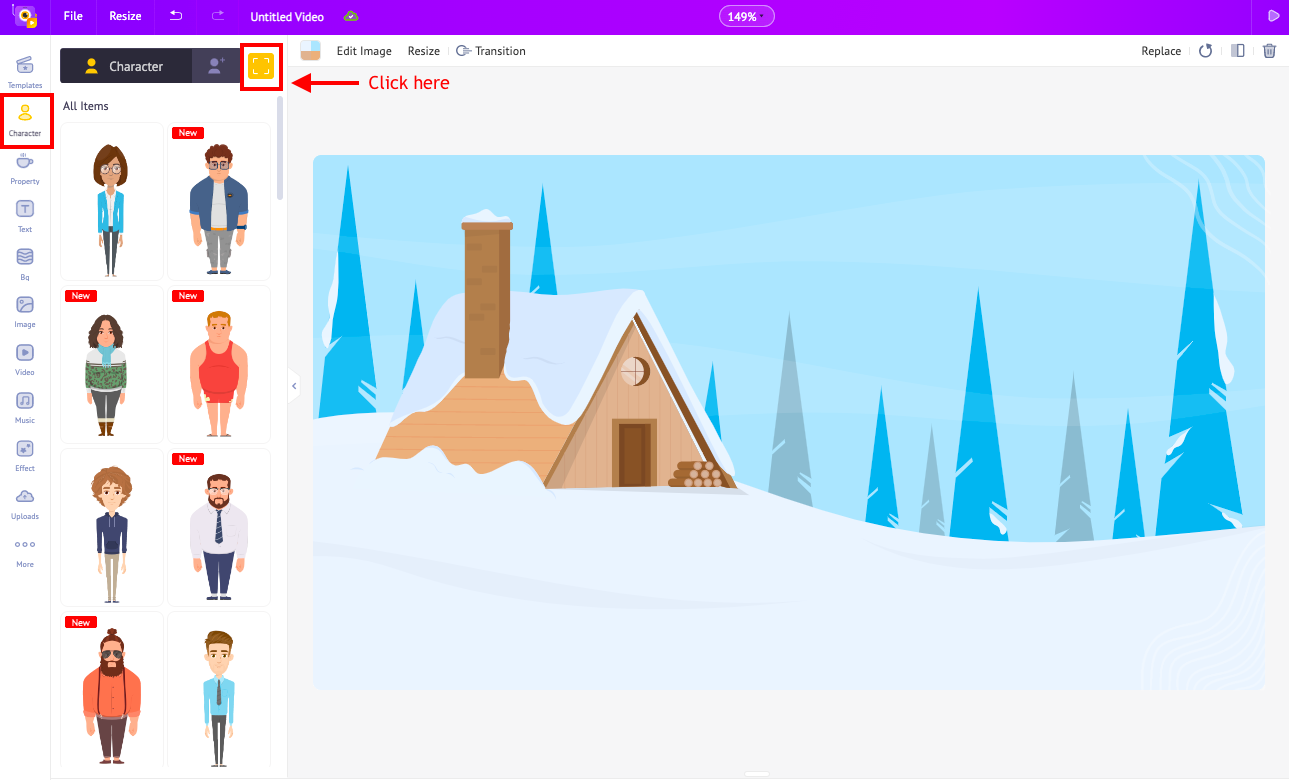
First, click on the “Character” tab from the library. Select the “My Characters” section to make your own character.
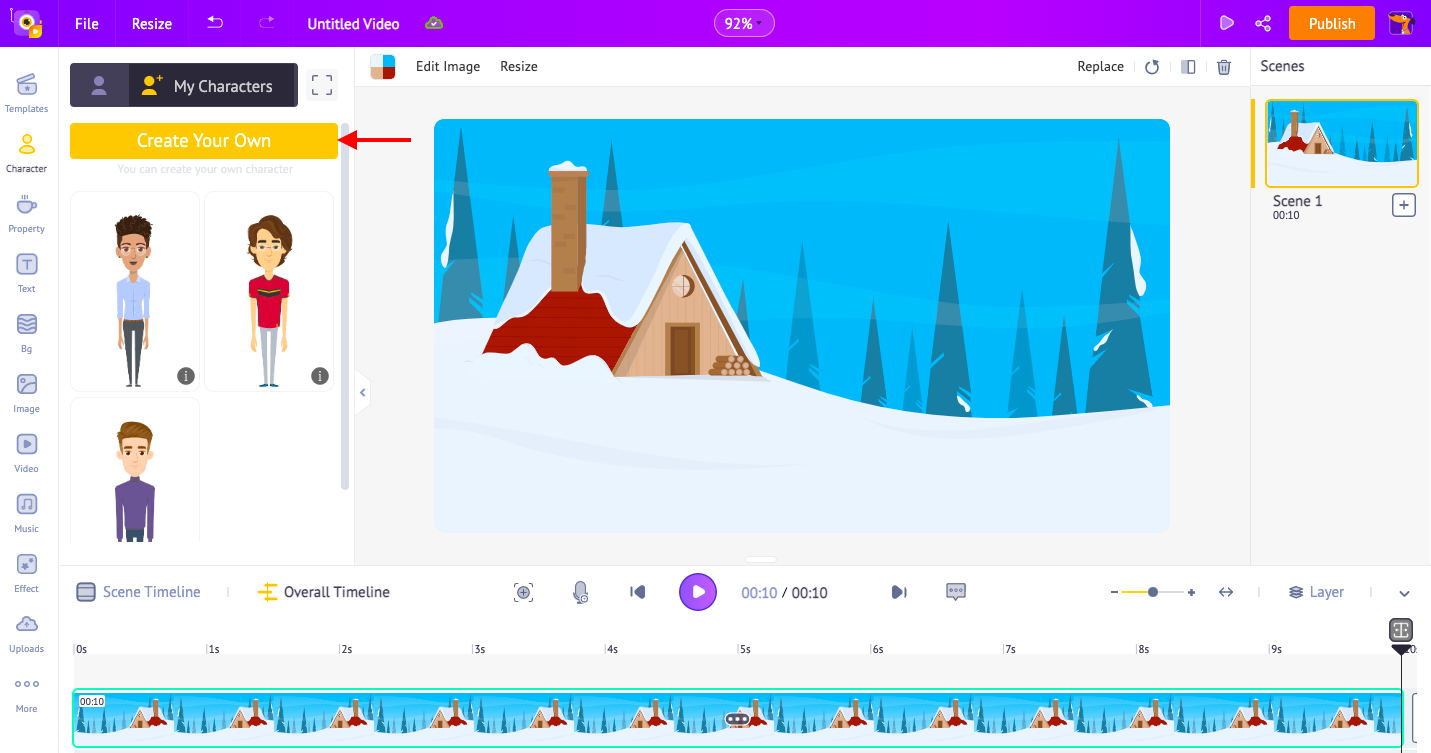
Select the “Create your own” option.
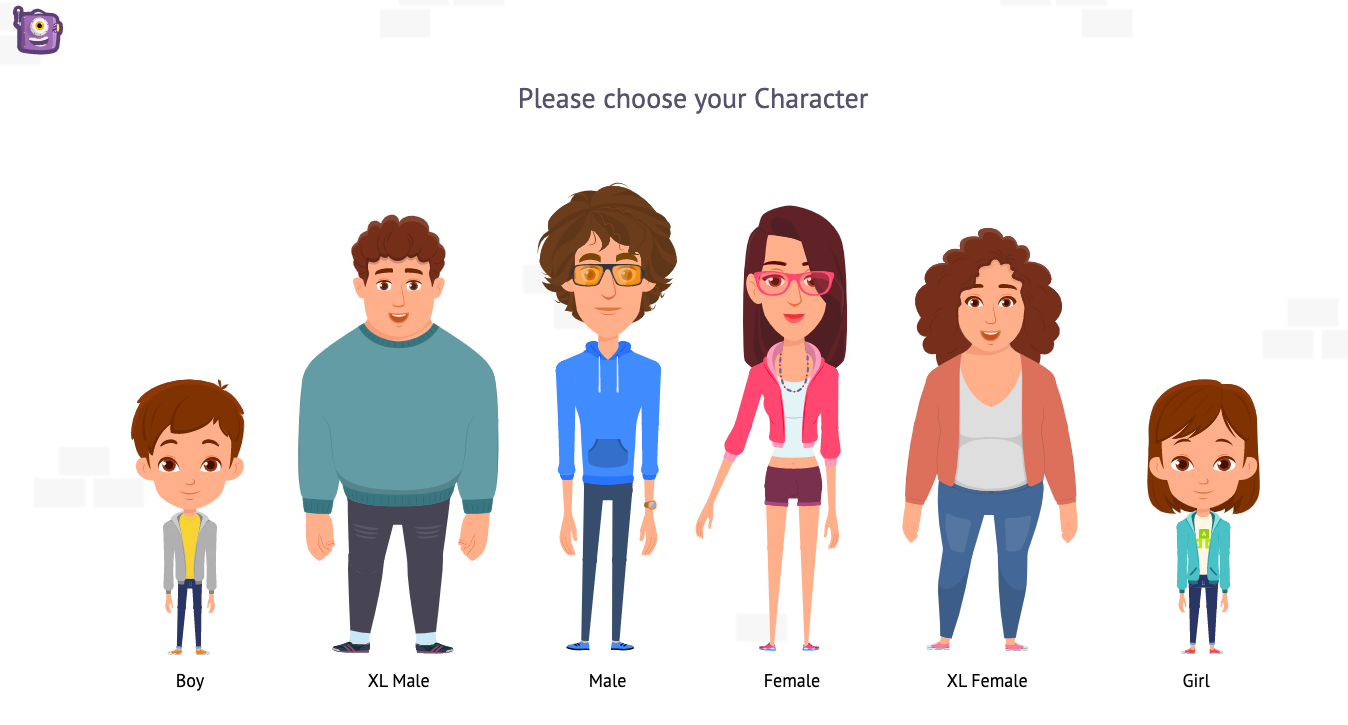
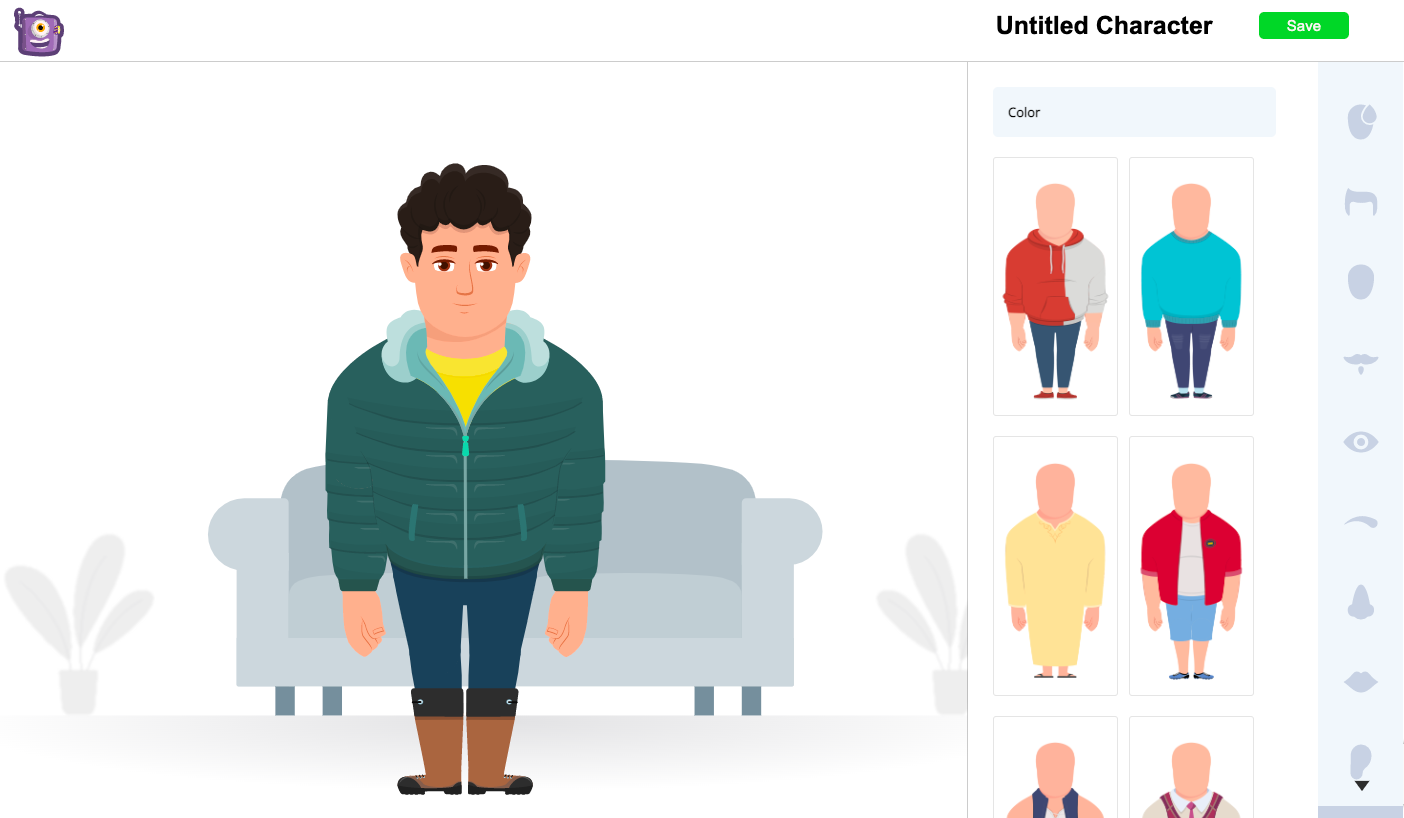
Pick the character skeleton and basic look. Then, you can start customizing as you want.

You can use various editing options like skin tone, hairstyle, accessories, attire, eyes & much more from the character builder. Once you do the customization, you can save it for future projects.
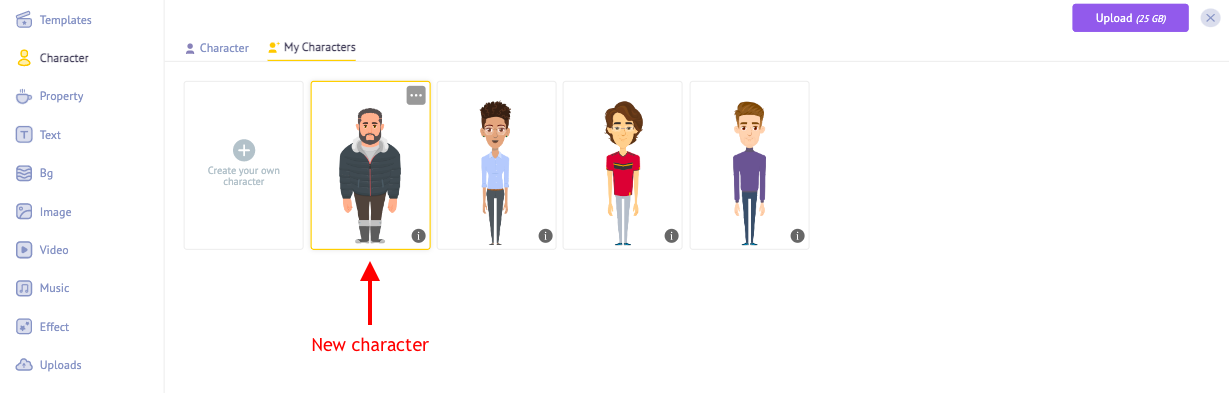
After saving the character, you will notice it being added to the “My Characters” section.

Click on the character to add it to the workspace.
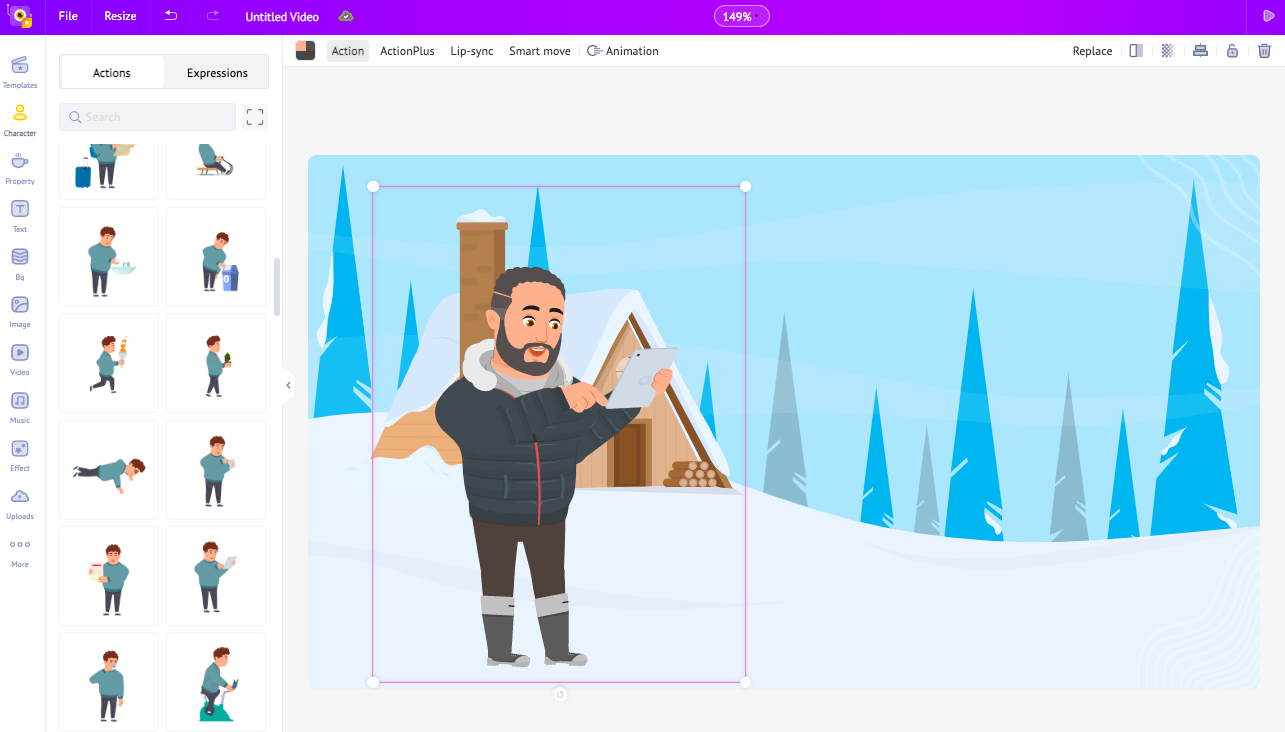
To make your character more attractive, add an action to that. Select the character & click on the "Action" icon. This will open the Actions library, which consists of 1000+ actions & 20+ expressions.
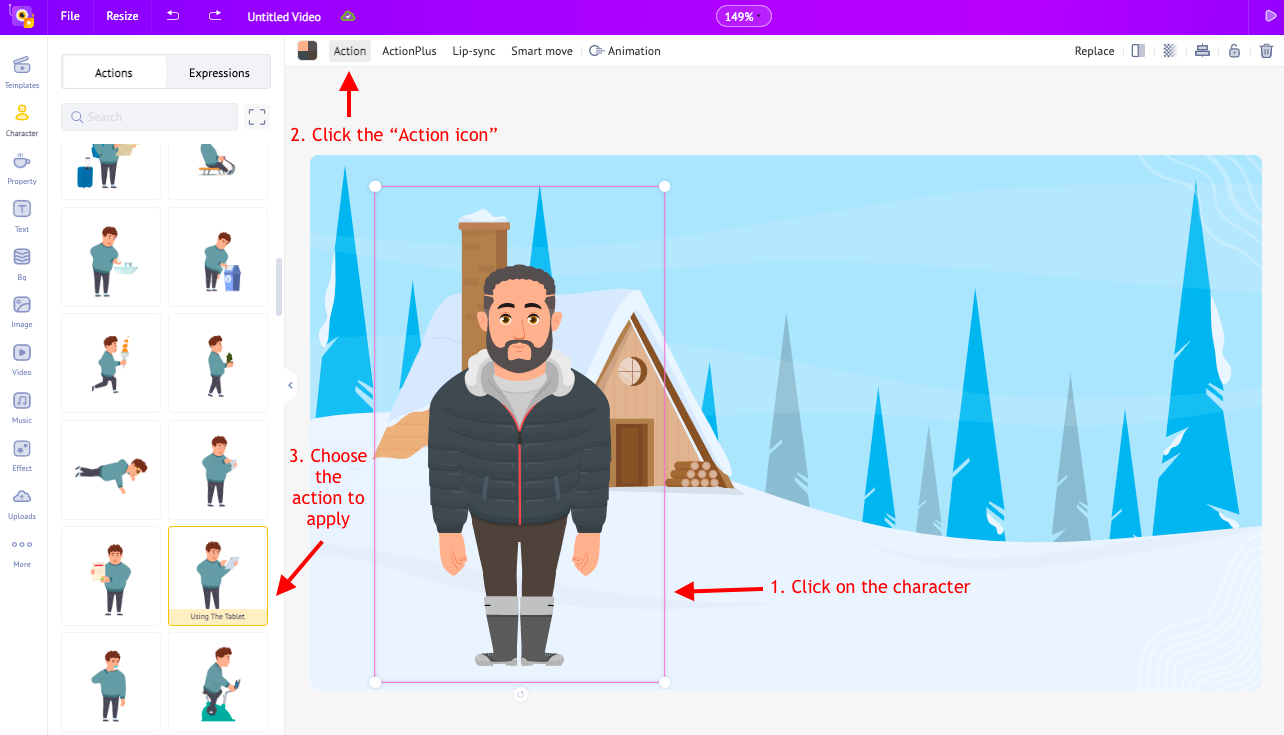
The selected action will be applied to the character.
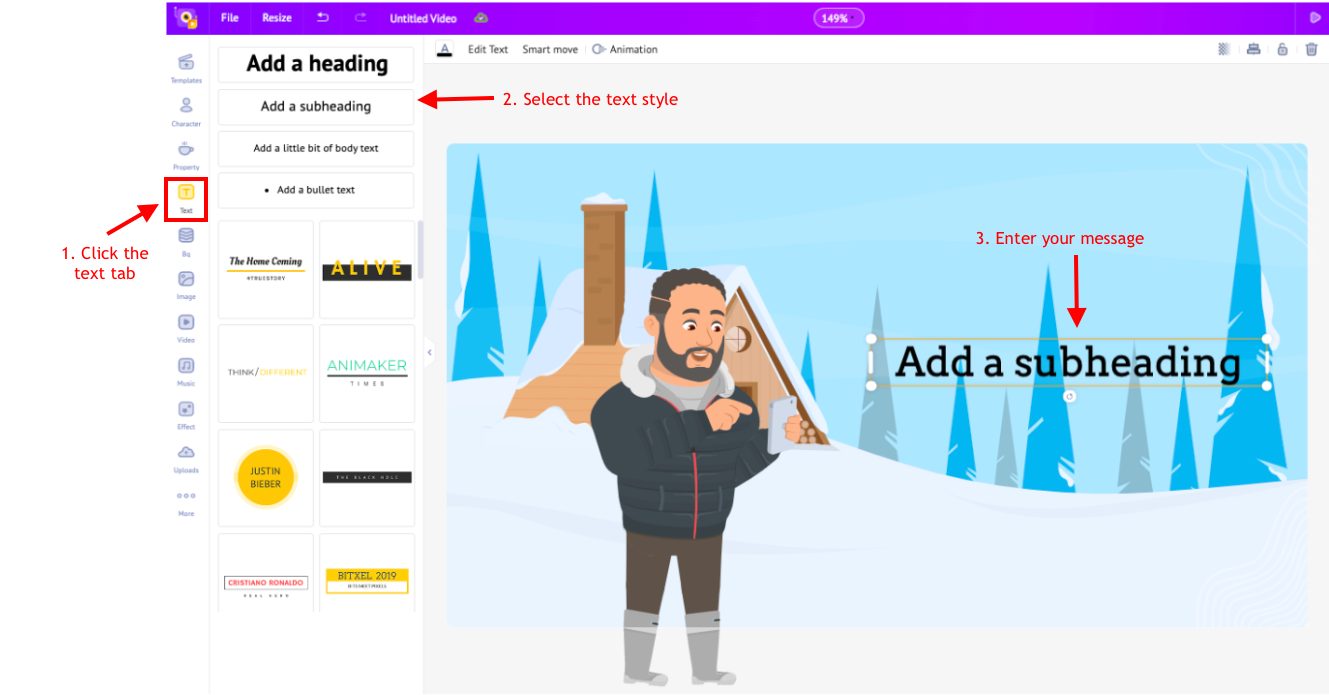
3. Text
It’s time to convey your friendship day message. To do so, click the "Text" tab in the library. You will notice several text pre-builts and text options. Click on one of the options to add it to the workspace.
Once the text box is added, click on it and enter the new text.
Click on the edit text option to open the settings panel on the left. You can change the text’s font style, size, transparency, and color here.
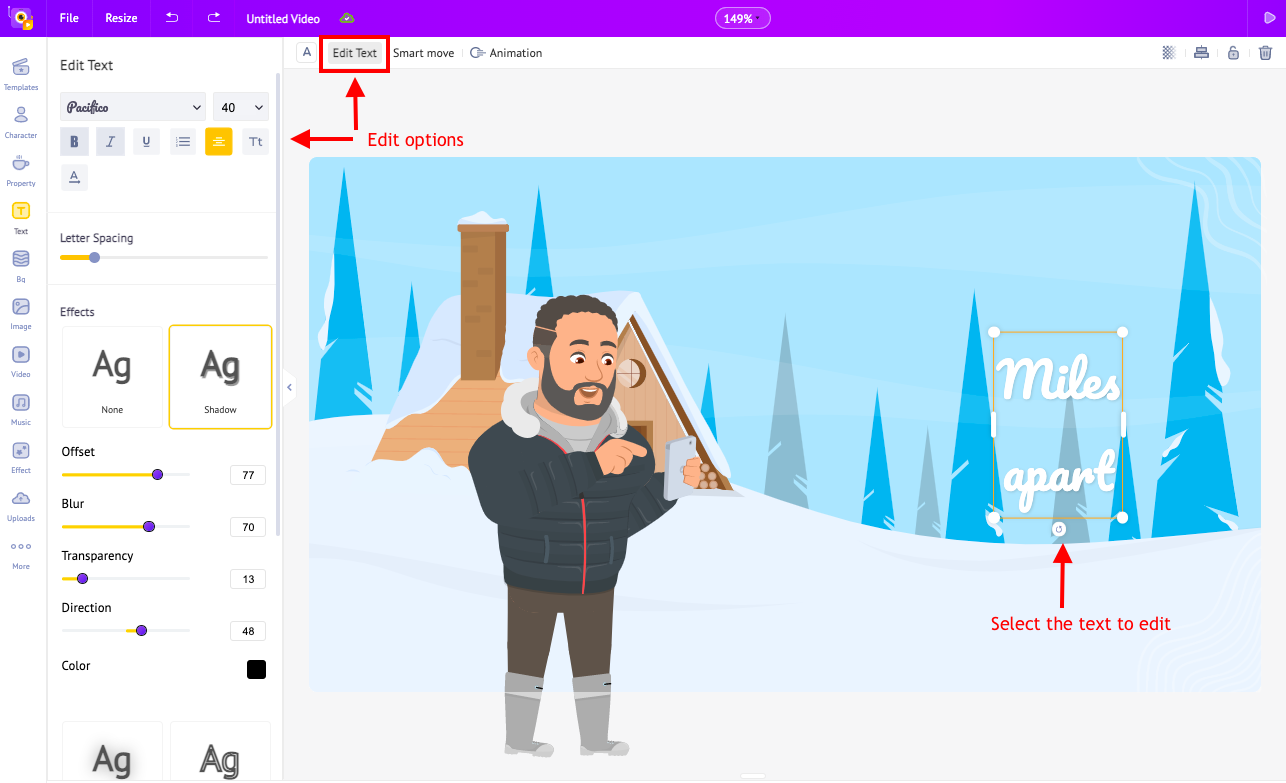
Voila! The text is added.
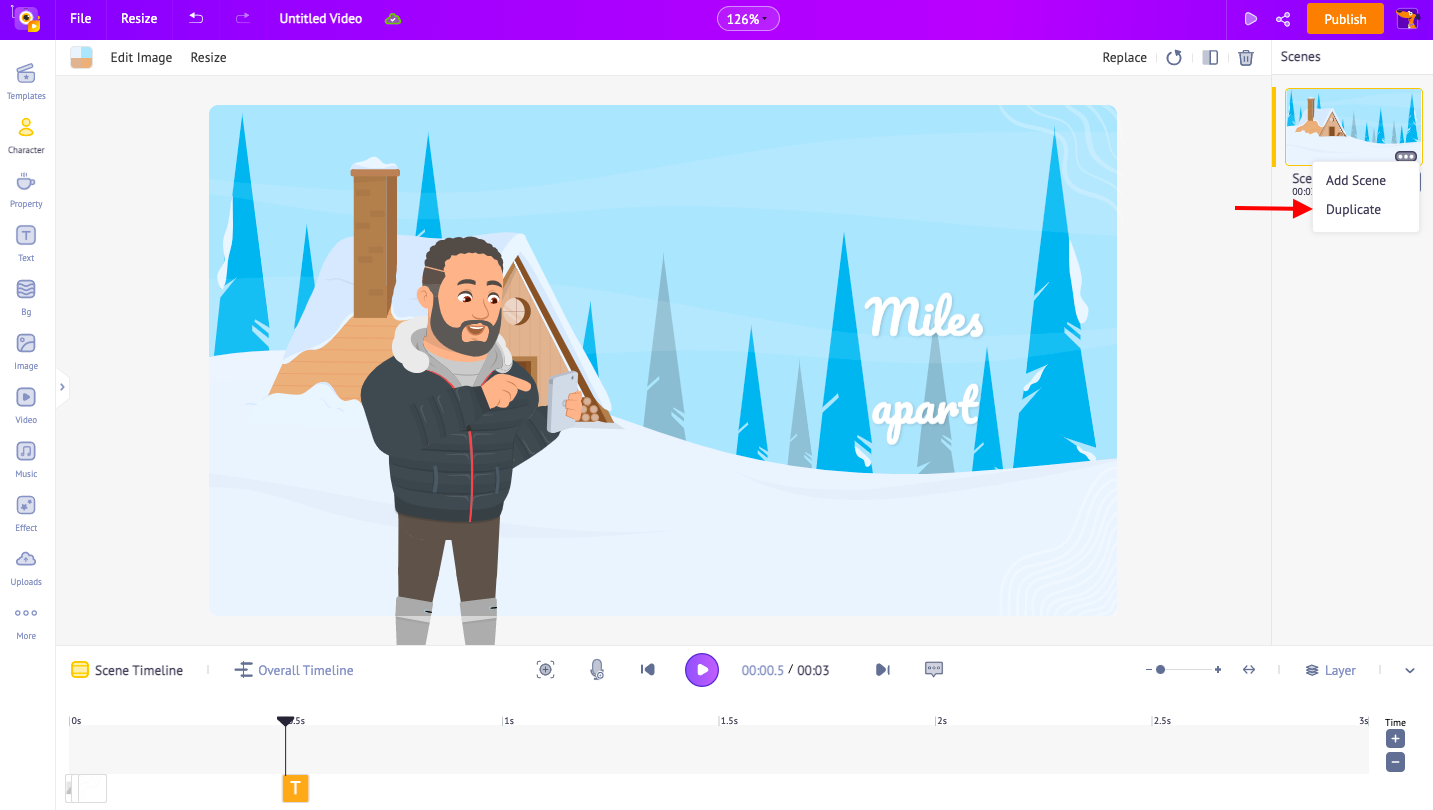
We have successfully created the first scene by adding an apt BG, a character, and the relevant text.
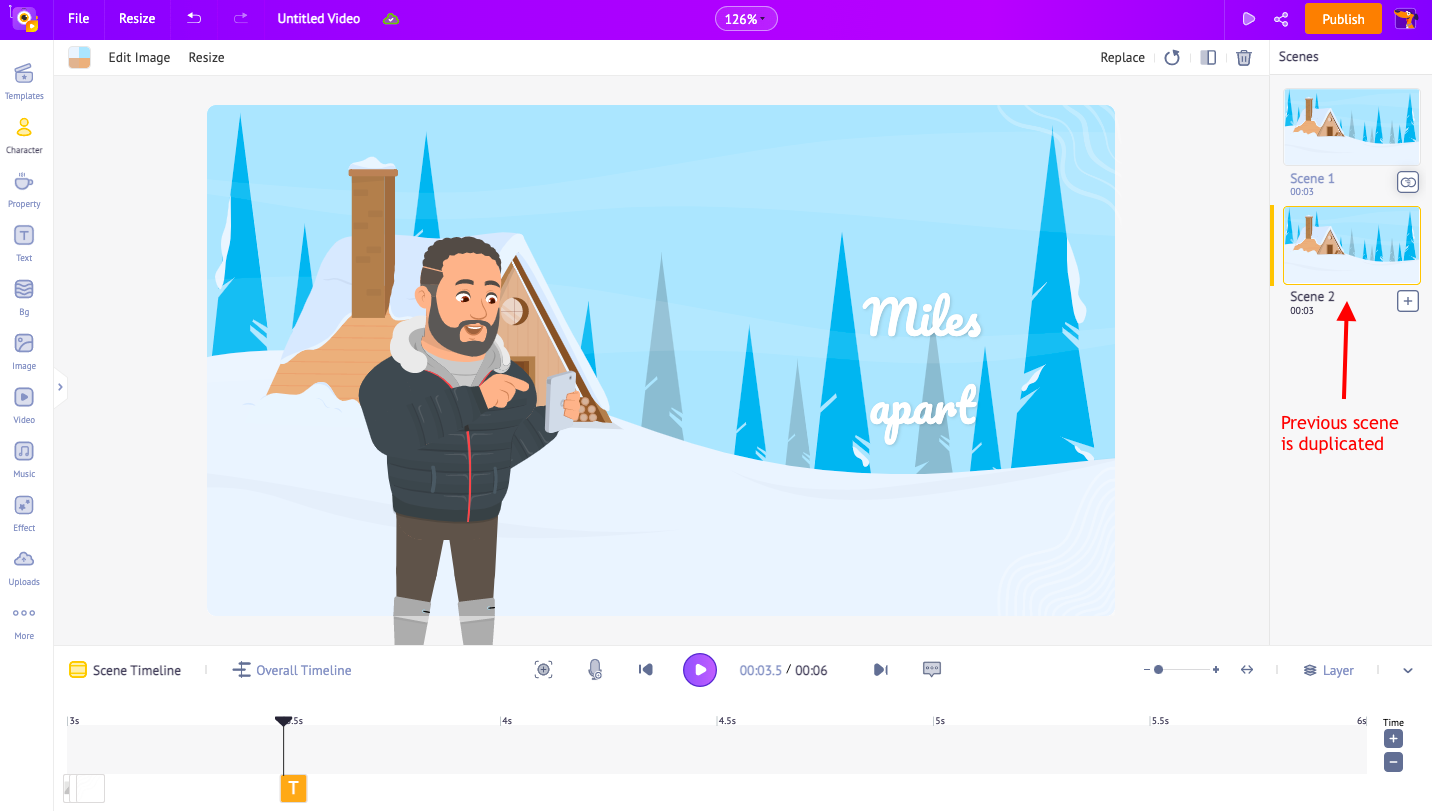
For the remaining scenes, you don’t have to sit and create them from scratch individually. Instead, you can simply duplicate the first scene.
Click on the scene and select the “duplicate” option to apply the current scene’s features to the following scenes.
That was simple, wasn’t it?
Now, edit the assets in all the scenes as we did earlier.
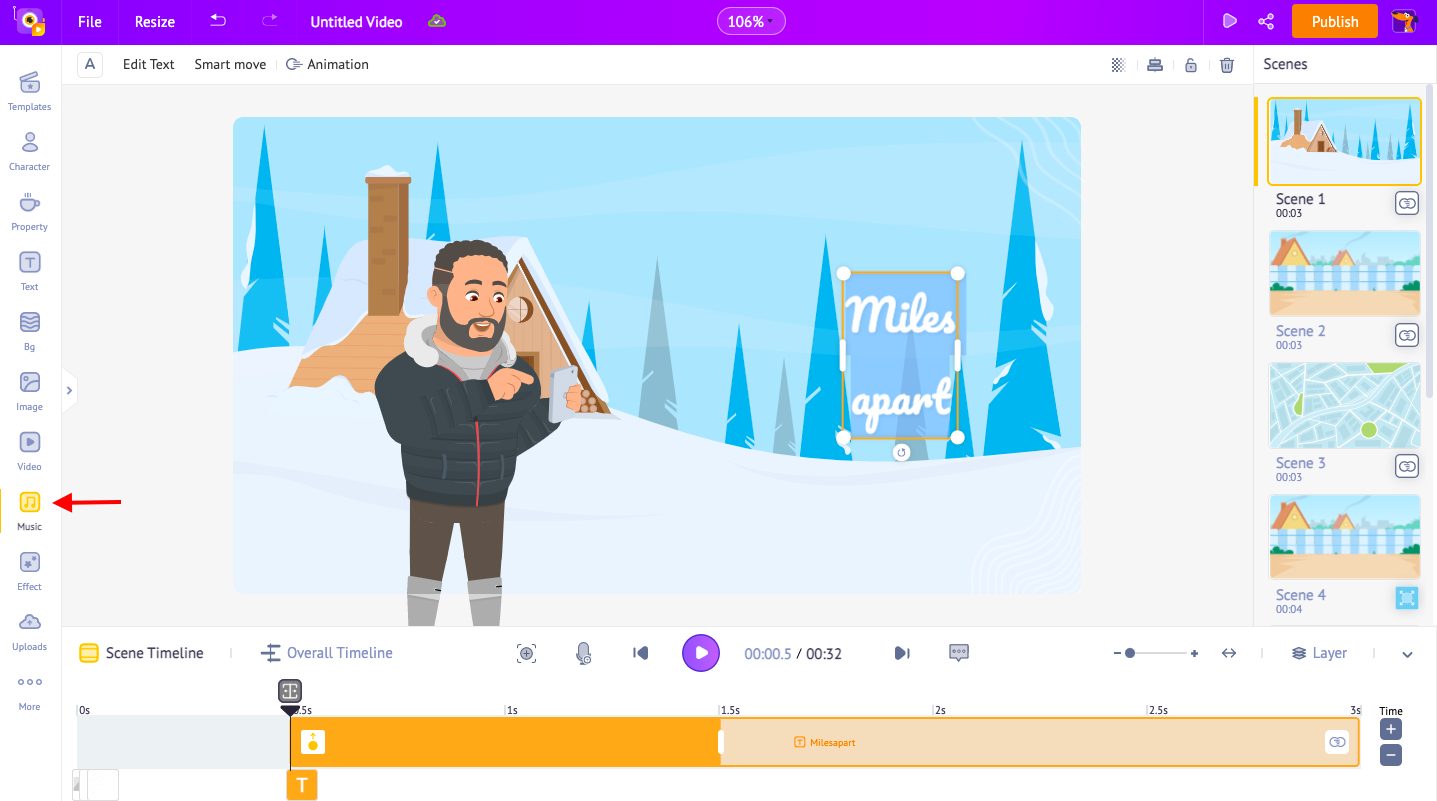
Step 3: Add the background music
After constructing the scenes carefully, the next step is to add the perfect music track to the video.
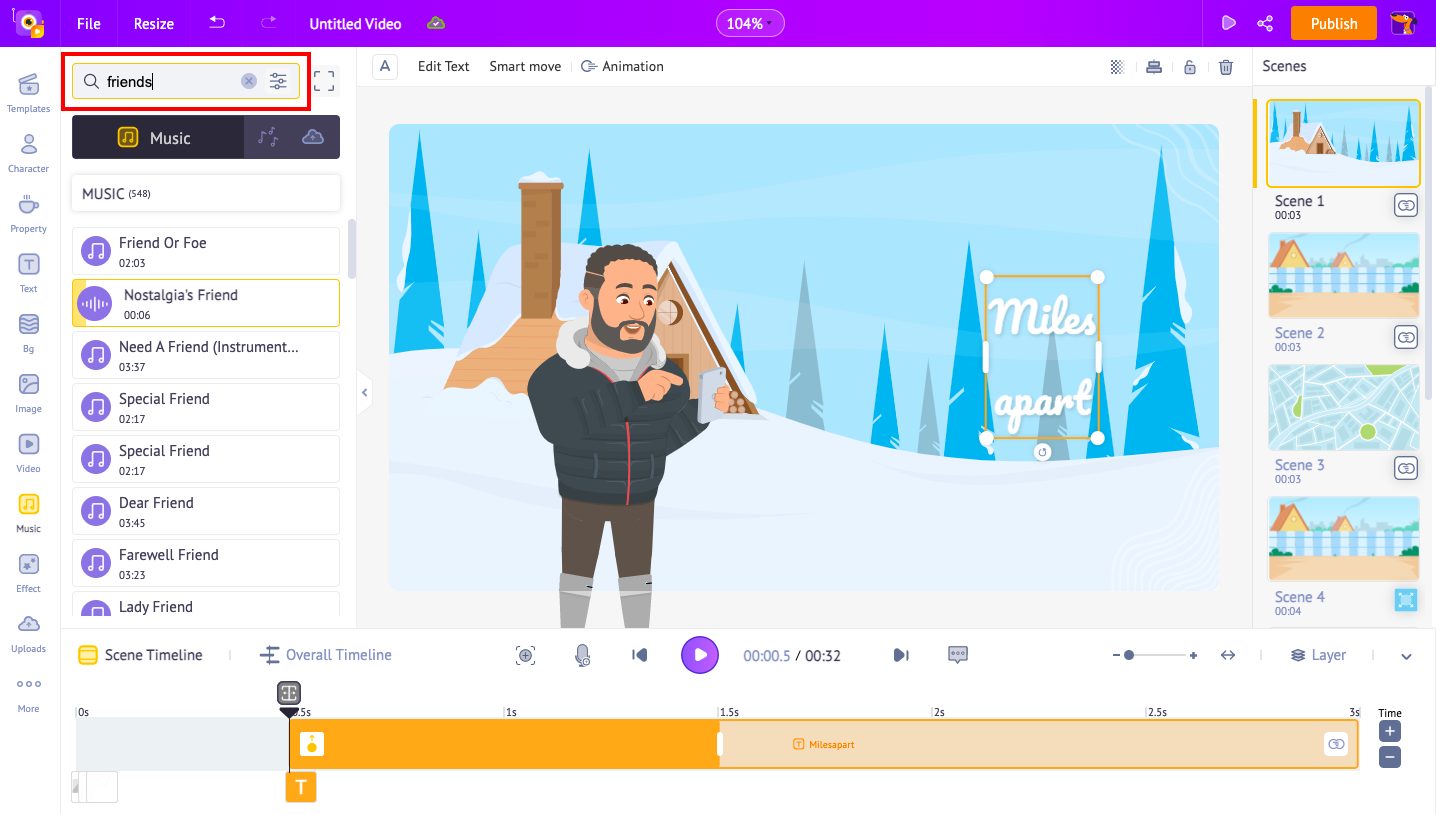
Click on the “Music” tab from the library and choose from the 30,000+ copyright-free music tracks to make your video rhythmic. You can also upload your own music using the upload section.
Use the search bar to find the right track that suits the mood of your video.
Yayy! The music track has been added!

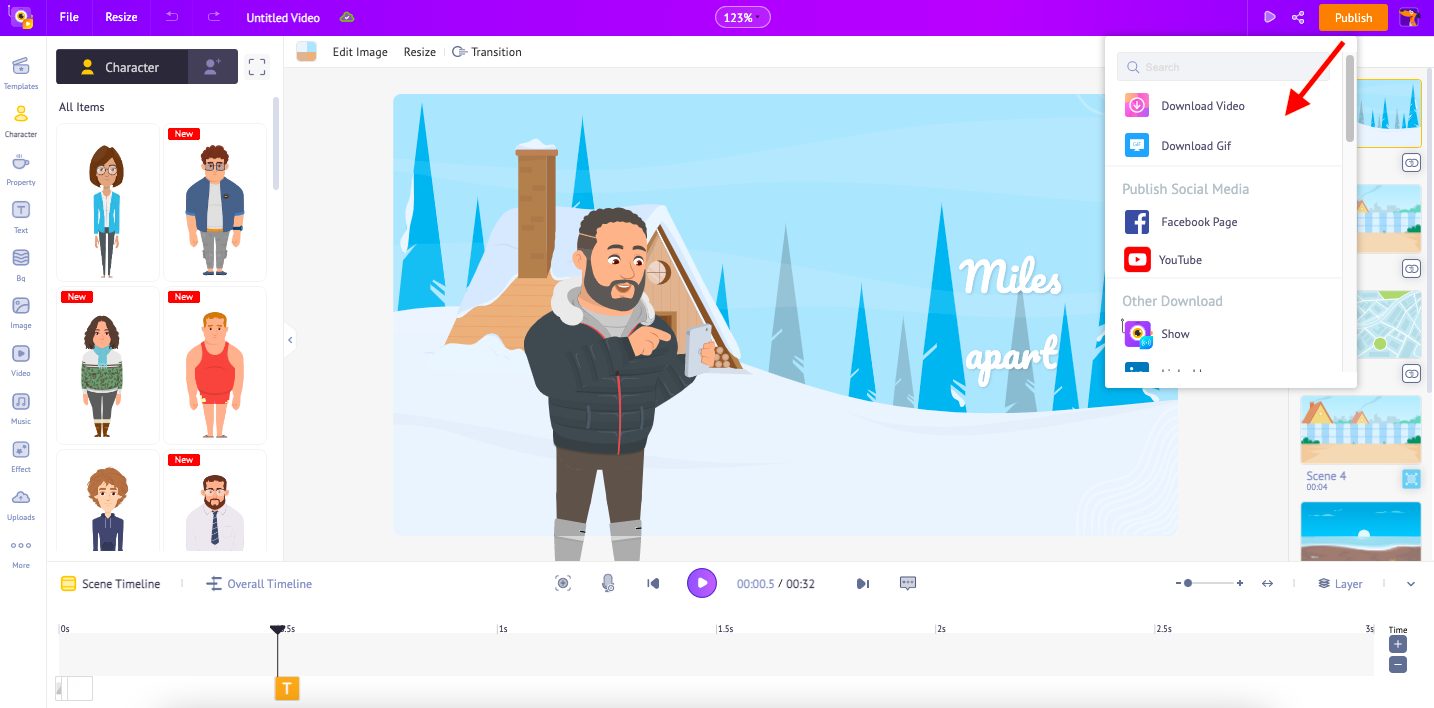
Step 4: Share the video
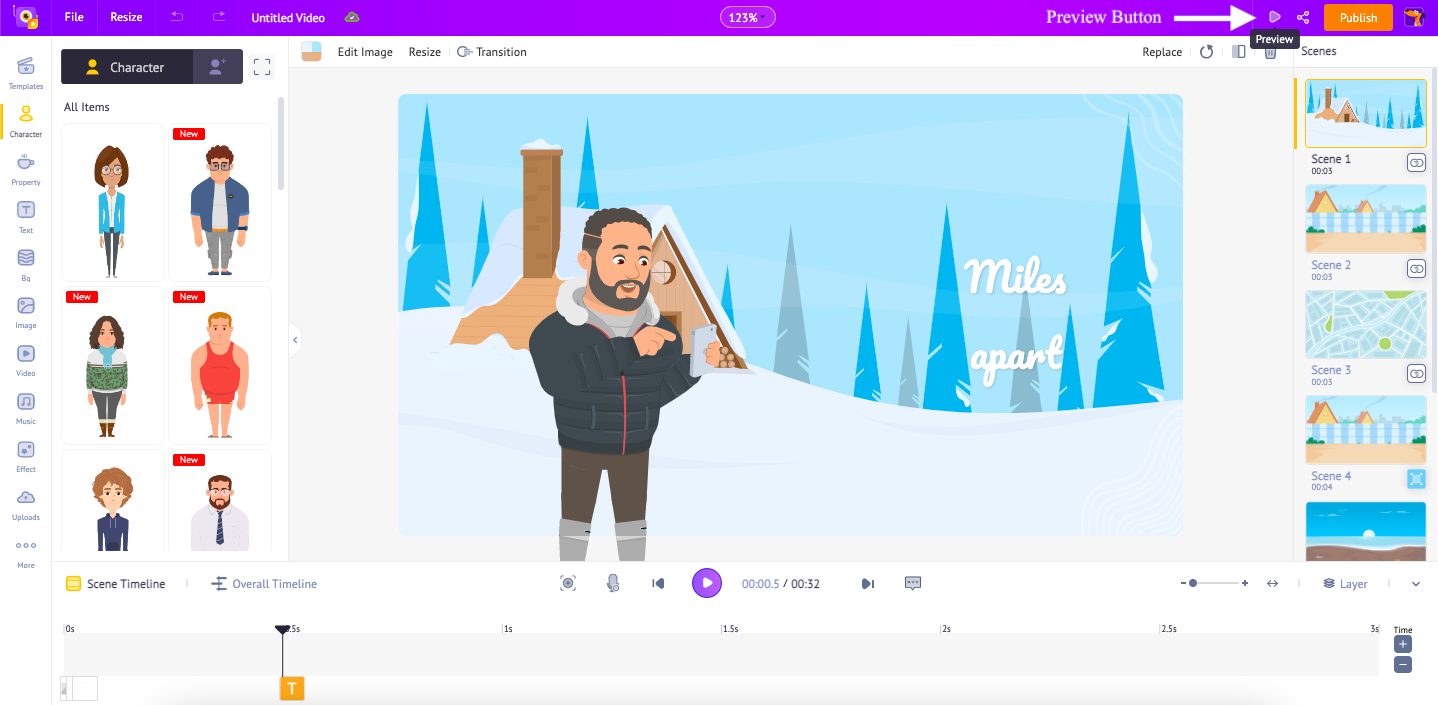
Preview your video once to ensure that everything is perfect.
Now you have the special friendship video that you can share with your mates!
So what are you waiting for?
Show your affection to your loved ones through a heart-touching video and make this friendship day more special and memorable!
Got any questions? Feel free to ask in the comments section!