How To Make Text-To-Speech Videos: A Quick Guide

Guru - September 12, 2023 - Leave your thoughts. 7 min read
Online videos are hotter than ever, making up a whopping 82% of internet traffic.
Due to the popularity of video content, almost every Netizen wants to be a video content creator.
As much as people have the urge to become video content creators, not everyone knows the techniques and nuances of video creation.
Traditionally, there are many ways to create a video - you can shoot a video in a DSLR camera or the latest smartphone, then record a voiceover using any device, and edit/sync them both in a legacy video production tool.
However, amongst the various ways, the easiest way to join the content creator club without owning fancy tools or involving big budgets is by creating text-to-speech (TTS) videos.
So, let’s learn about TTS videos and how to create them.
What is a text-to-speech video?
A video created with a realistic computer-generated text-to-speech voiceover rather than a self-recorded voiceover or that of a professional voice actor is called a text-to-speech video.
For example, have a look at this video,
Plenty of TikTok, Instagram, and YouTube channels use text-to-speech voiceovers in their videos, which is often much faster and cheaper than recording your own narration or using a professional voice actor for recording.
If you have always wanted to create text-to-speech videos for YouTube or any other platforms without prior knowledge, then this blog will guide you on how to make text-to-speech videos.
For a better reading, we have split this guide into three sections:
Step 1 - Create a TTS Voiceover
Step 2 - Add the TTS voiceover to the video
Step 3 - Publish the TTS video on YouTube
Step 1: Create a TTS Voiceover
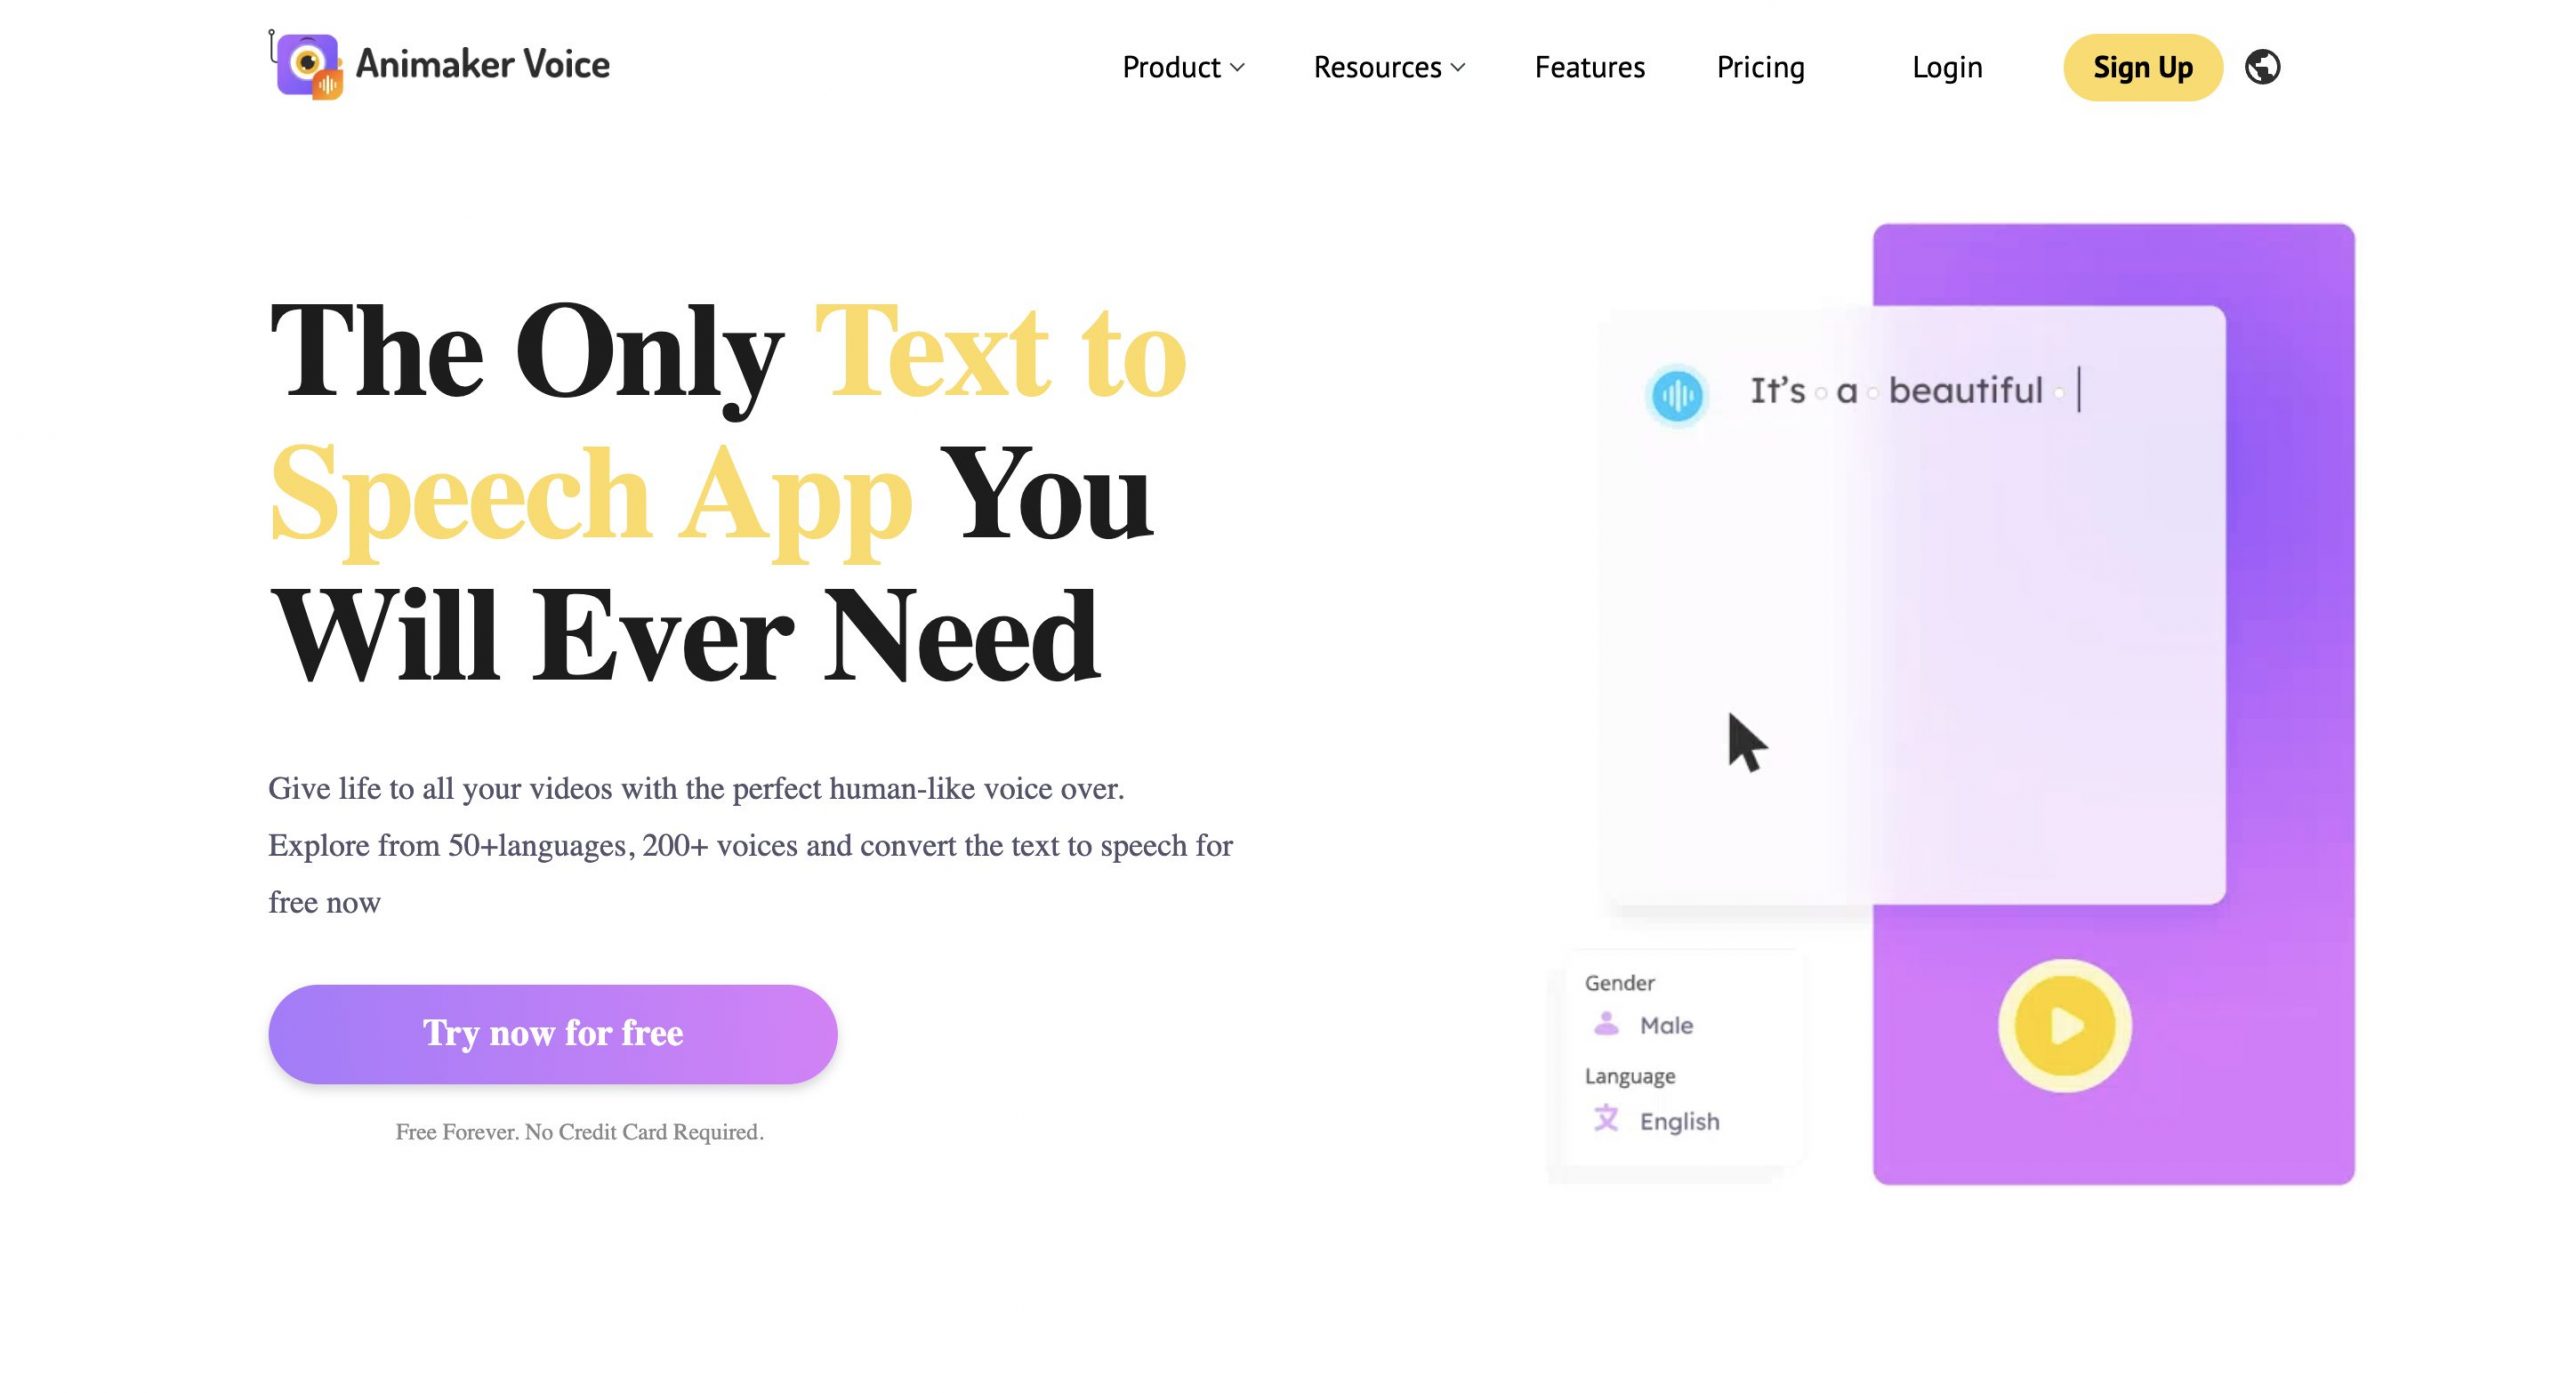
There are a lot of text-to-speech applications available online to create text-to-speech videos. But, among the many, we would best recommend Animaker’s Text-to-Speech app!
Animaker’s text-to-speech app is the No.1 AI-powered tool to generate ultra-realistic, crystal-clear audio narrations just from your scripts.
It offers 250+ unique realistic male, female, and kid voices to suit all your needs.
Compared to other TTS tools in the market, Animaker Voice has the edge in terms of affordability, ease of use, precision, and the diversity of realistic human voices available.
Let’s see how easy creating a voiceover with just text/script using the Animaker Text to Speech app is.
Here are the steps to create voiceovers in the Animaker Text to Speech app:
1. Enter your text/script
First, sign up for a free account with Animaker’s Text-to-Speech app if you don’t have an account already.
Upon successful completion, you will be directed to the voice project window. Here, you will find the workspace in the center, voice customization settings on the right, and the download option on the top right.
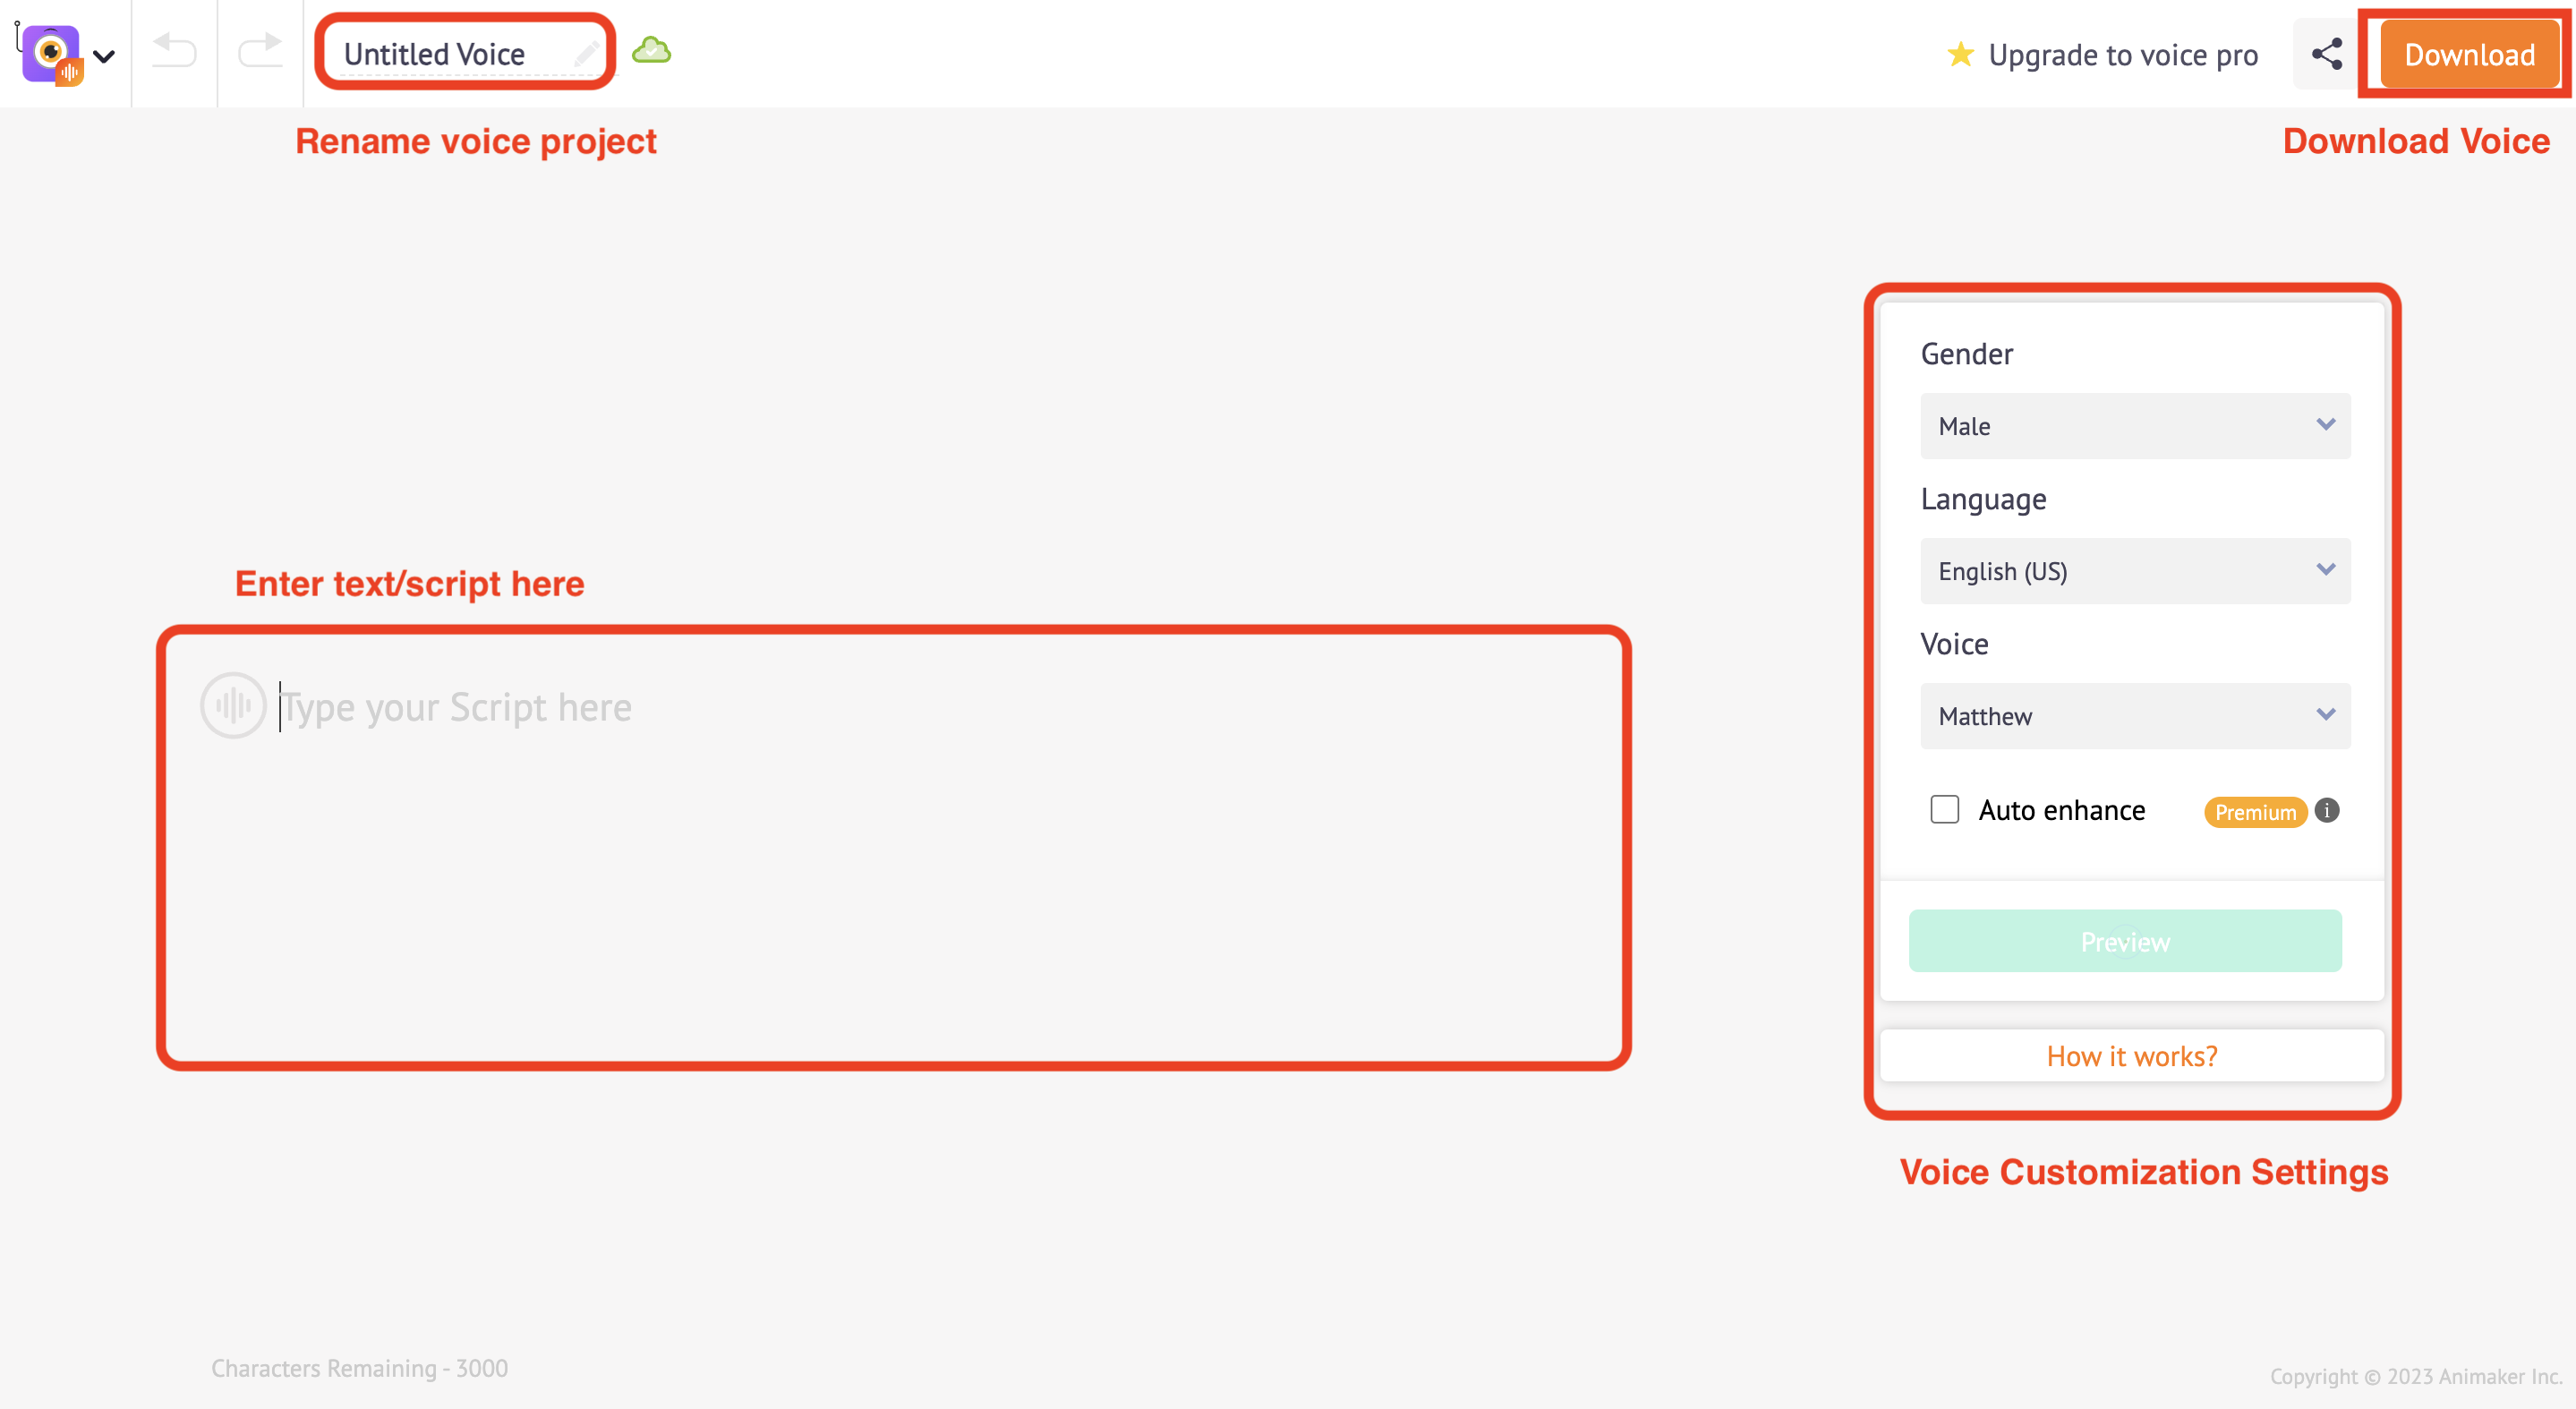
The central workspace is where you will enter your script/text for the voiceover. Consider it like a text box and start typing your text.
You can also copy and paste the script/text to save time.
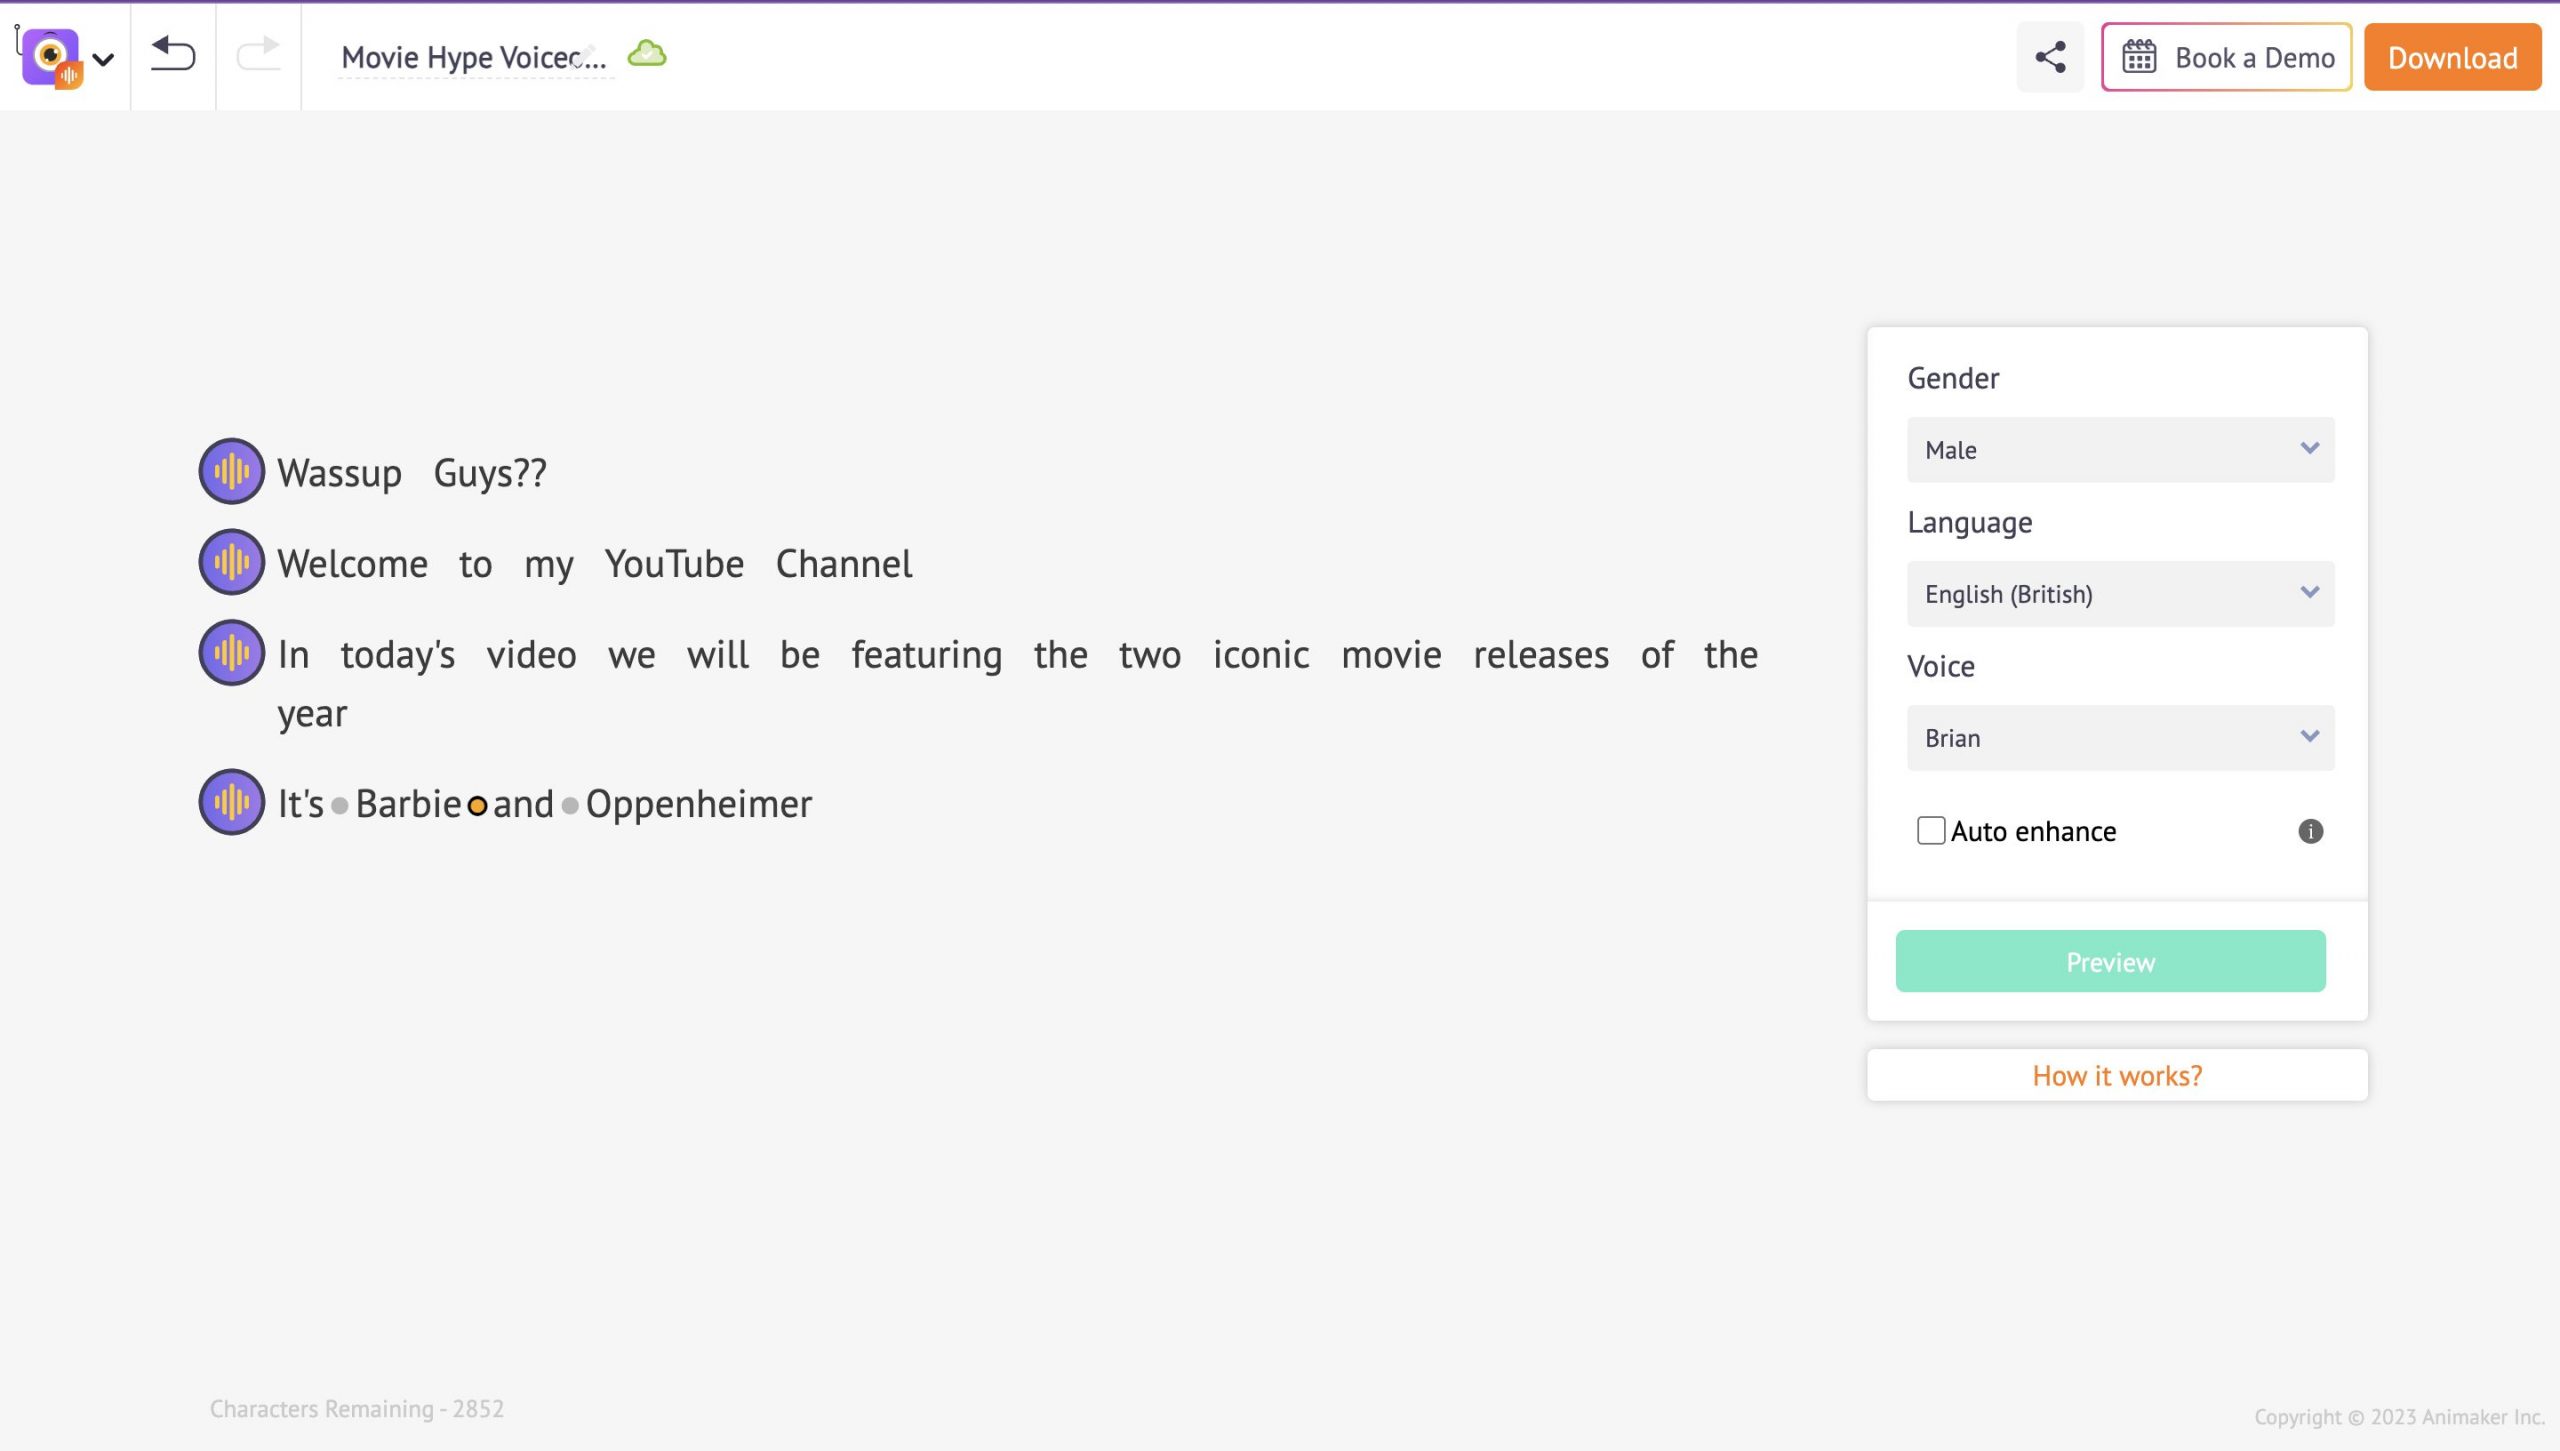
2. Customize your voice
Once you enter the text, you can pick a Gender, Language, and Voice for your voiceover.
There are 200+ voices available in more than 40+ global languages. Take your time to check out the voices and select one that best suits your needs.
Click the round audio wave button to adjust your voiceover’s Speed, Pitch, and Volume.
In case you change the speed, pitch, or volume and want to undo them, you can click the Reset button.
Also, you can add a breath or break effect between each word and adjust how long it should last. Simply click on the dot between two words to add a Breath or Break between them.
If you subscribe to the Pro Plan, you can tick the Auto Enhance checkbox and let AI enhance your voiceovers instead of manually adjusting the voice.
The best part about this functionality is that it automatically adds the breath effect, speed, pitch, volume, etc., based on the entered text. Isn’t that awesome?!
Once you are done adjusting the voice, it’s time to download it.
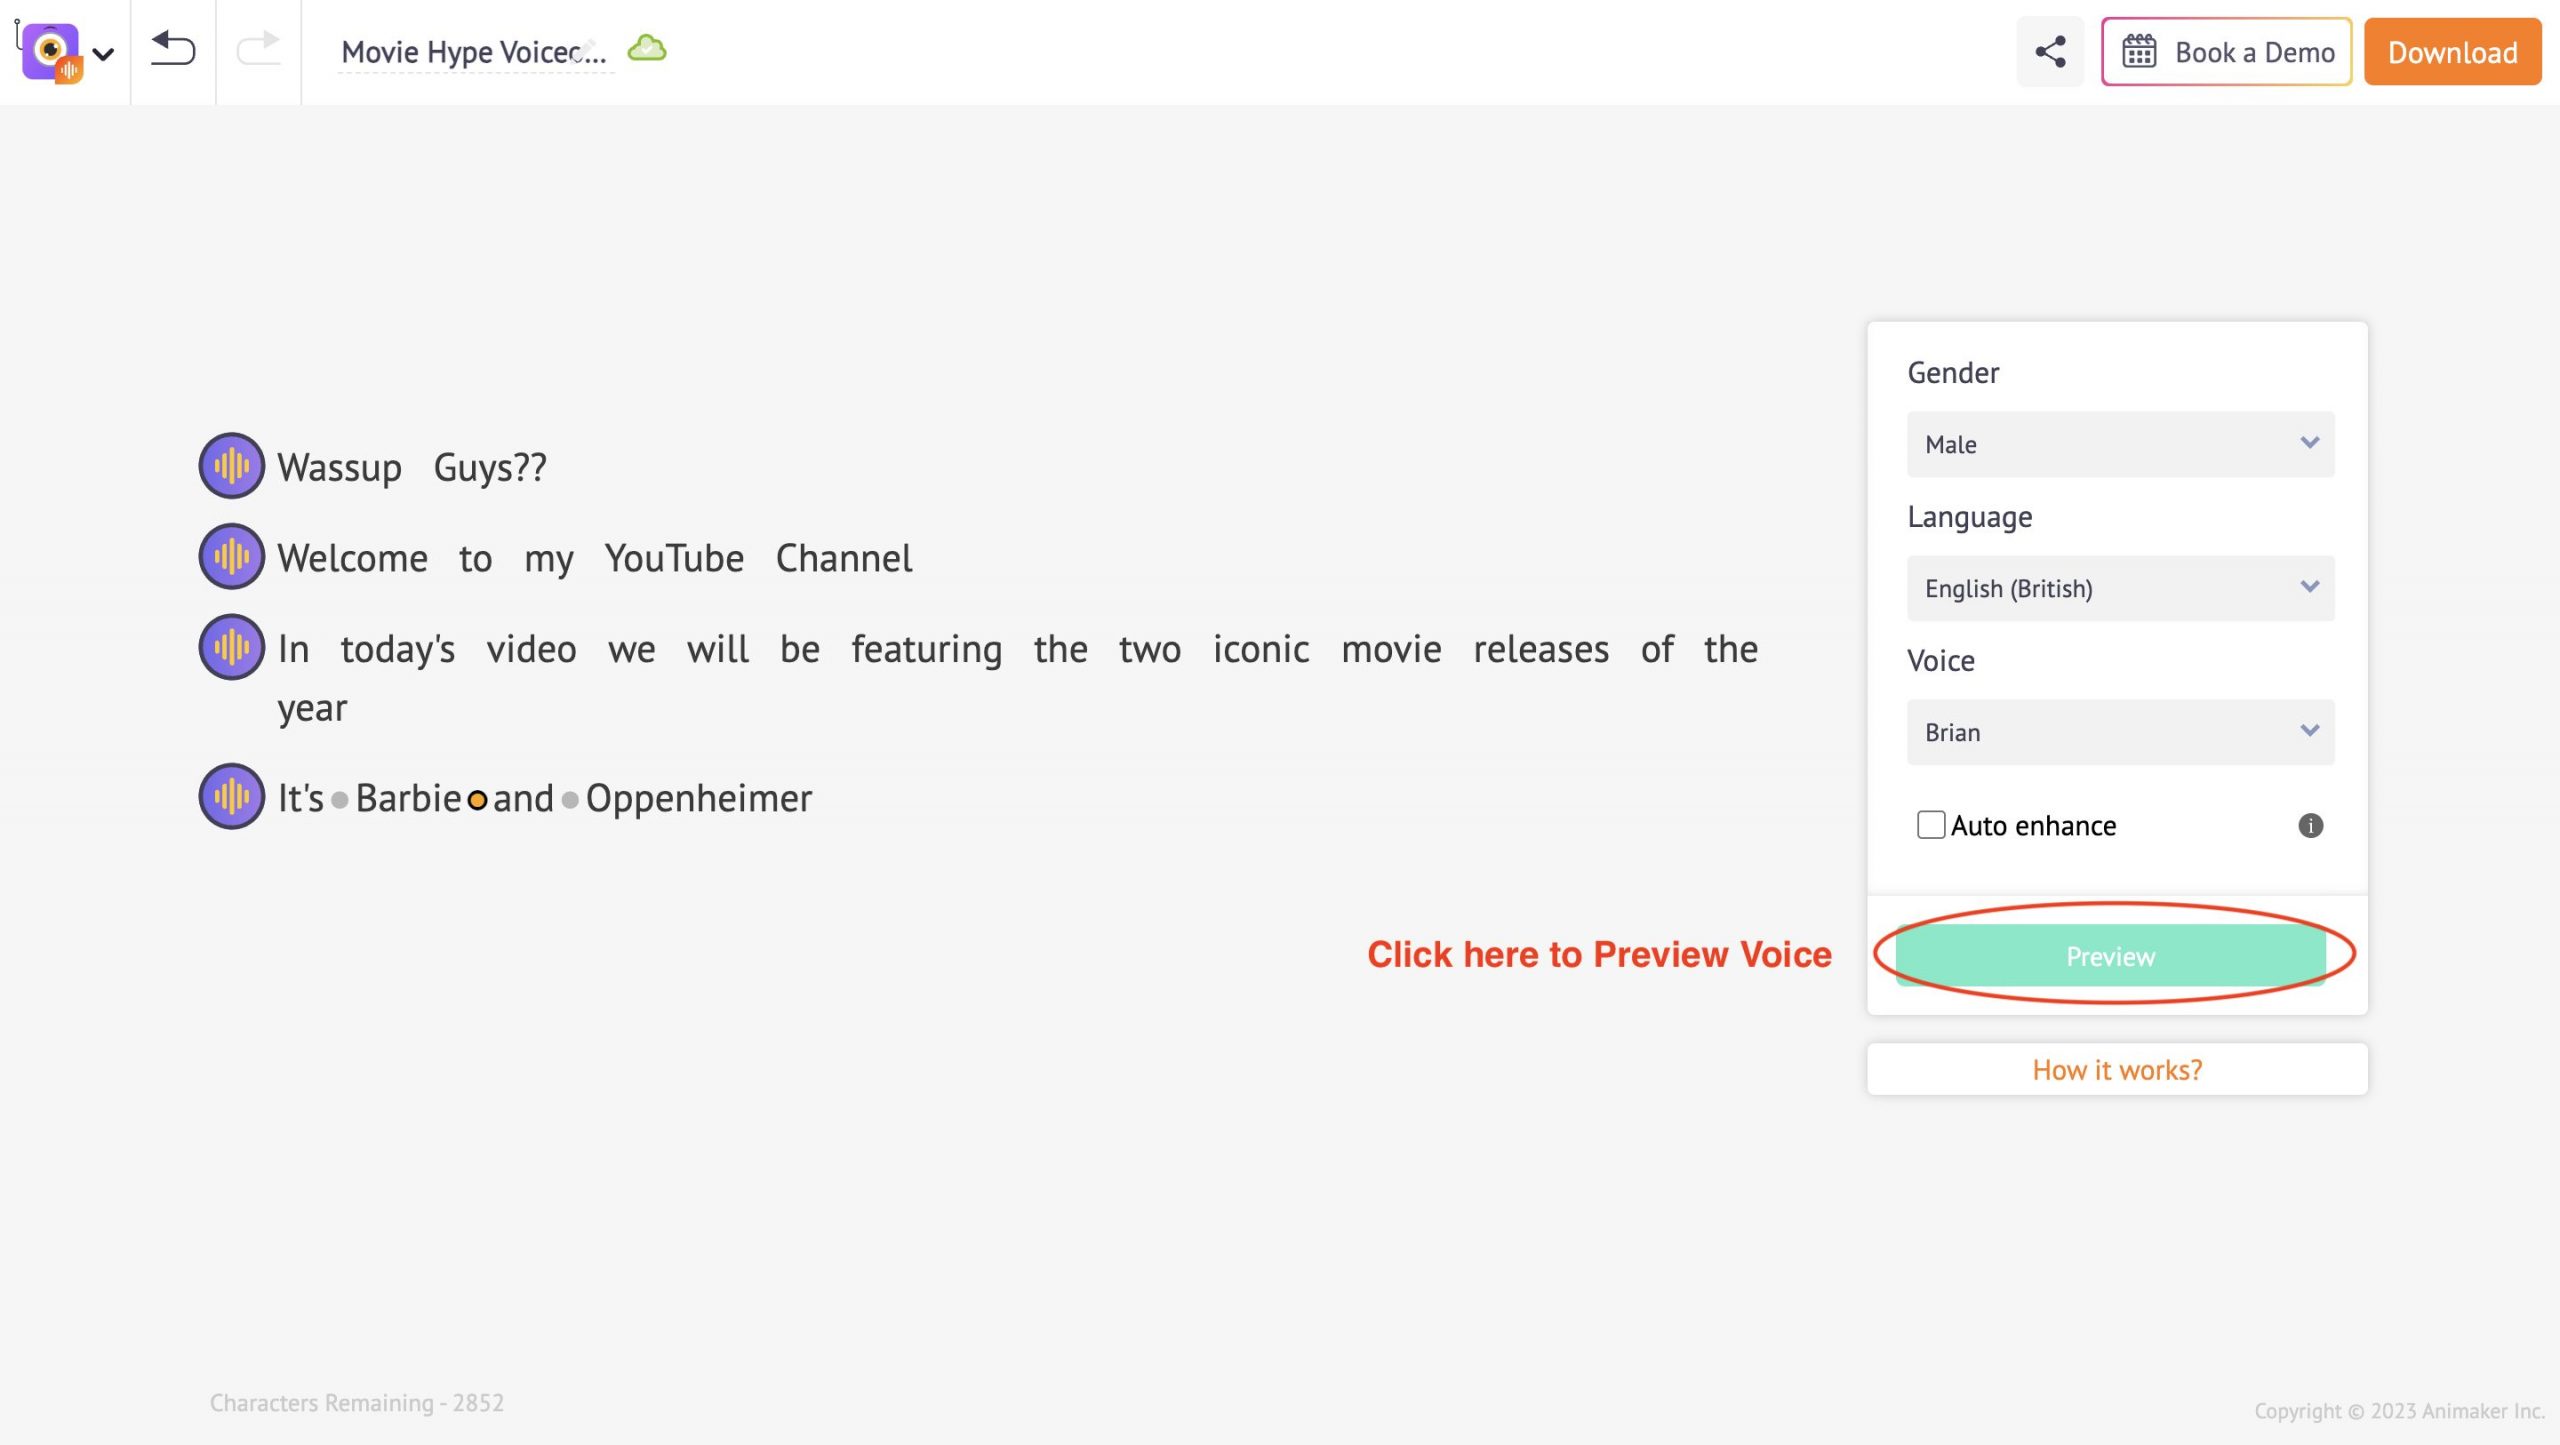
3. Preview and Download voice
After the customization, click the Preview button to play and preview the voiceover.
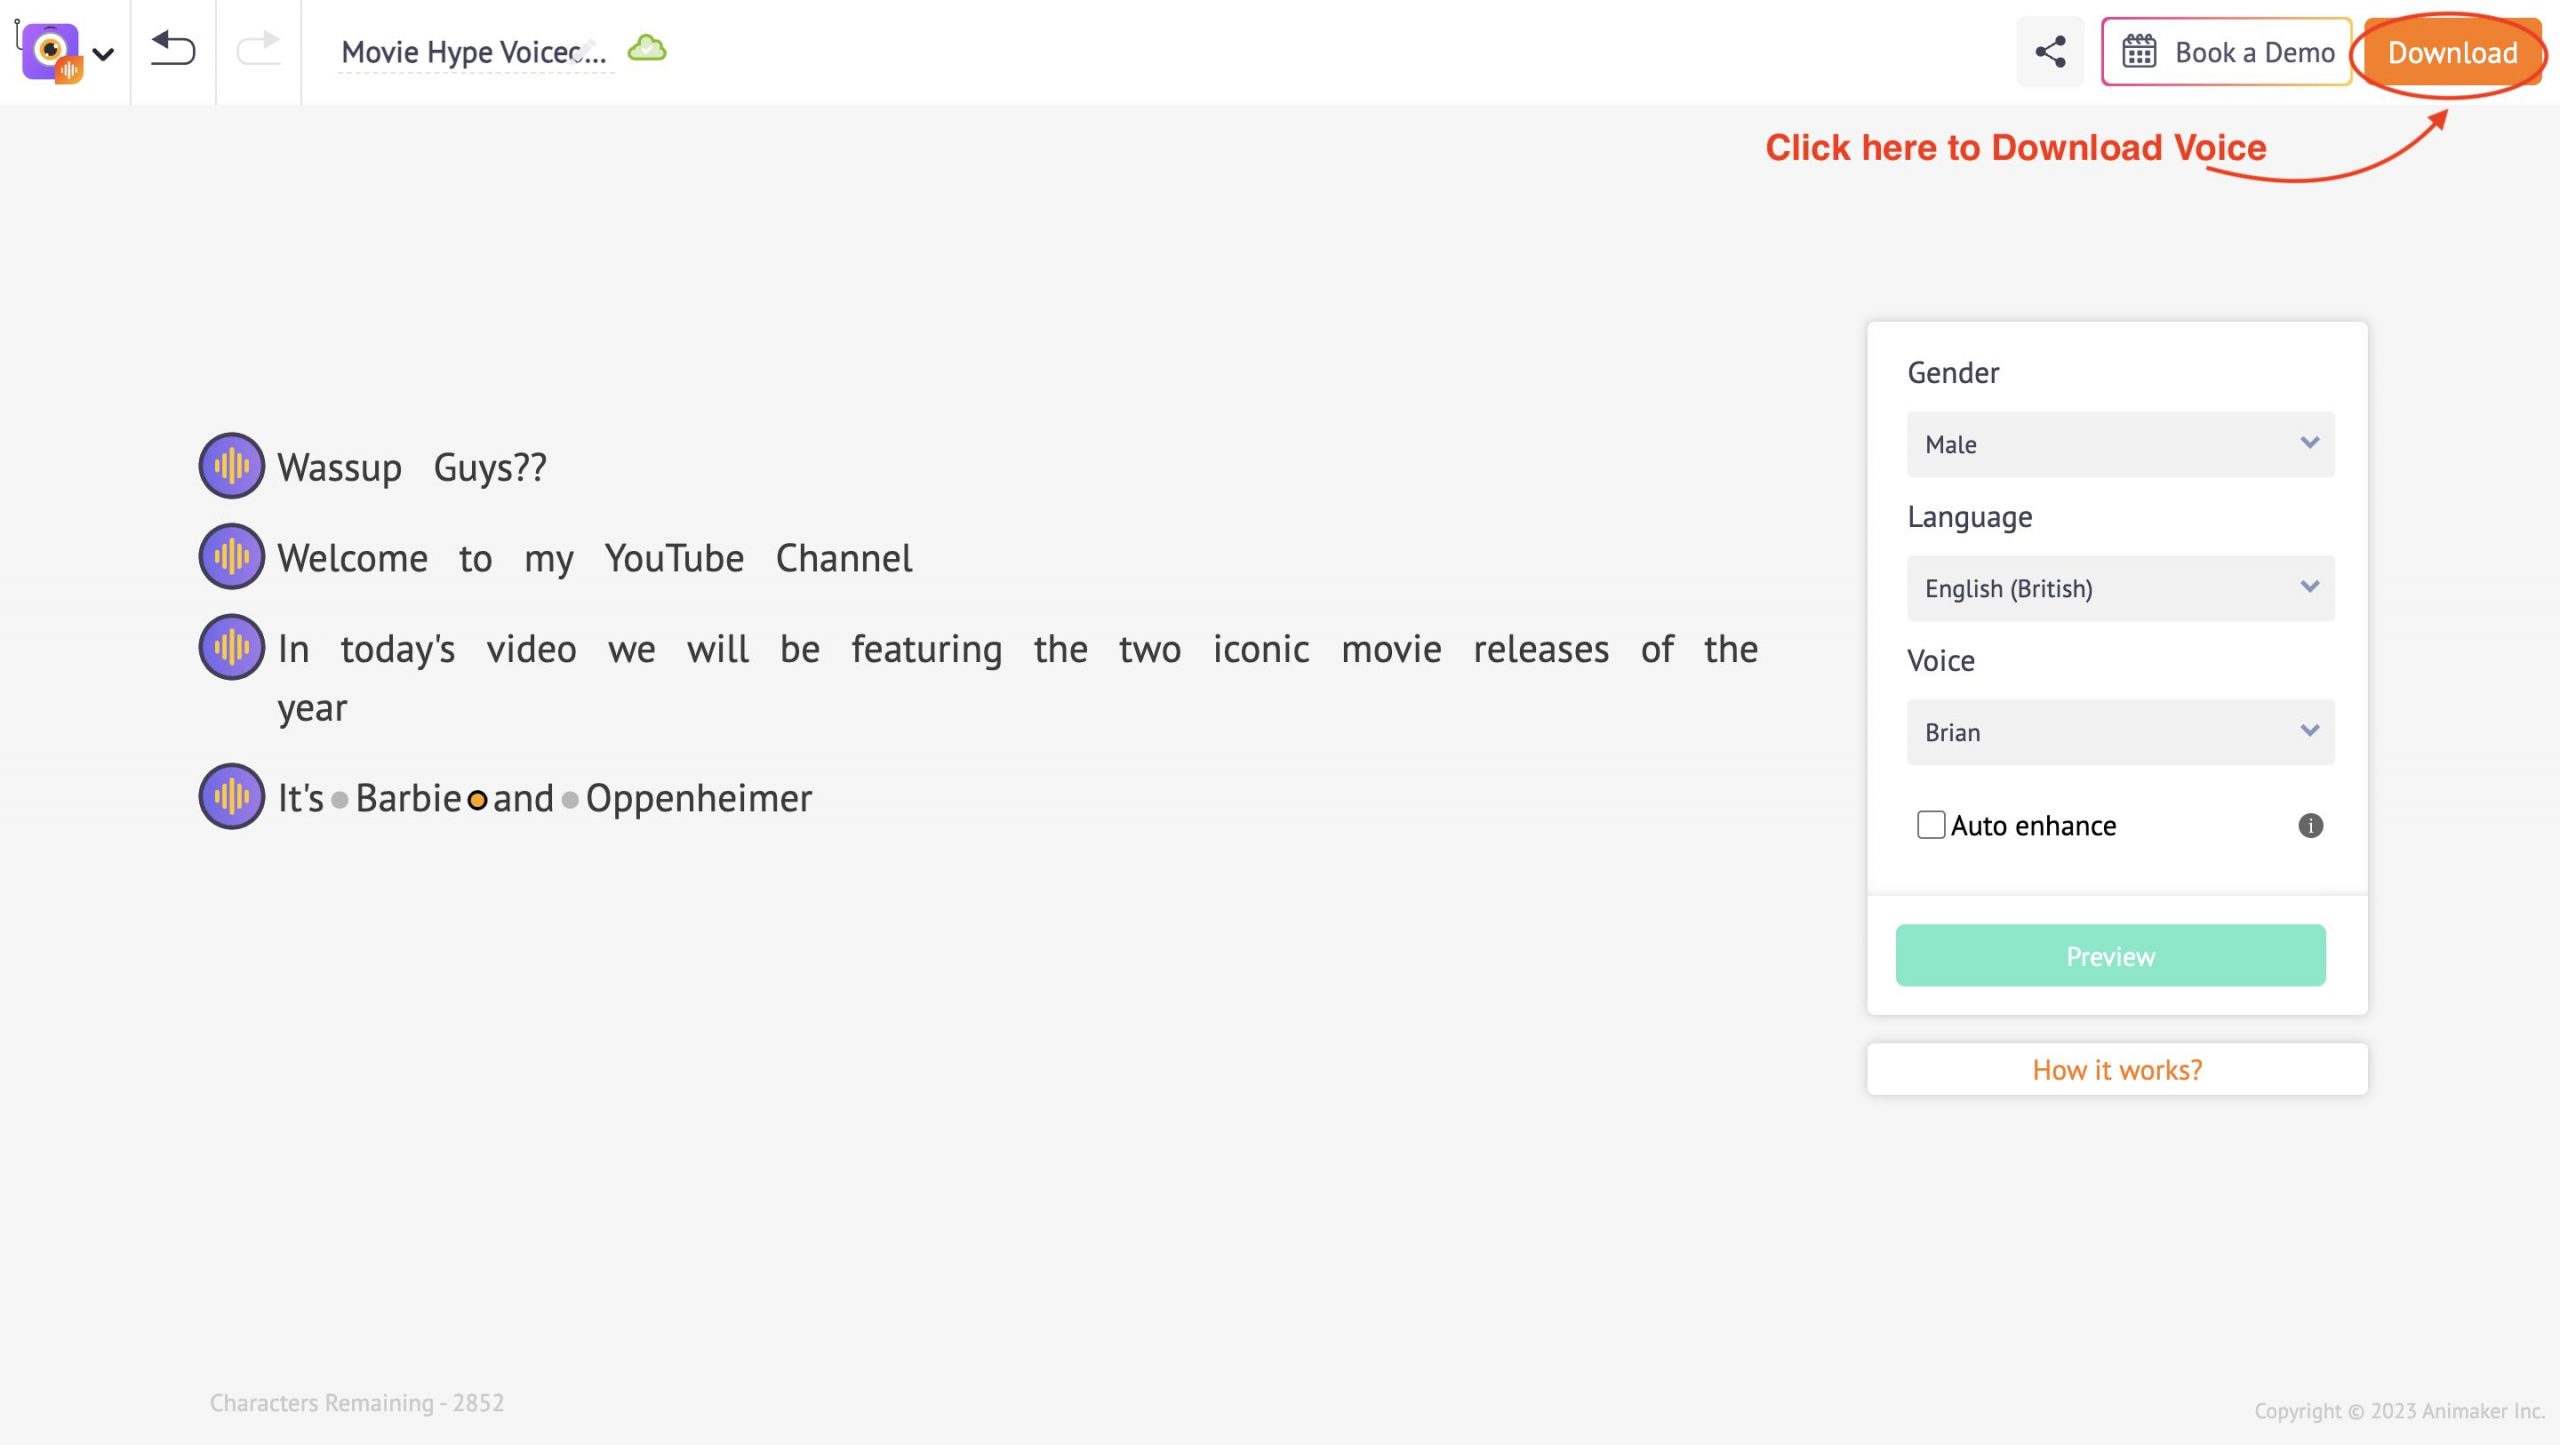
Once you’re satisfied with the voiceover, click on the Download button in the top right corner of the window to instantly download your voiceover to your local computer folder in MP3 format.
With the Voice Pro premium plan, you can download the voiceover in .wav and .aac format.
Wasn’t that too simple?!
It’s super easy to create realistic voiceovers without having to go through the trouble of recording the voiceover yourself or spending hefty time and dollars hiring a voiceover artist.
You can also check out this video tutorial to convert your script to speech in the Animaker Voice text-to-speech app.
Now that you have learned how to create a realistic TTS voiceover, let’s move on to adding the TTS voiceover to your video.
Step 2: Add the TTS voiceover to the video
Once you have created and downloaded the TTS voiceover, the next step is to add the voiceover to your video.
You can use any of the video editing tools to stitch the voiceover. However, we recommend Animaker, an all-in-one DIY Video Creation app, to create professional-quality videos online without professional expertise.
Here are the steps to add the TTS voiceover to your video using Animaker:
1. Upload the video and voiceover
First, create a free account with Animaker. Once you log in, select the Create button > Create a video > Blank page.
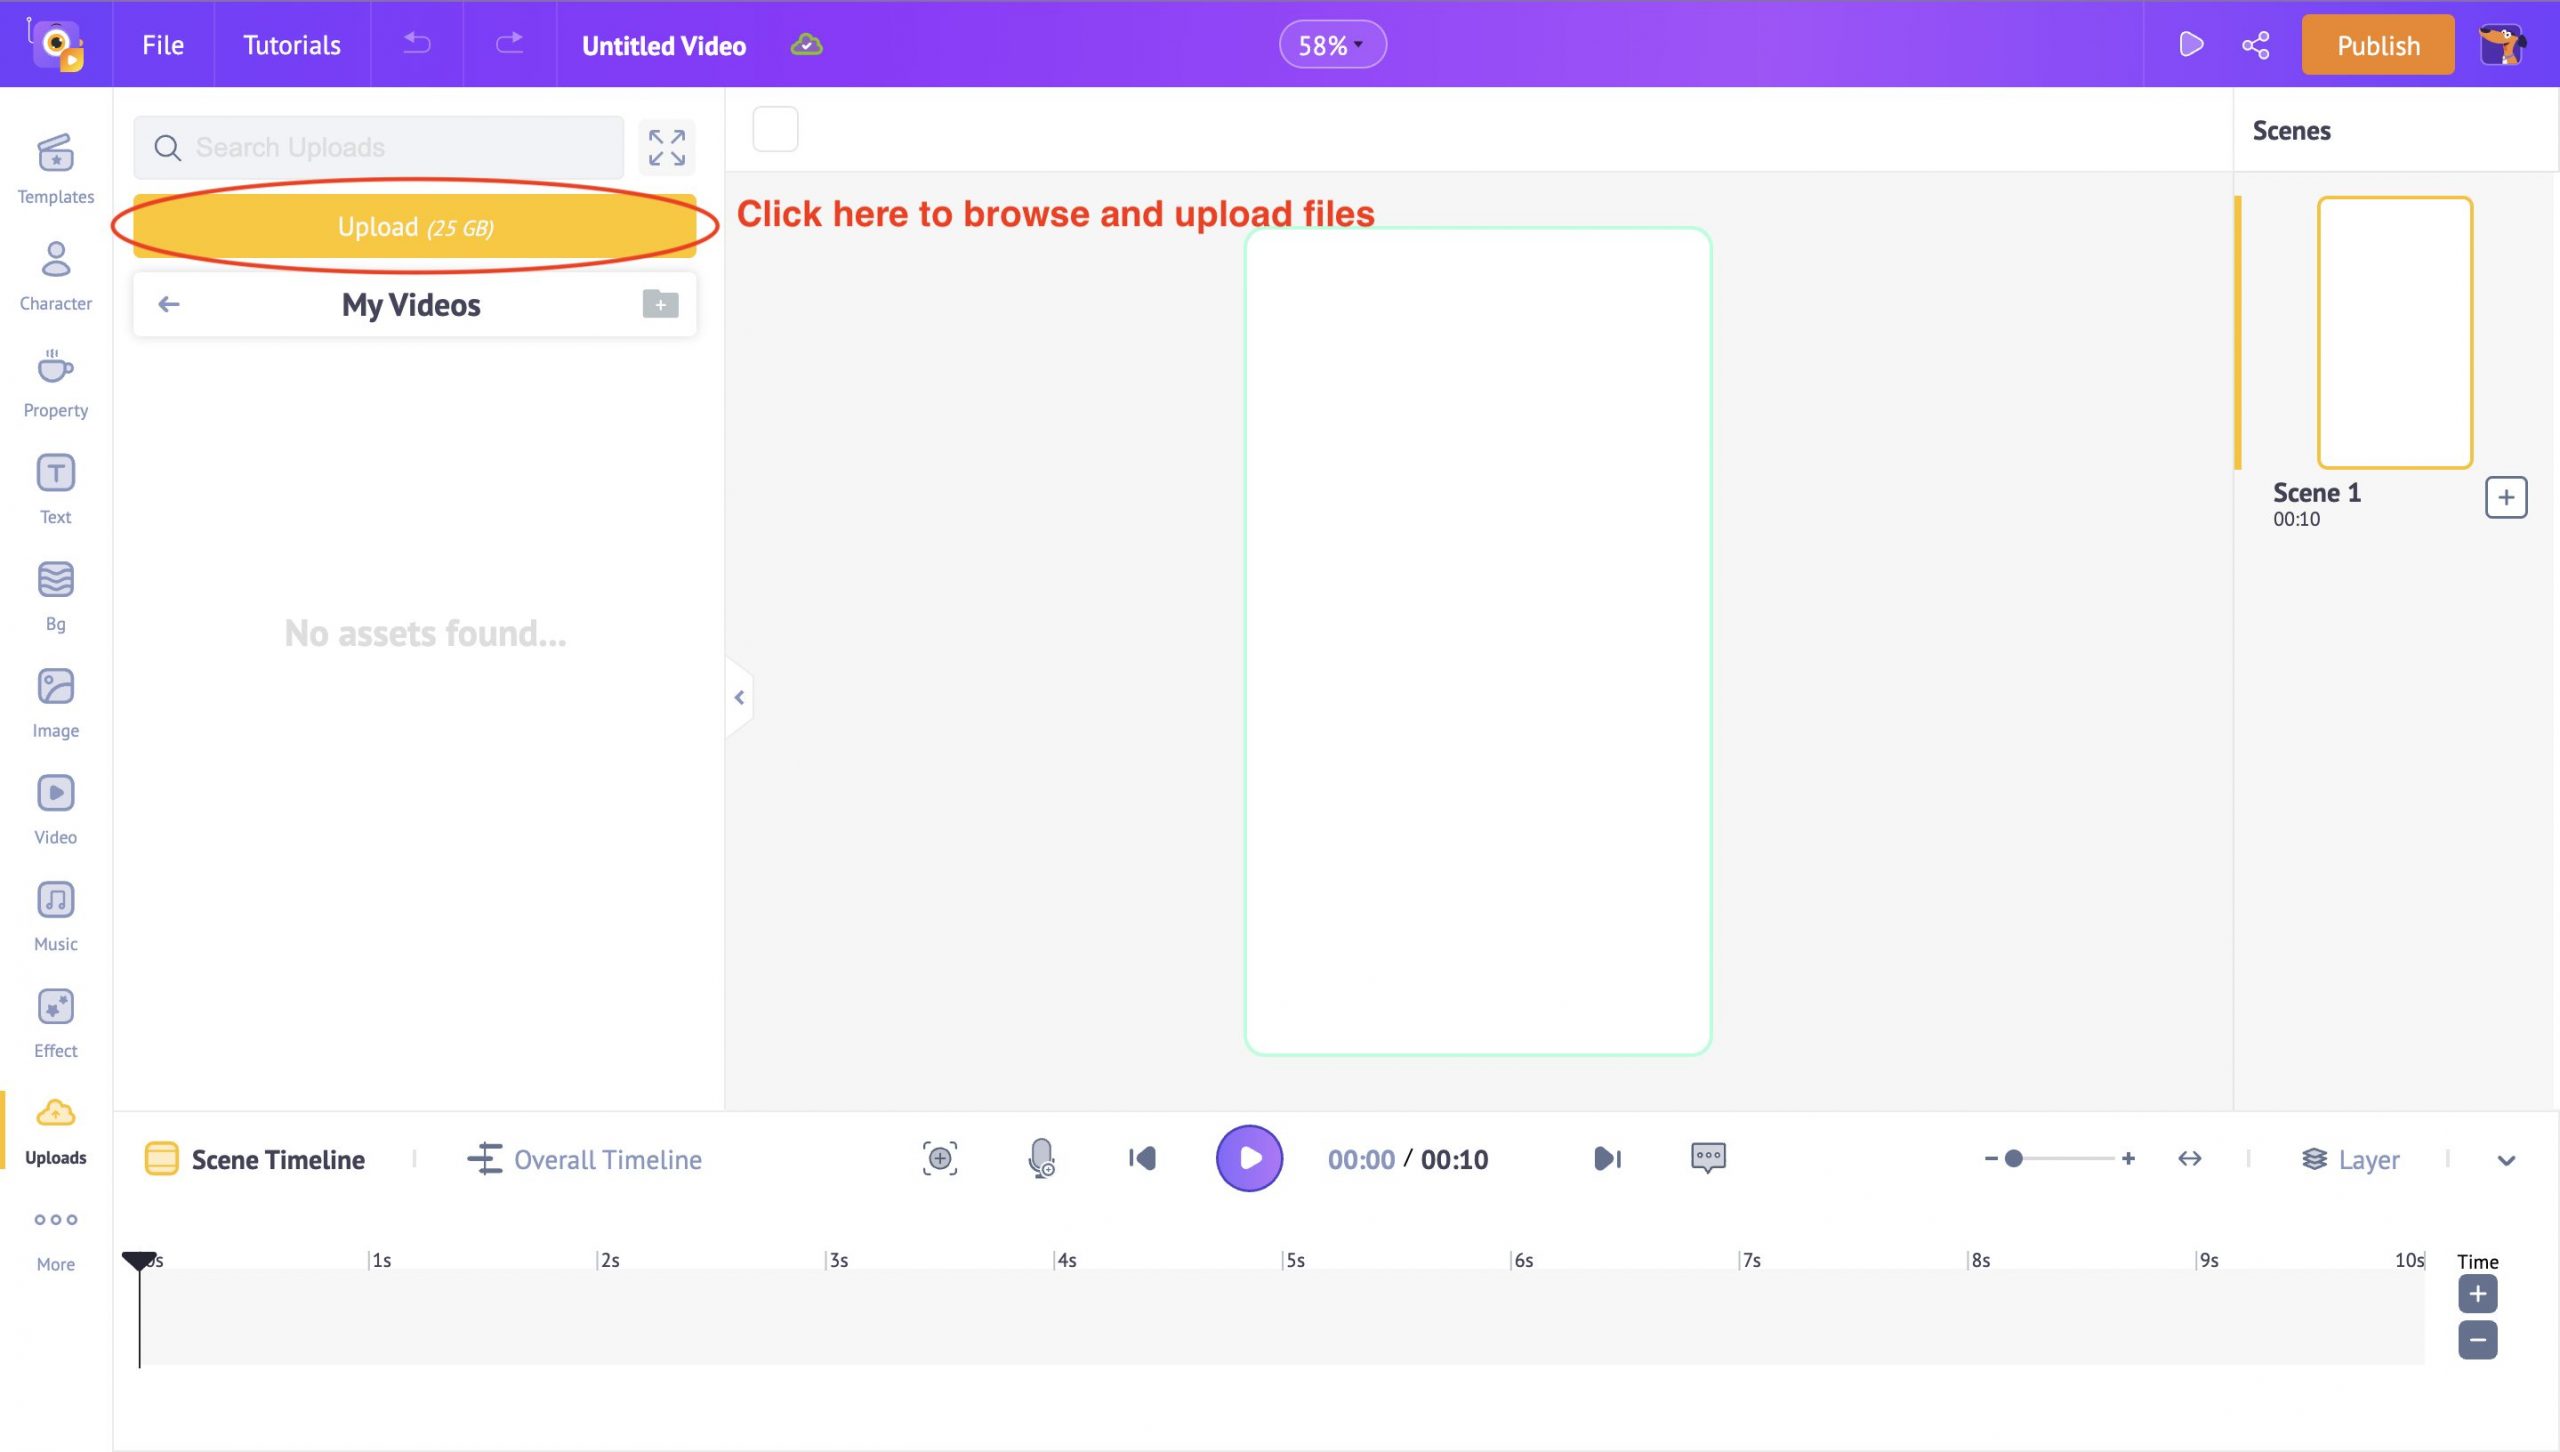
Now, you will be directed to the project workspace. Here, you can upload the video by using the upload option on the left side of the screen. Clicking on the Uploads option will open the Uploads tab; use the upload button here to quickly navigate and upload your videos.

Animaker allows you to upload videos up to 25 GB in size for free. That’s bonkers, right?
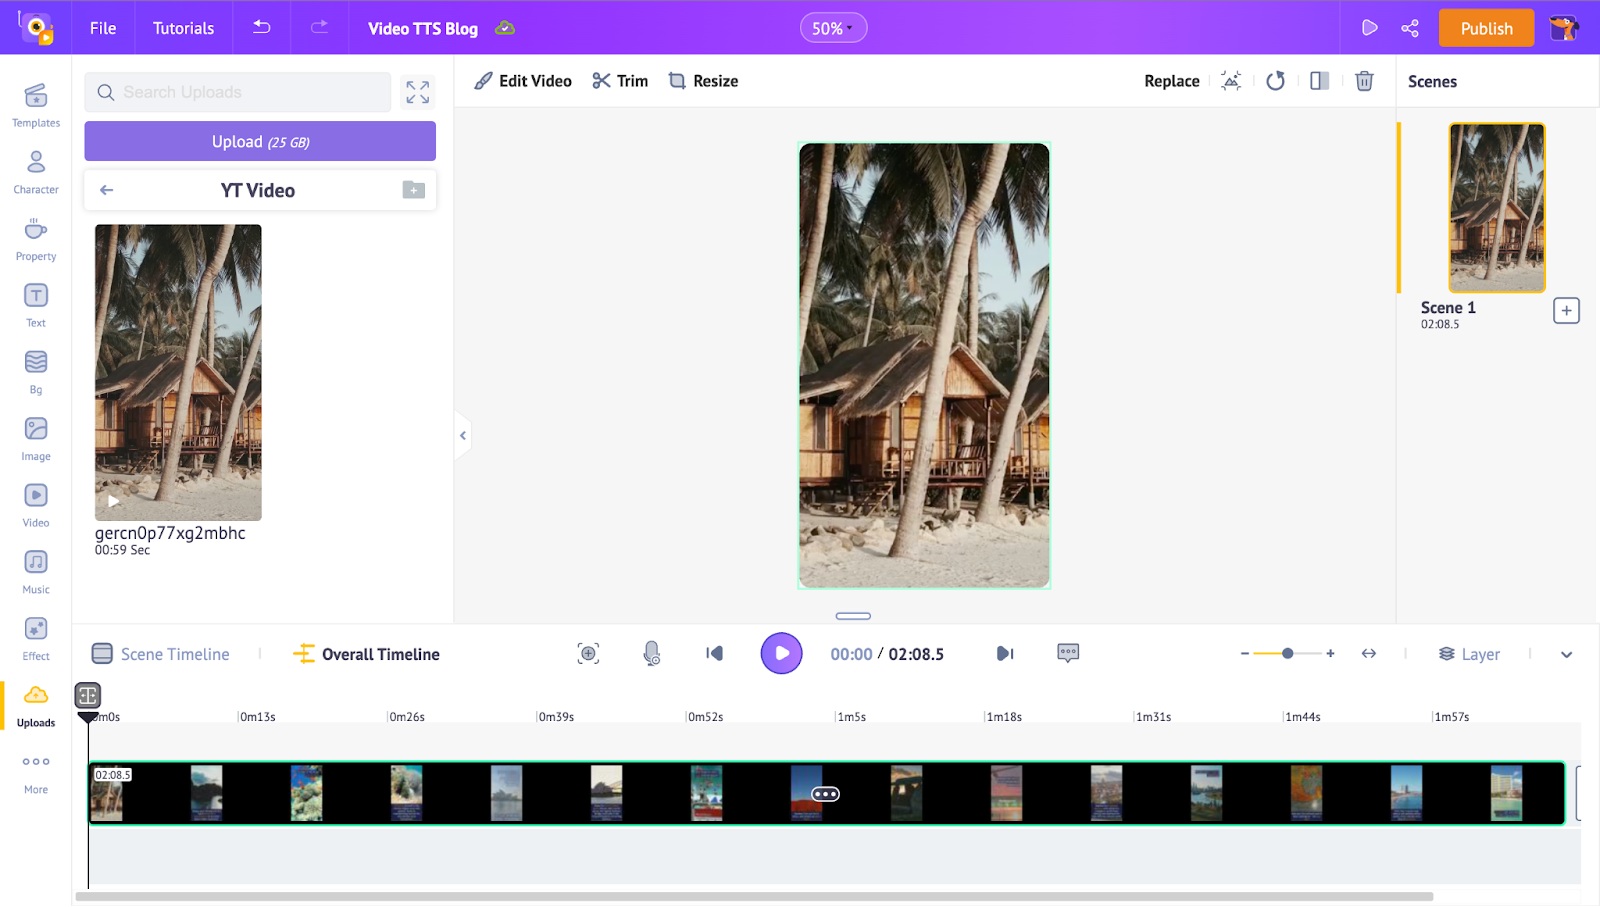
Once the video has been uploaded and processed, click on it. Now, the video will appear in the workspace.
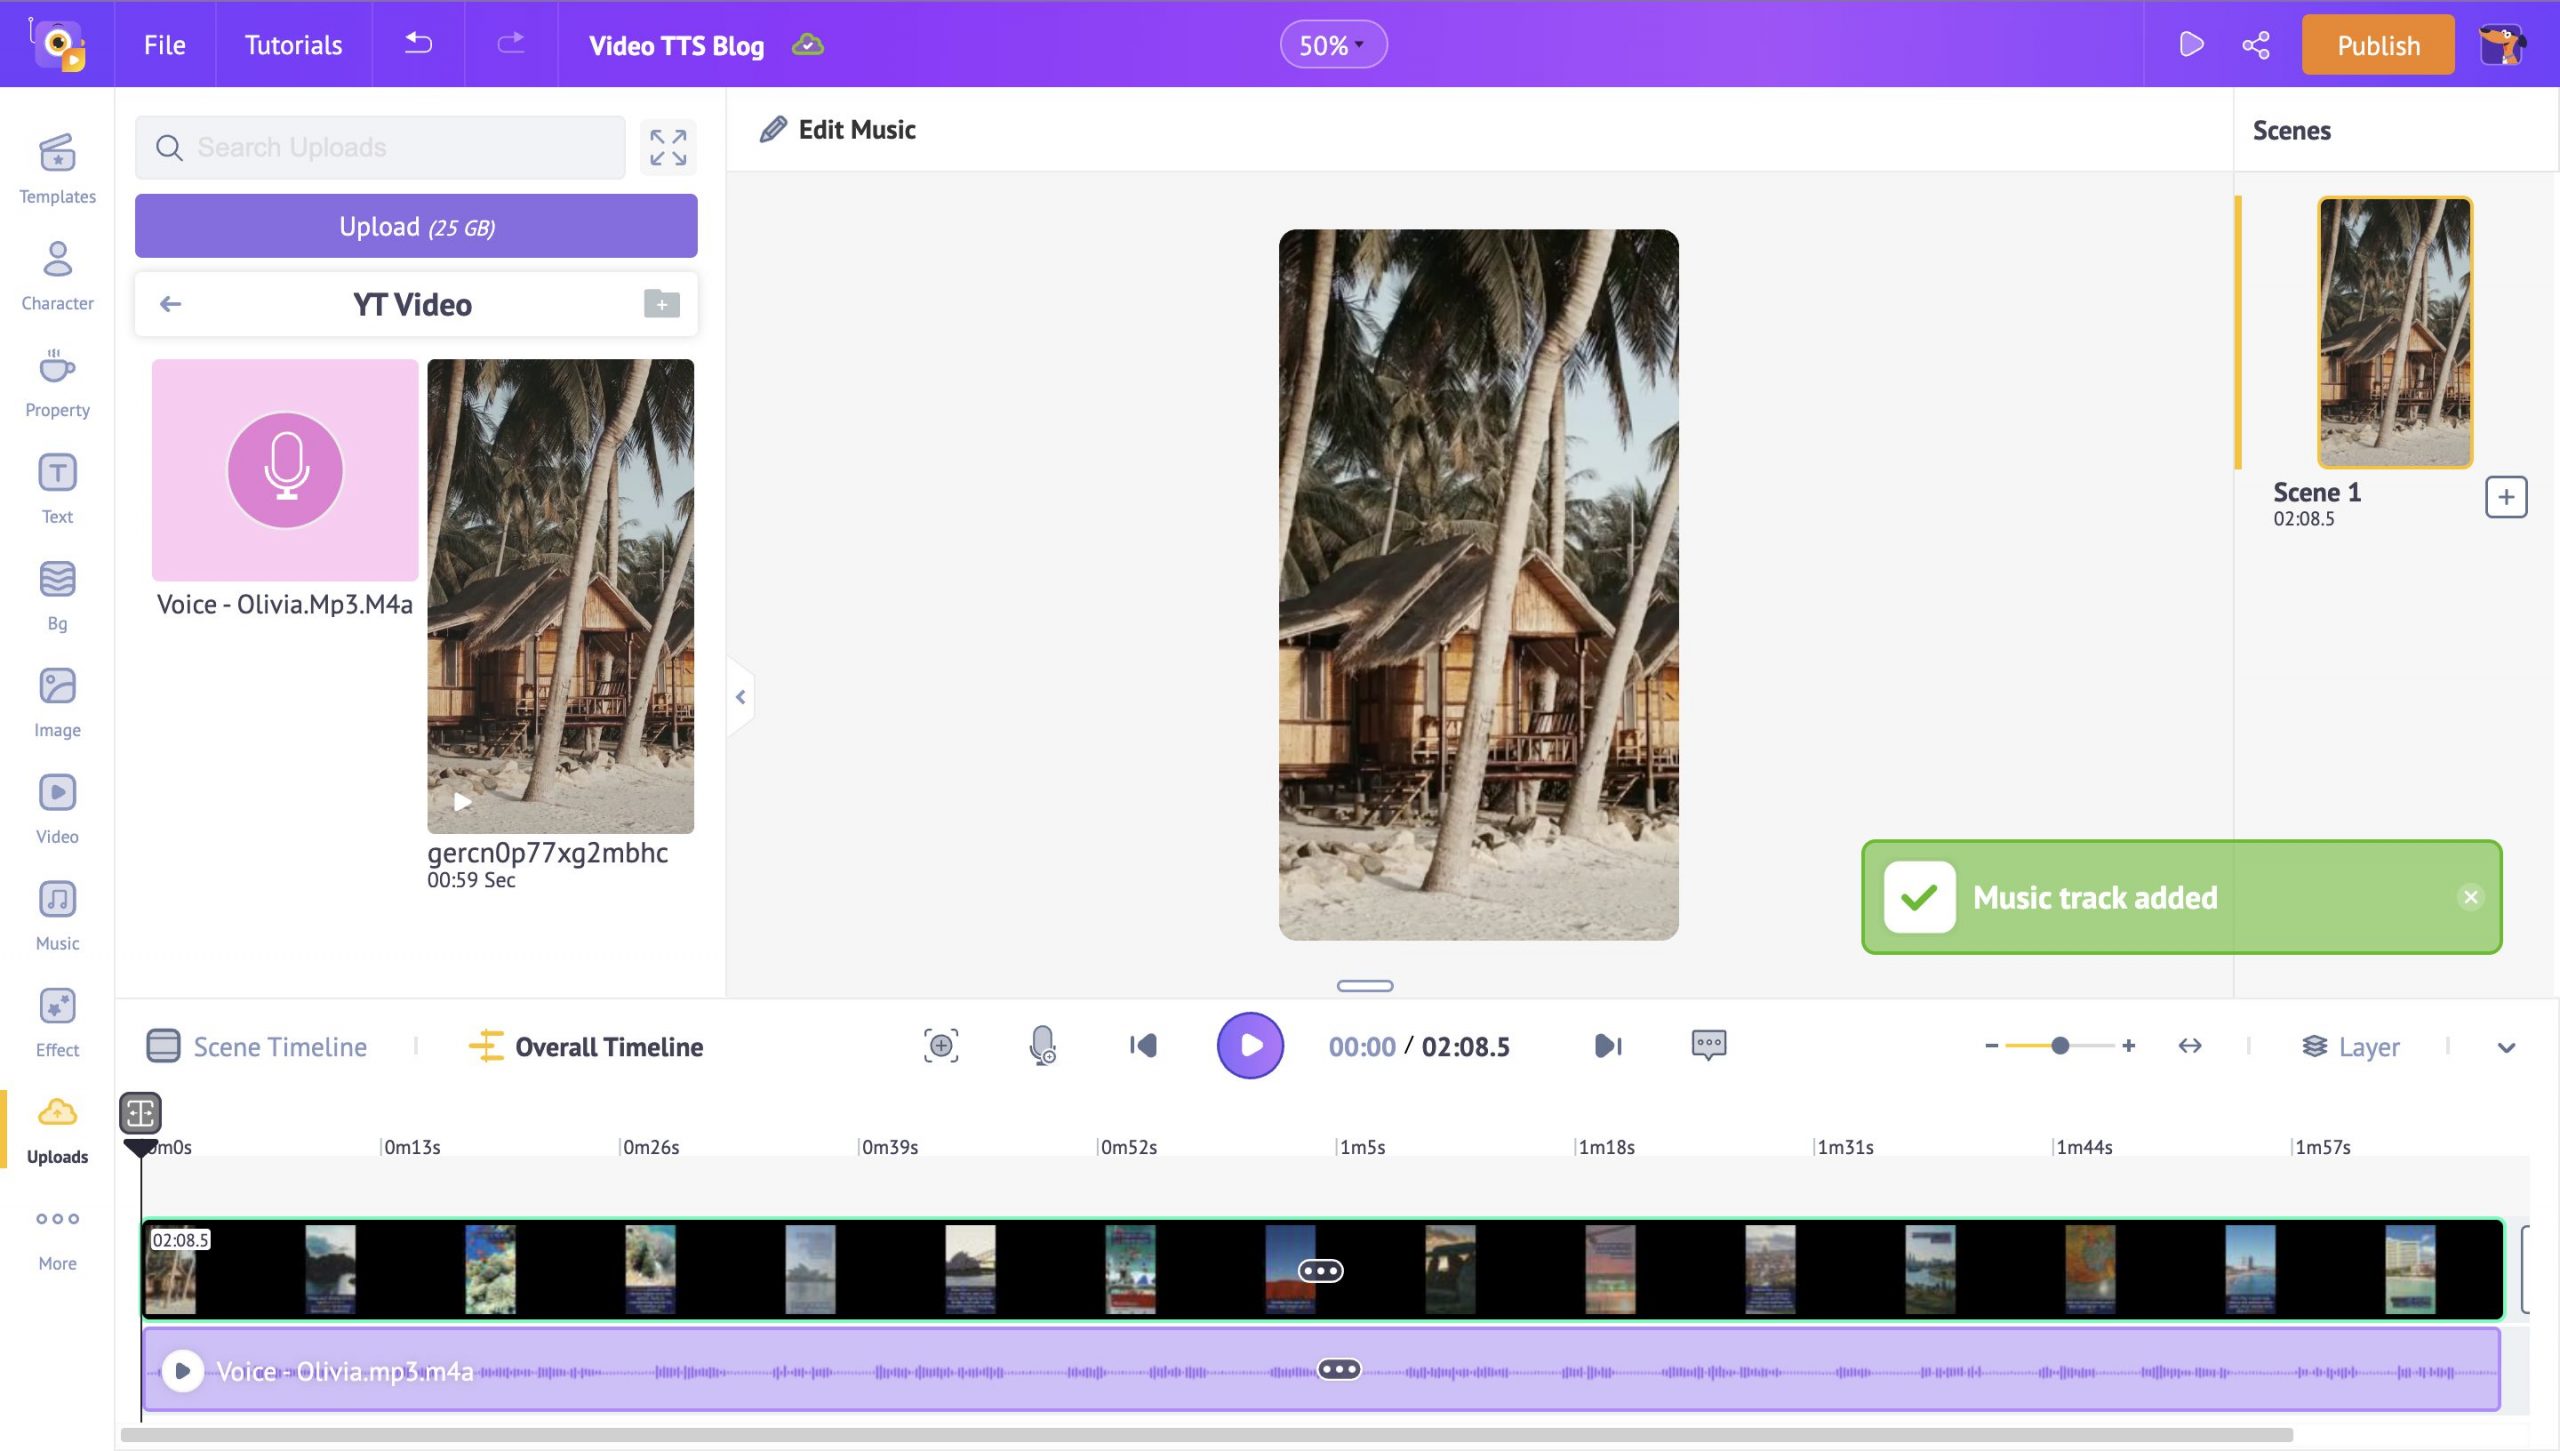
Similarly, you can upload the voiceover audio file into the project, and it will appear right underneath the video layer in the timeline.
Bonus tip - You can also create your videos from scratch using the Animaker Video Creation Suite.
Animaker offers you the option of adding animated characters, background music, custom audio files, subtitles, properties, GIFs, and much more right from within the app!
To learn how to create a full-length animated video either from a blank project or with a pre-built template in Animaker, check out our blog - How to make animated videos.
Now, let’s head on to see how to sync the voiceover and preview the final TTS video.
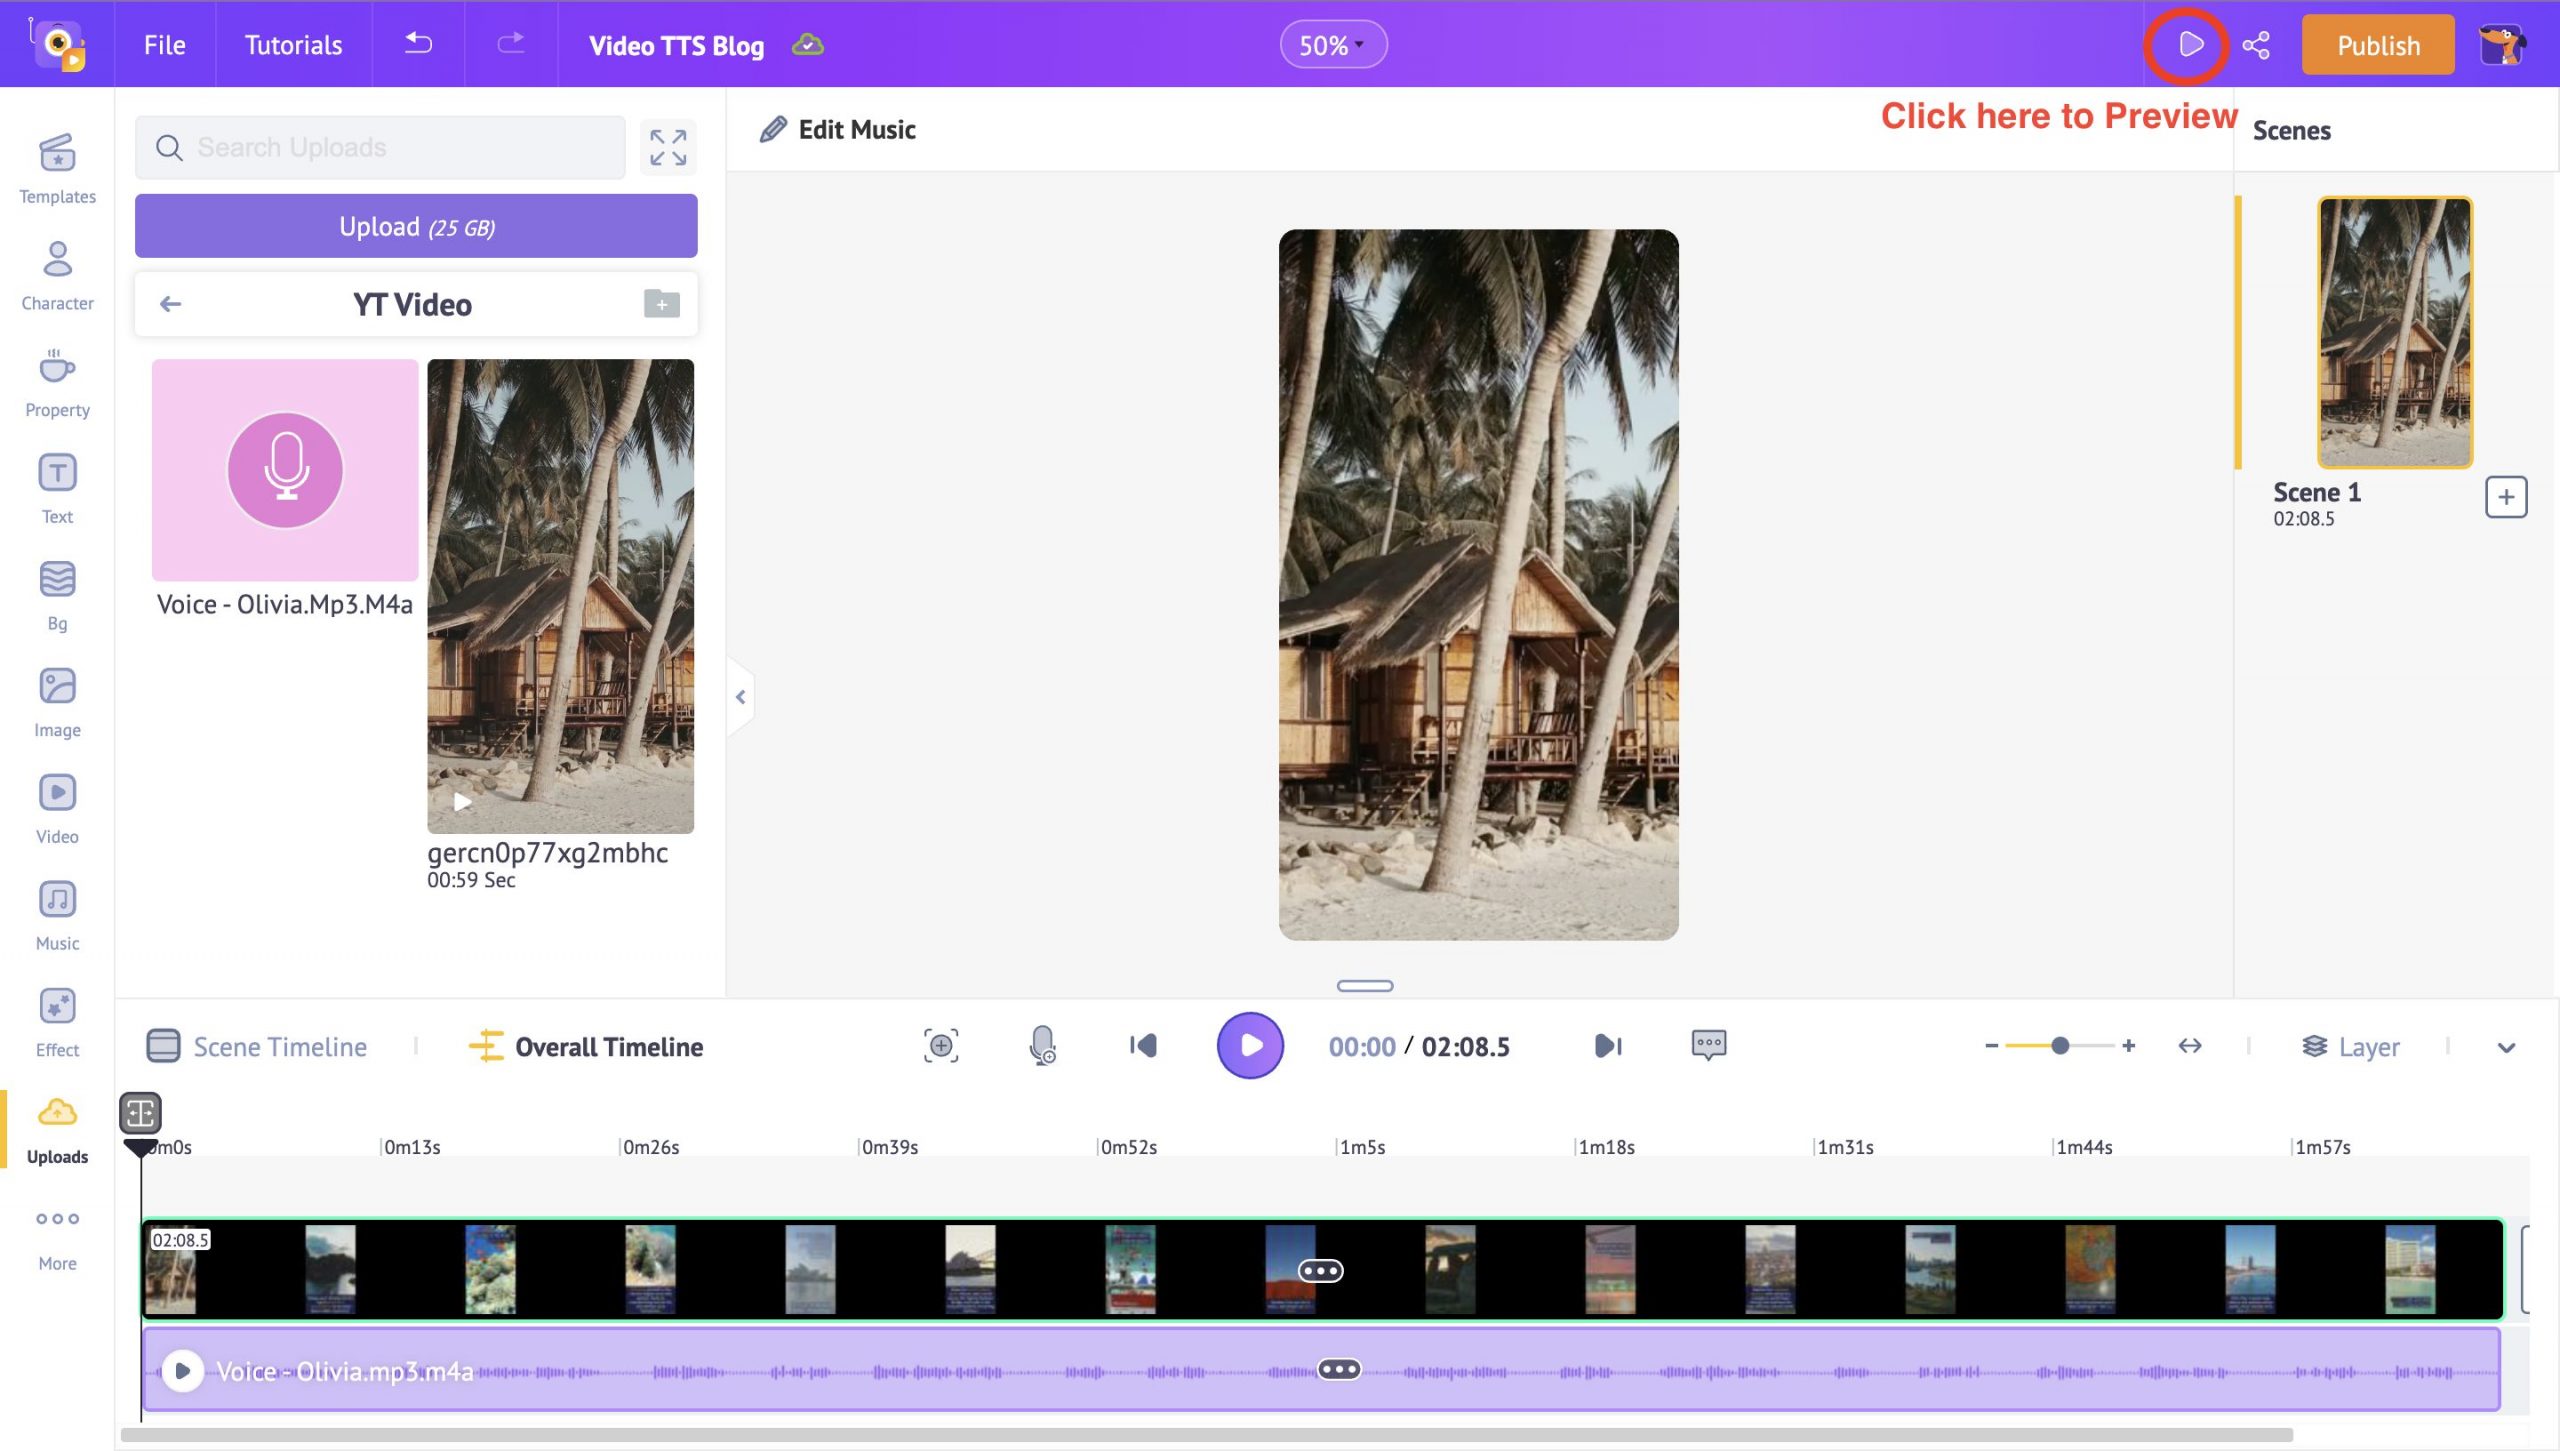
2. Sync the voiceover and preview
Once you have both the video and voiceover audio in the workspace, you can adjust them in the timeline per your needs.
To adjust when the audio should start or stop playing, simply click and drag the corners of the audio file in the timeline to the left or right on either side.
This way, you can easily sync the video and voiceover files. Once you are done, click on the Preview button at the top pane of the workspace beside the Publish button.
It’s that easy to stitch your voiceover to your video using Animaker.
Here’s a preview of the TTS video we created by following the above steps
That’s fantastic, right?
Now, let’s head on to publishing your TTS video on YouTube.
Step 3: Publish the TTS video on YouTube
After previewing the video, if you are satisfied with your work, it’s time to publish your video,
Animaker helps you instantly reach your target audience comfortably by publishing your videos directly to social media platforms like Facebook and YouTube.
Click on the Publish button and choose your relevant social media platform.
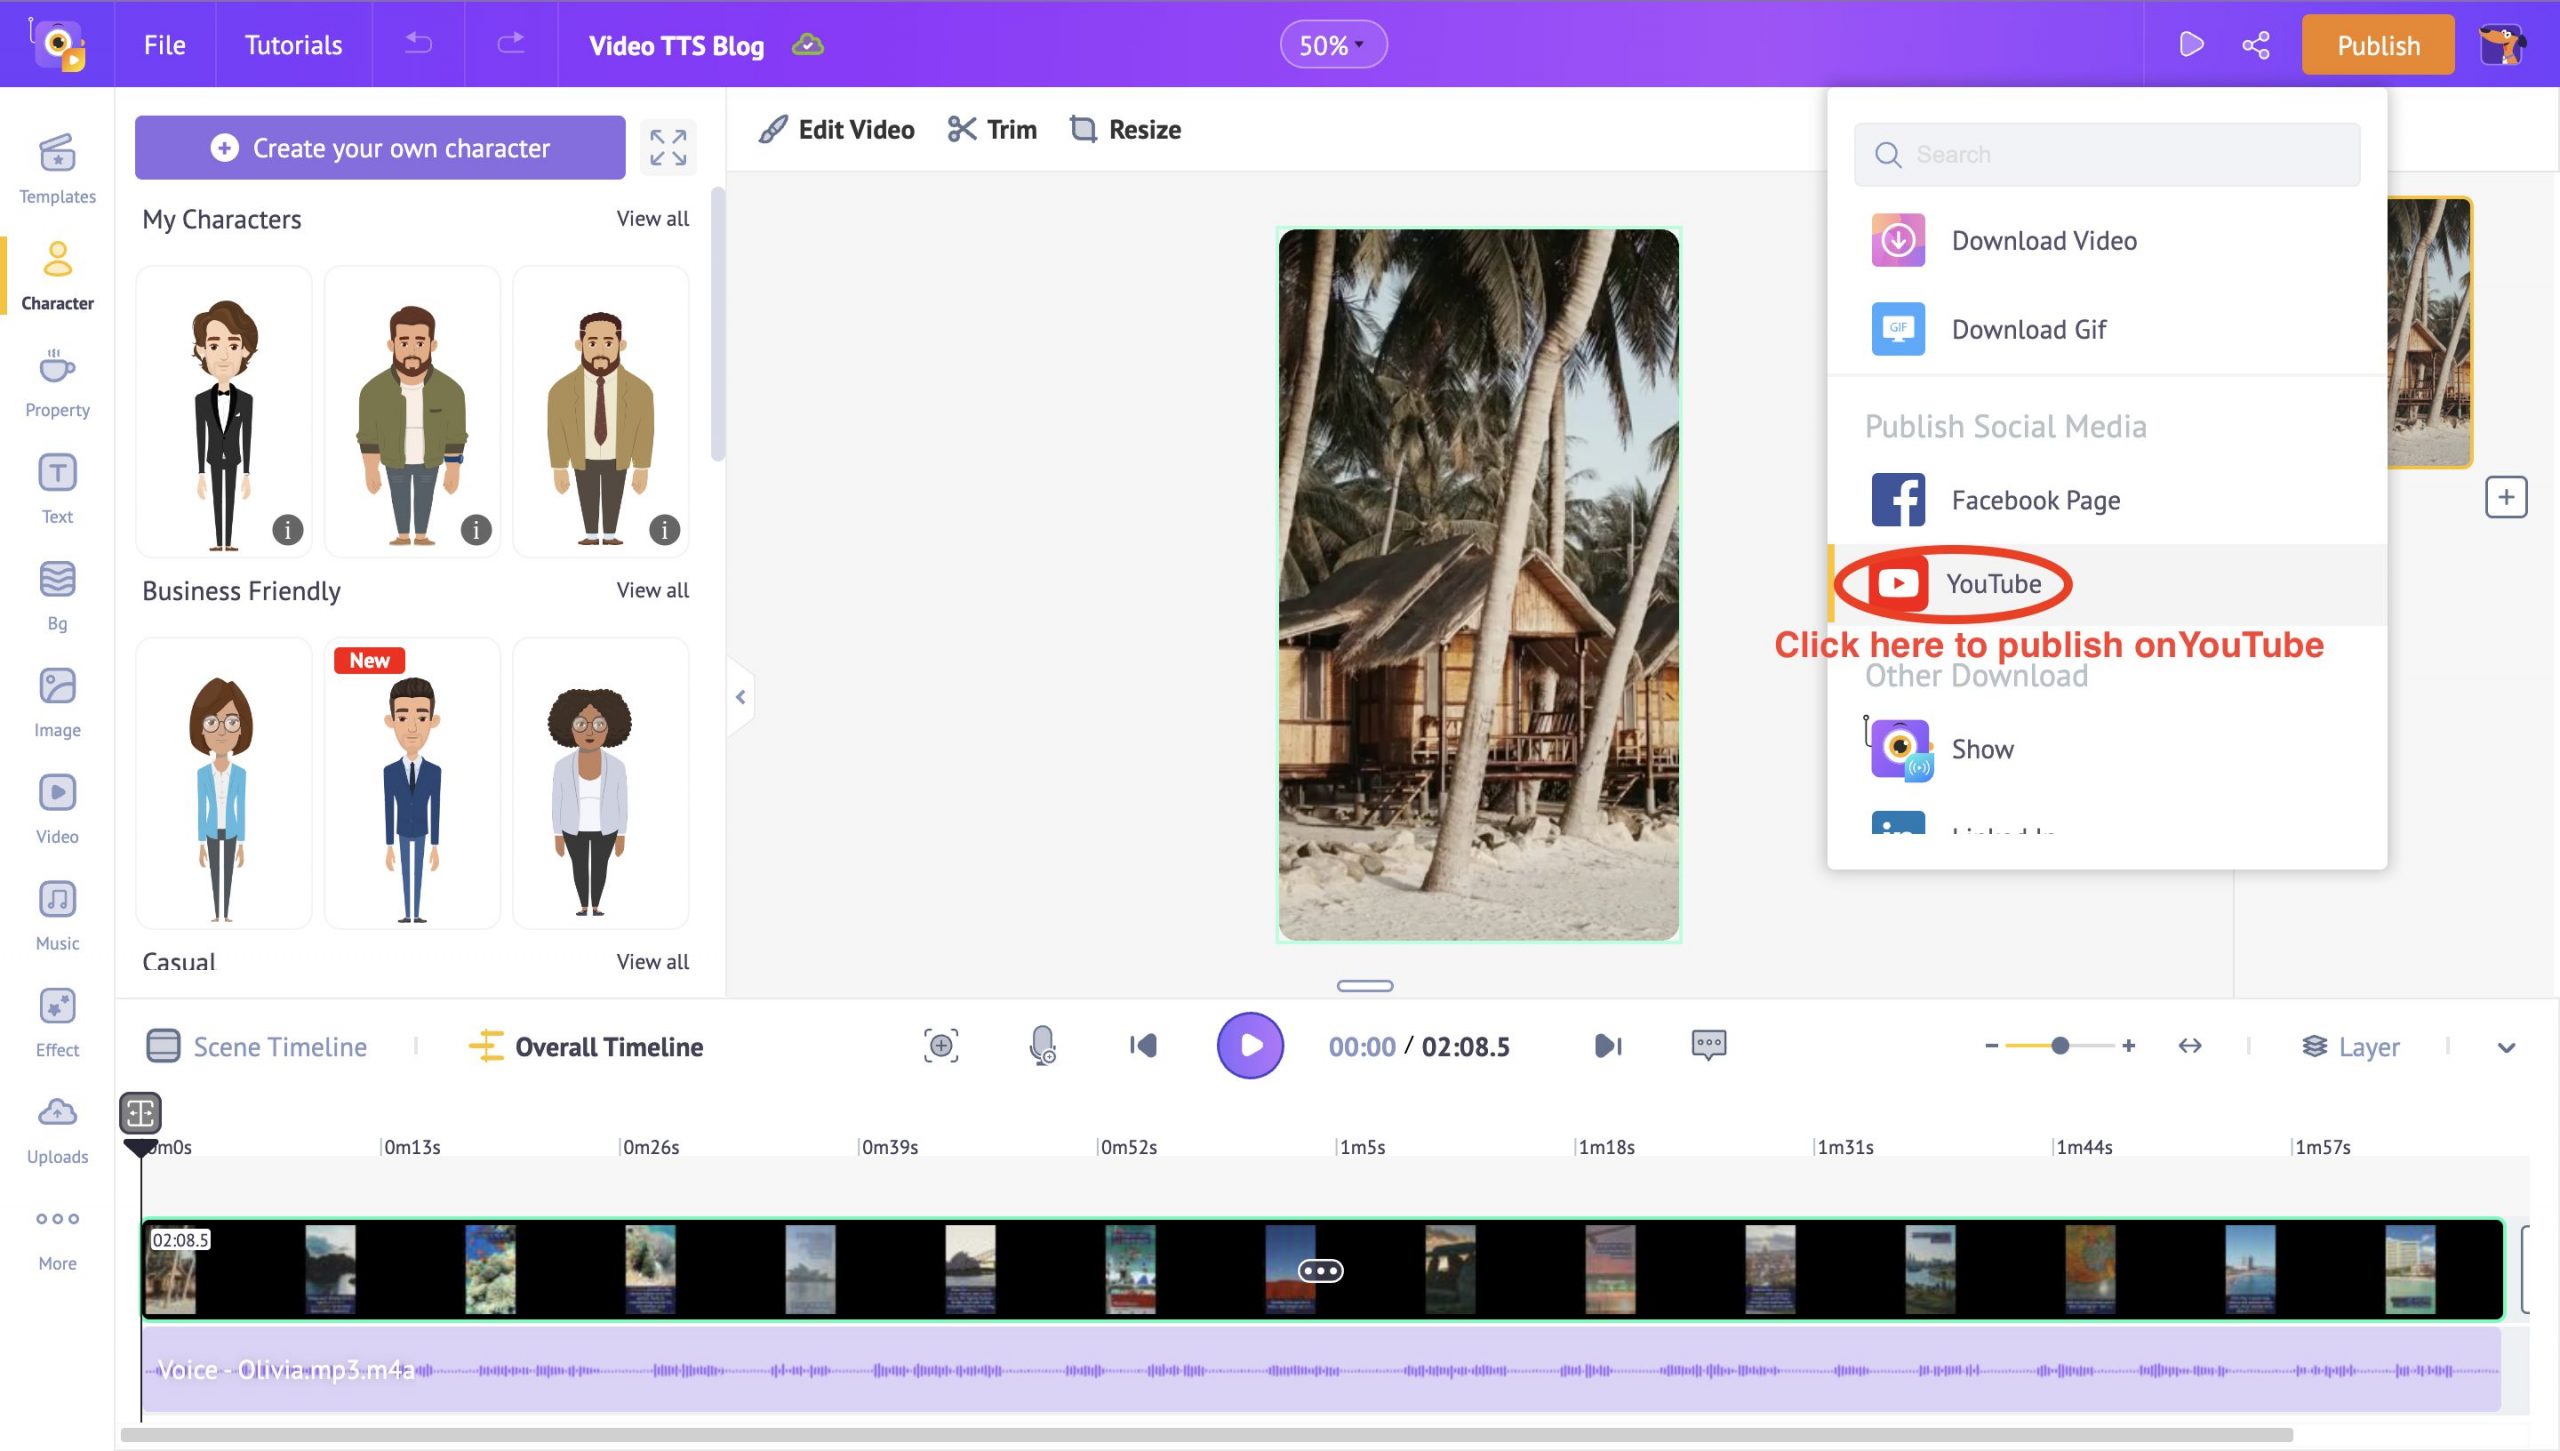
Once you upload a vertical video and publish it on YouTube, it will be uploaded to the YouTube Shorts section directly.
Apart from publishing on the platforms directly, you can also download your videos from here for future use.
It’s THAT simple to create and publish a text-to-speech video with Animaker!
**********
I hope this helps you launch your content creation journey and proudly put your first video out there!
Remember that a Text-to-speech video with a personal touch is always a cool way to share stuff online as a content creator. So go ahead and start weaving your magic out there!