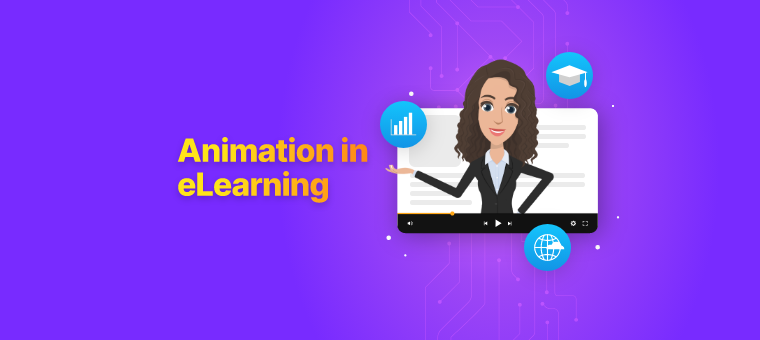
Animation in eLearning - Why, When & How to Use It Effectively!

Shreshtra - September 4, 2025 - Leave your thoughts. 11 min read
Designing training programs that truly engage learners has become one of the biggest challenges for L&D teams these days.
On one hand, employees are constantly bombarded with information, be it emails, messages, notifications, or endless streams of content.
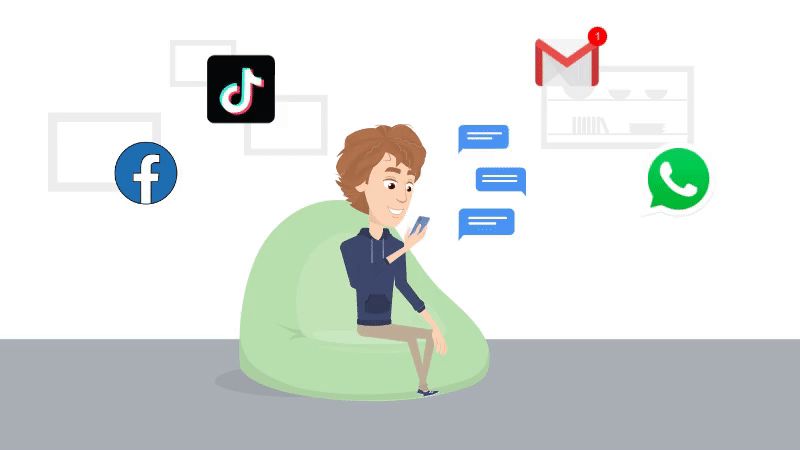
On one hand, employees are constantly bombarded with information—emails, messages, notifications, and endless streams of content.
A study even suggests that the average internet user now struggles to stay focused for less time than a goldfish!
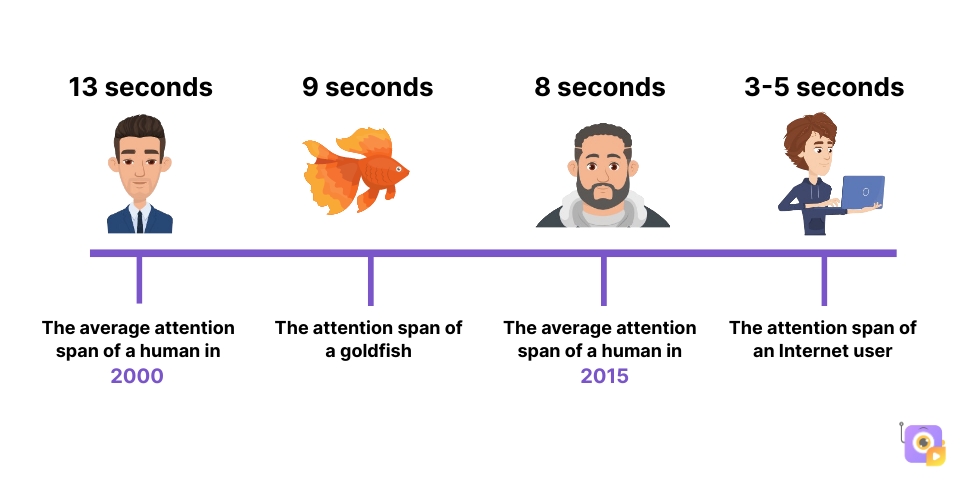
This double challenge of information overload and reduced attention span makes it harder for learners to connect with text-heavy, static eLearning content.
 Source: Devlinpeck
And even when they do, understanding and retaining the material often remains a struggle.
So, with these problems in hand, how do you deliver training that learners actually enjoy, remember, and apply?
The answer lies in bringing Storytelling, Animation, and Interactivity into eLearning.
These elements not only capture attention but also aid in better retention and understanding of the material. To put this into perspective, in this article, we’ll cover -
- Why Use Animation in eLearning
- Why Not Just Use Articulate Storyline for eLearning Content?
- When to Use Animation in eLearning?
- Tips for Creating Effective eLearning Animations
So, how exactly does animation change the way people learn? Let’s find out.
Why Use Animation in eLearning?
The best way to see the impact of animation in eLearning is by comparing it across three different course styles.
1. Basic course
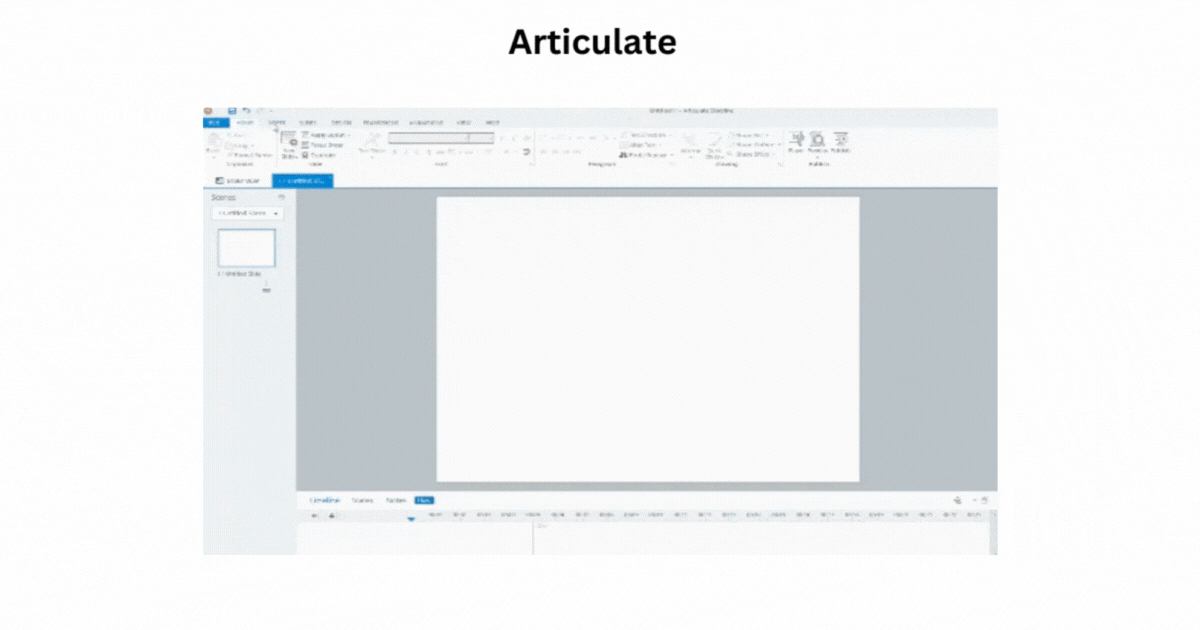
Let’s take a look at a course created using Articulate Storyline.

While the content is informative and important for healthcare learners, the delivery falls flat.
The doctor character appears only in static poses, and most of the information is laid out in plain bullet points.
Such dull and unengaging courses might reduce learner interest and retention.
This is one of Articulate Storyline's biggest downsides, as it lacks the “engaging” aspect of course creation.
It may excel at adding interactivity, but it falls short when it comes to providing engaging visual assets.
Next, let’s see how the same course looks when animation is added.
2. Animated course
Here’s an animated version of the same topic (HIPAA rules).

Can you see the difference already?
This version is visually rich and explains the rules in a clear, engaging way.
Each slide in this course has an animated video with different backgrounds, properties, animated characters, and dynamic camera movements, unlike the static visuals from the first example.
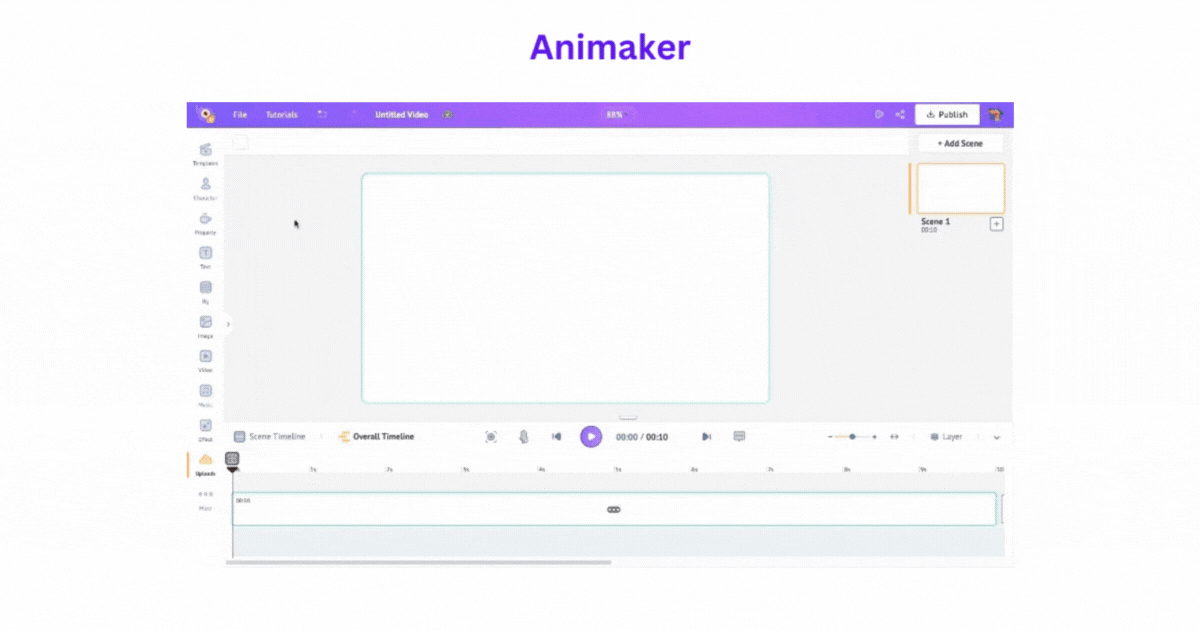
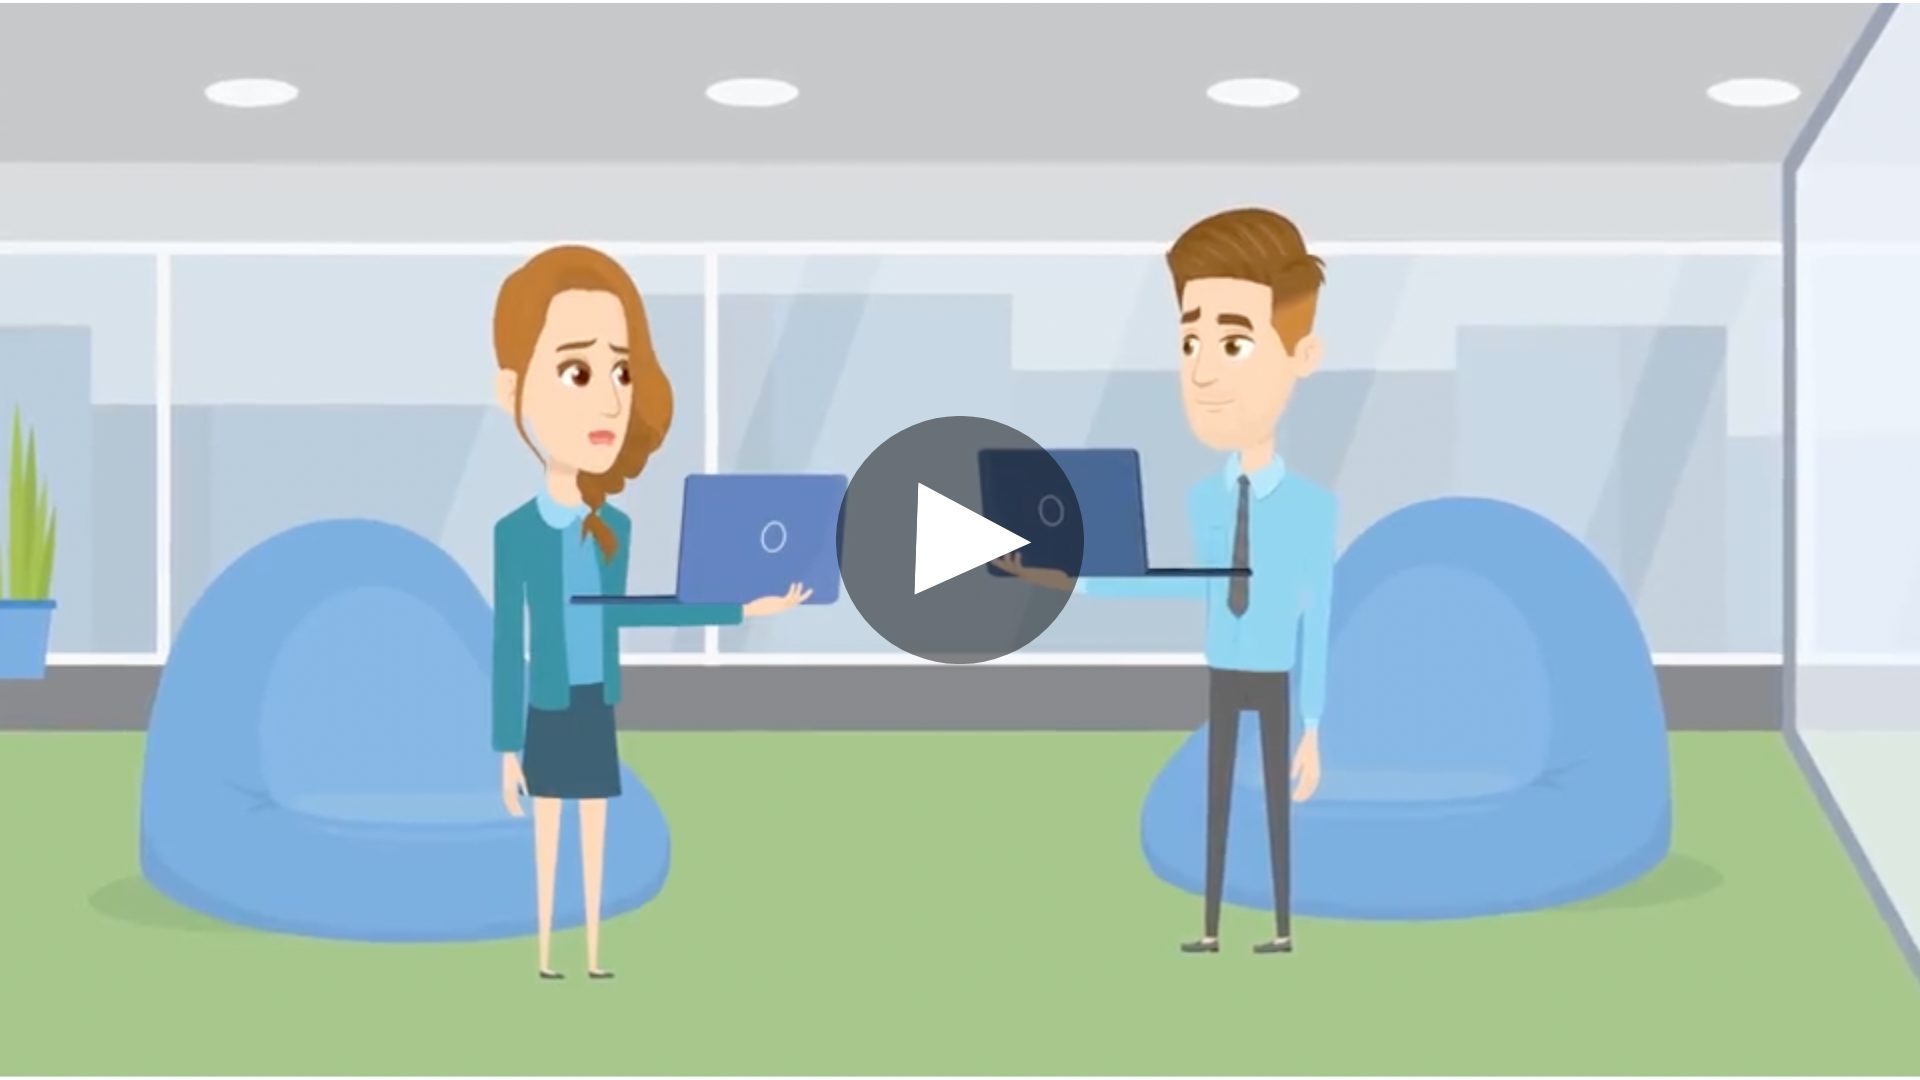
This entire animated course was created using Animaker and then integrated into Articulate Storyline.
For those new to it, Animaker is the world’s #1 animation tool for creating professional 2D animations and live-action videos.
It’s powered by AI tools like the AI Animation Generator, AI Subtitle Generator, AI Voiceover Generator, and more.
With its massive asset library, Animaker makes it simple to turn a dry, text-heavy course into a visually stimulating experience.
Paired with interactive elements from Storyline, such as Q&A sessions, the learning experience becomes both engaging and participatory.
So compared to the first course, where visuals fell short, this example shows how animation can capture attention, boost clarity, and keep learners invested.
Now, let’s look at the final example - a scenario-based course.
3. Animated scenario-based course
There is one more immersive factor that can make eLearning courses even more engaging and fun.
And THAT is scenario-based.
How, do you ask?
Think of Netflix’s Bandersnatch or You vs. Wild. How did those shows make you feel?

Though the shows were all pre-made, the plot and its flow were decided by you, the viewer.
For those unfamiliar with these shows, Bandersnatch lets viewers guide a young programmer through key decisions as he develops a video game, leading to multiple possible endings based on their choices.
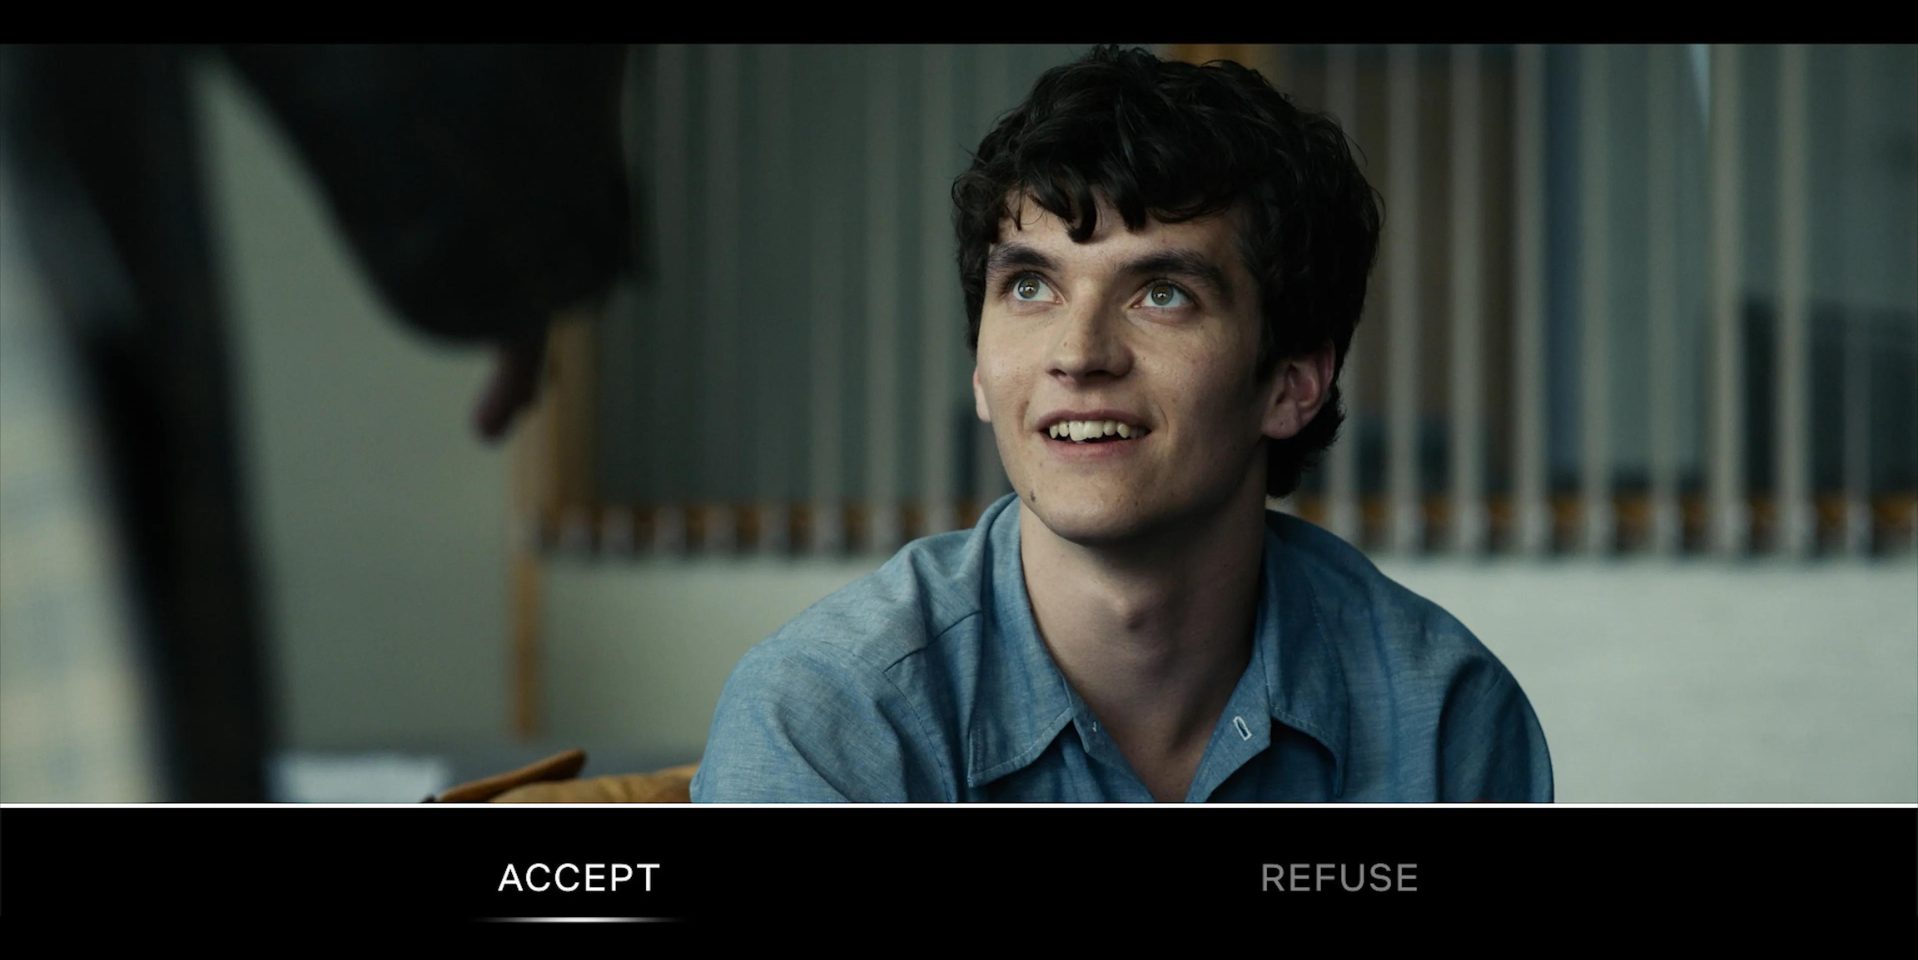
In You vs. Wild, you help Bear Grylls survive challenging situations.

These shows leave a lasting impact by putting you in the protagonist's shoes, and the choices you make will lead to different outcomes in the show.
Now imagine applying that same concept to eLearning.
What if learners could step into the shoes of a character, make decisions, and experience different outcomes based on their choices?
That’s exactly what scenario-based learning does - it combines storytelling, decision-making, and feedback to create powerful learning journeys.
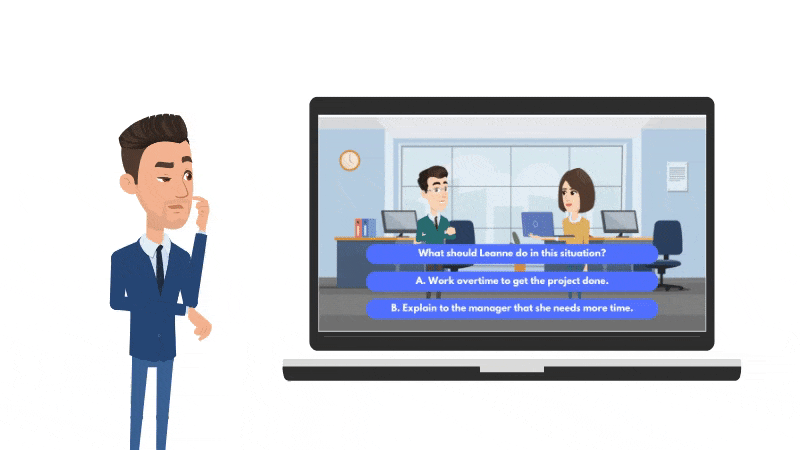
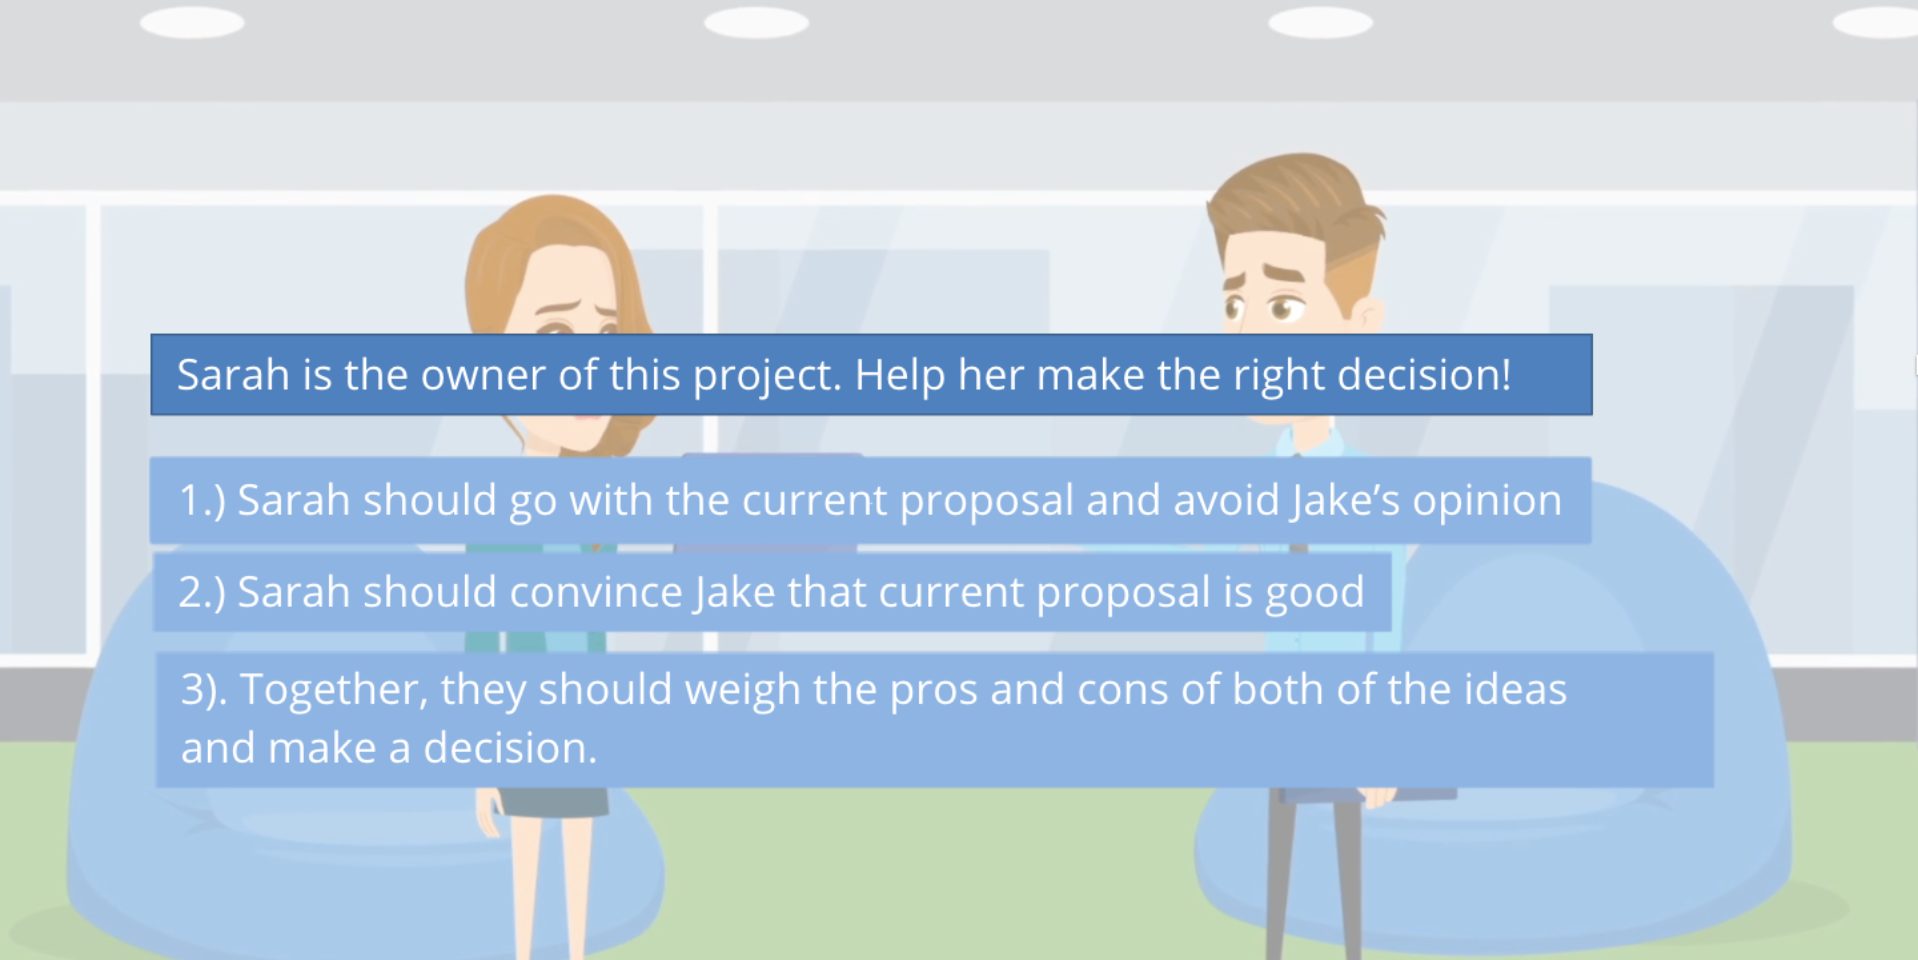
Take this example of a course built with Animaker + Articulate Storyline -
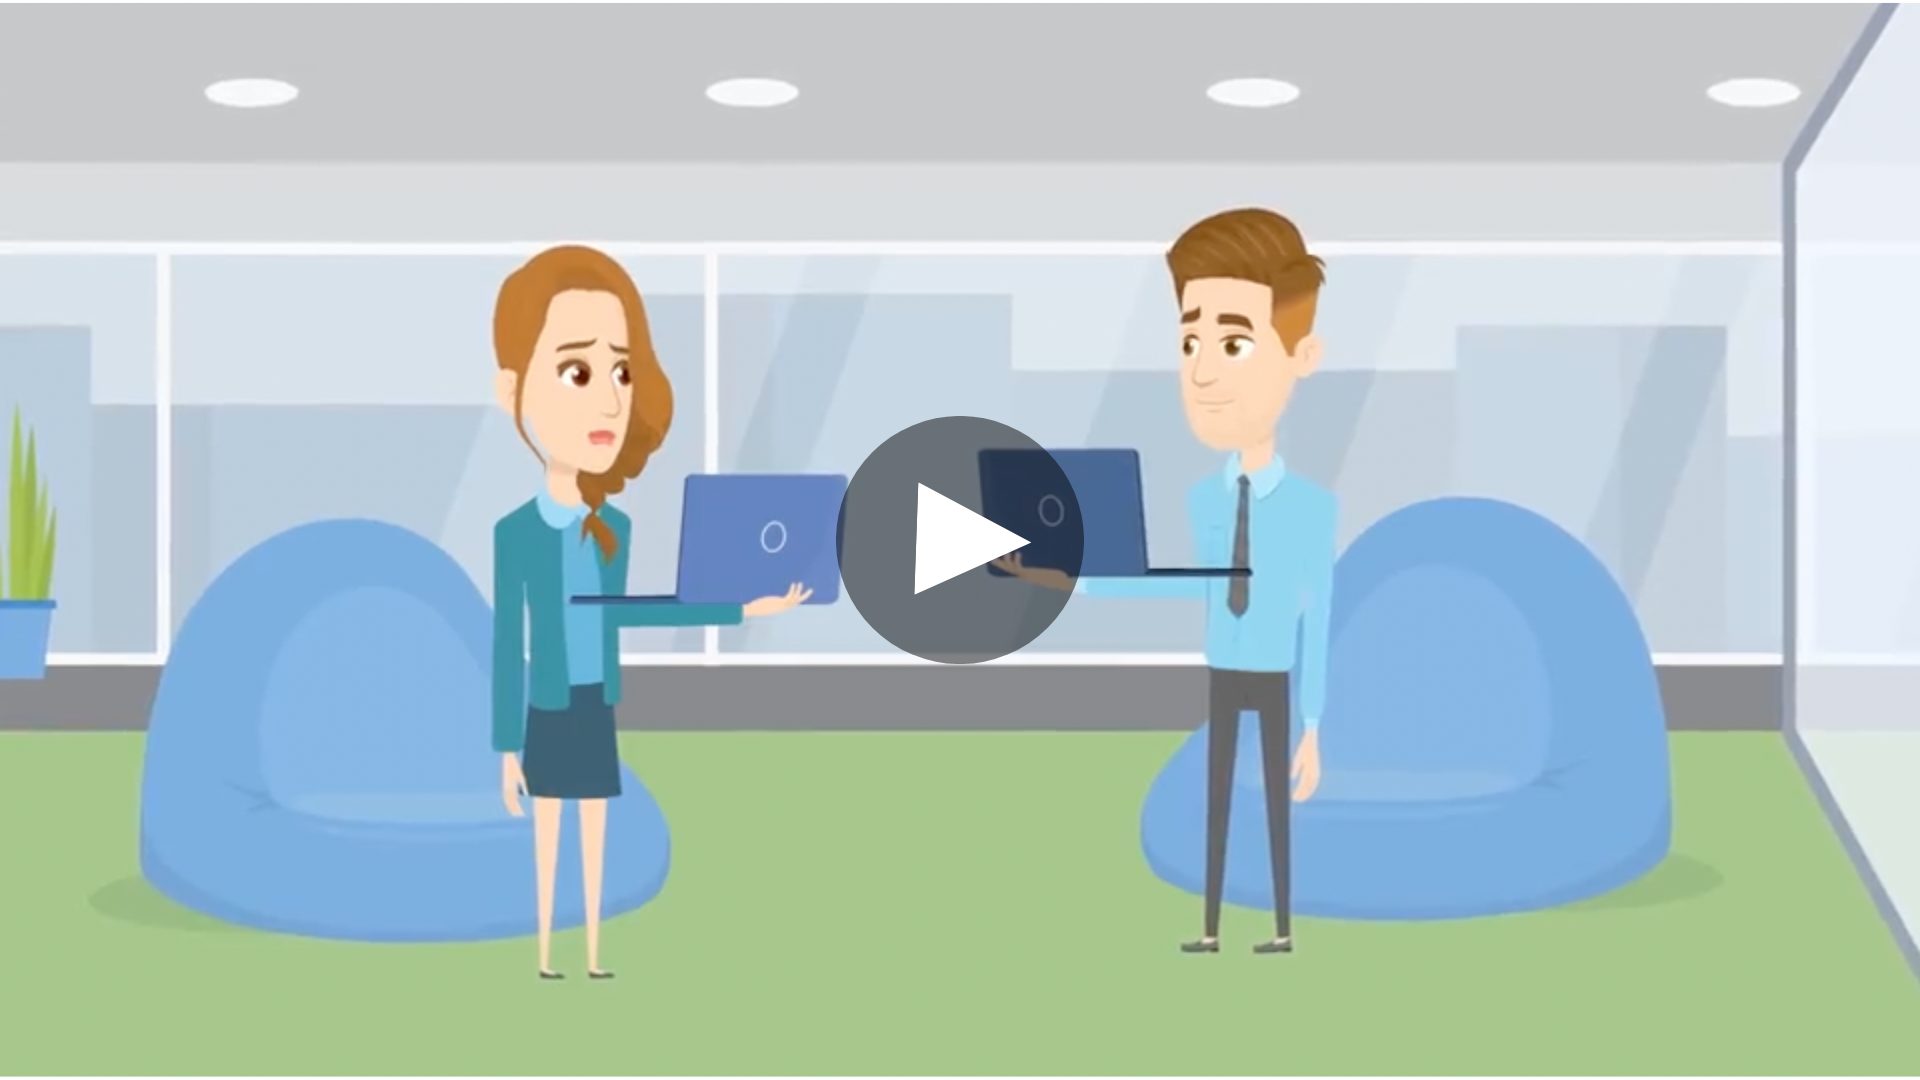
Isn’t this far more engaging than the courses you saw earlier?
In this animated course on team etiquette, learners guide Sarah, a new employee, through real workplace challenges.
Each decision shapes her journey, making the learner an active participant rather than a passive observer.
The animated characters and their different expressions add depth to the course and make the learning experience more immersive.
By stepping into Sarah’s shoes and navigating tricky situations, learners stay engaged and retain knowledge much longer than with static, non-interactive courses.
That’s the power of interactive Scenario-based learning!
After seeing the three examples above, the difference in engagement is clear, perfectly illustrating the impact of animation in eLearning.
Animation is what turns ordinary courses into powerful learning experiences, and that’s exactly why L&D teams should start incorporating it into their training modules.

While animation clearly elevates engagement, you might wonder - can’t Articulate Storyline handle all of this on its own?
Let’s take a closer look.
Why Not Just Use Articulate Storyline for eLearning Content?
Articulate Storyline and its suite of tools are widely used for building eLearning modules, but on its own, it’s not always enough.
As we mentioned earlier, Storyline excels at adding interactivity, yet it falls short when it comes to creating visually engaging content.
Let’s break down the reasons why and how Animaker can help bridge the gap!
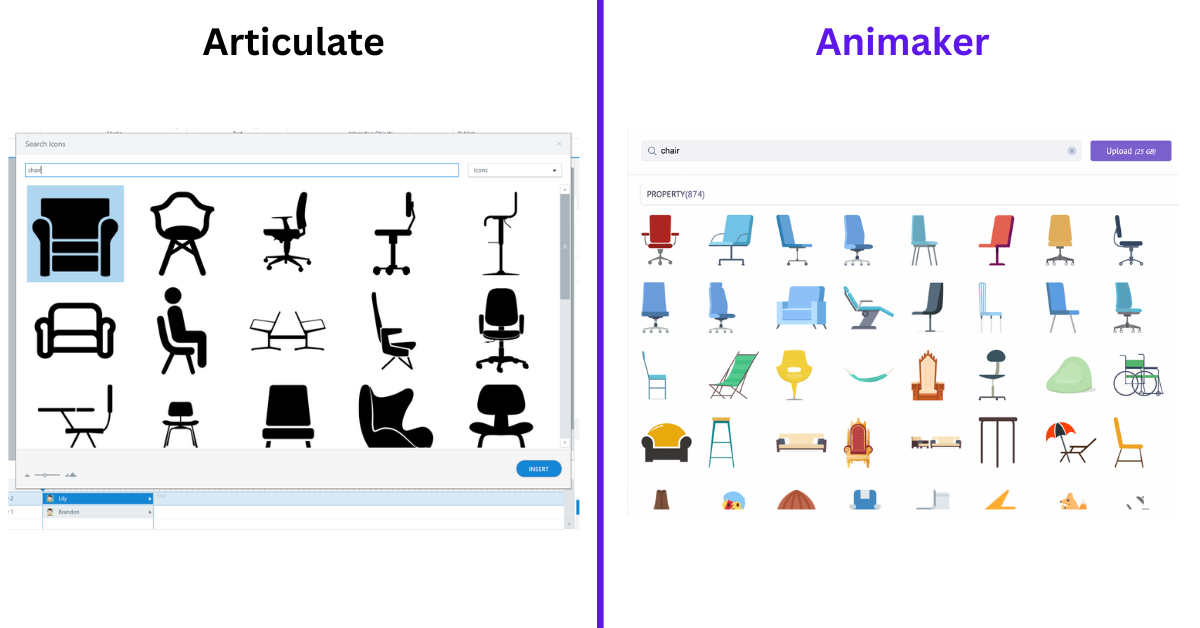
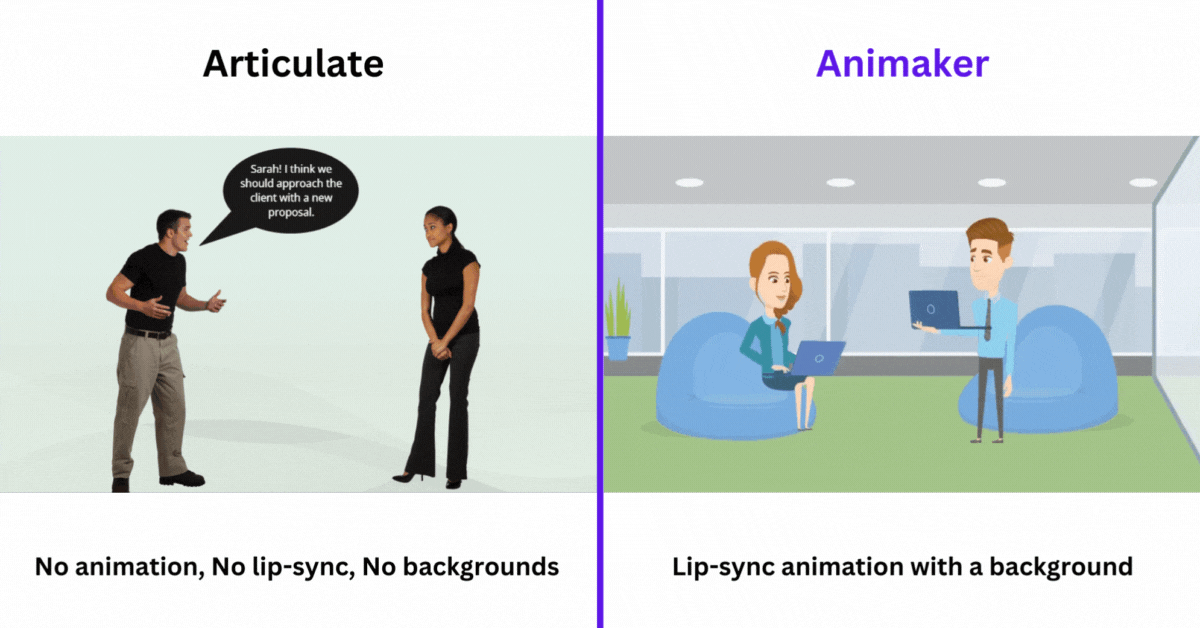
1) Animated Character Library
One of Storyline’s biggest limitations is its character library. The characters look lifeless, and the poses are just static screenshots, resulting in a monotonous and unengaging experience.
Animaker, in contrast, offers a rich solution. Its extensive character library spans industries like healthcare, retail, education, construction, law enforcement, and manufacturing.
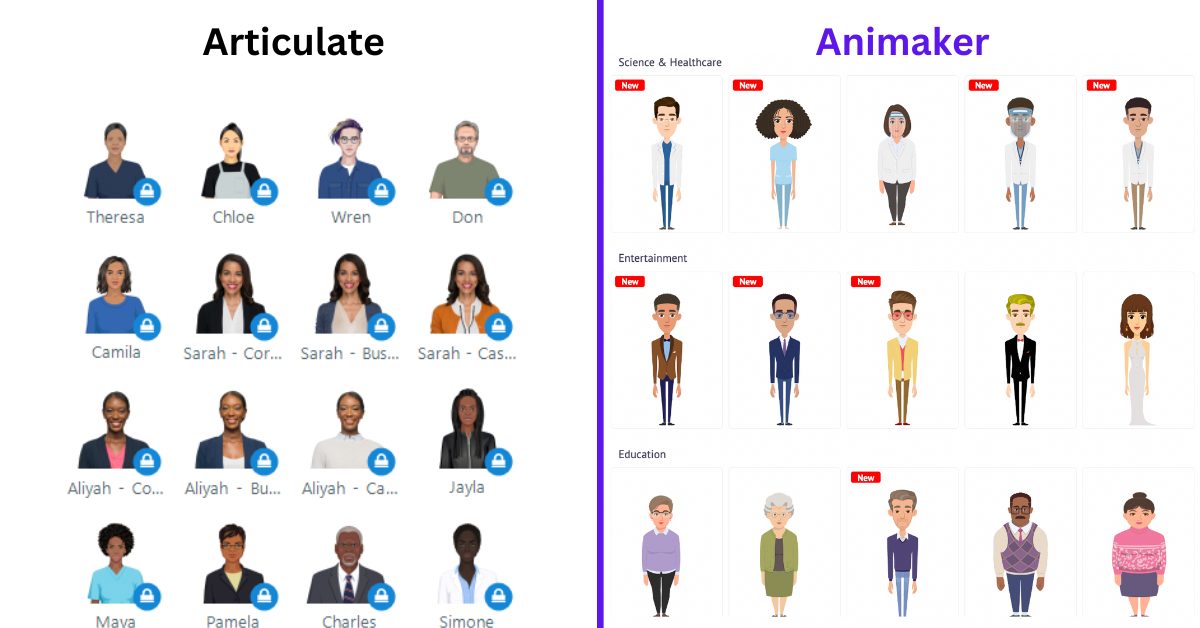
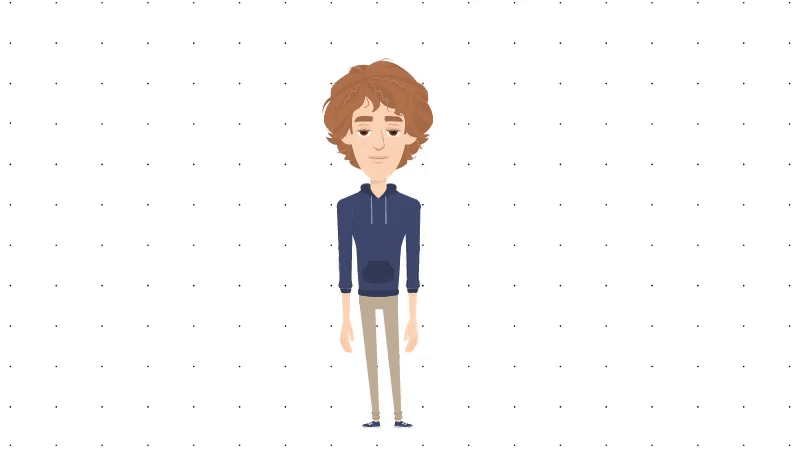
Look at this comparison of characters from Articulate Storyline and Animaker. I have added the same pose/action (talking while pointing at something) in both of these tools.
You can look at the stark difference between the two.
One is just a screenshot of a character “talking”, while the other is actually an animation of a character talking while pointing.
L&D teams can, therefore, use Animaker to create animated avatars that can guide employees throughout the course content.
Animaker also has the option to create custom characters from scratch. This allows L&D teams to personalize their eLearning content by even adding brand logos.
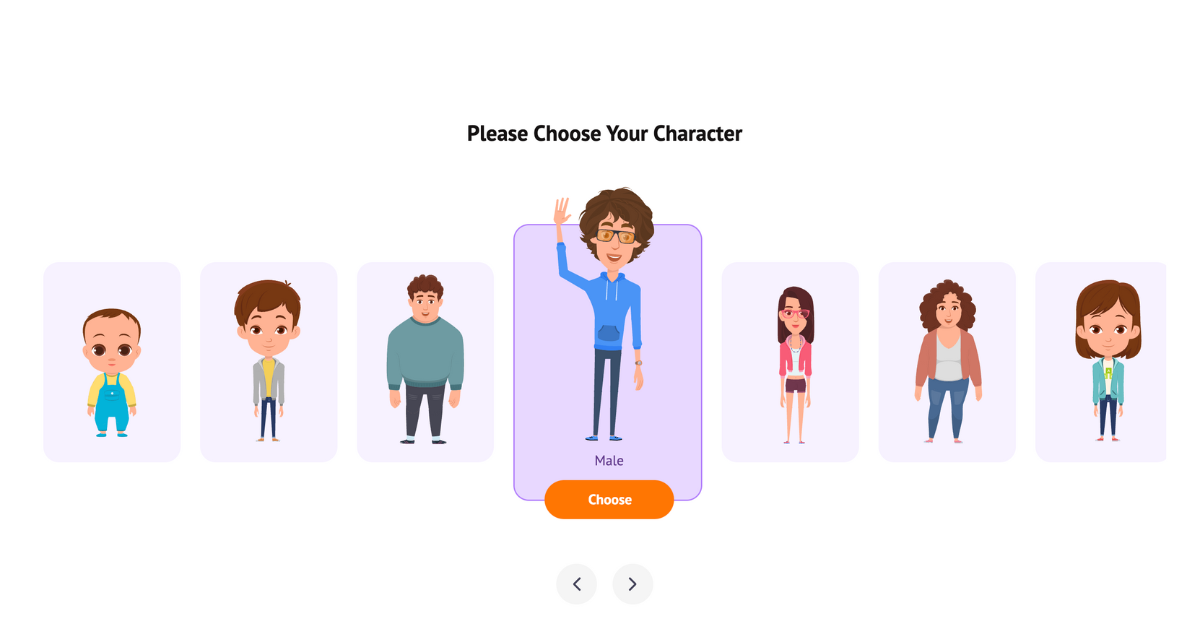
Most importantly, you can animate the characters from a collection of 1000+ animated actions with a single click, which is not possible with Storyline.
Animations can be used to depict respectful interactions and positive workplace dynamics in diversity and inclusion training. This can make even the most boring policy or compliance videos interesting.
2) Asset Library
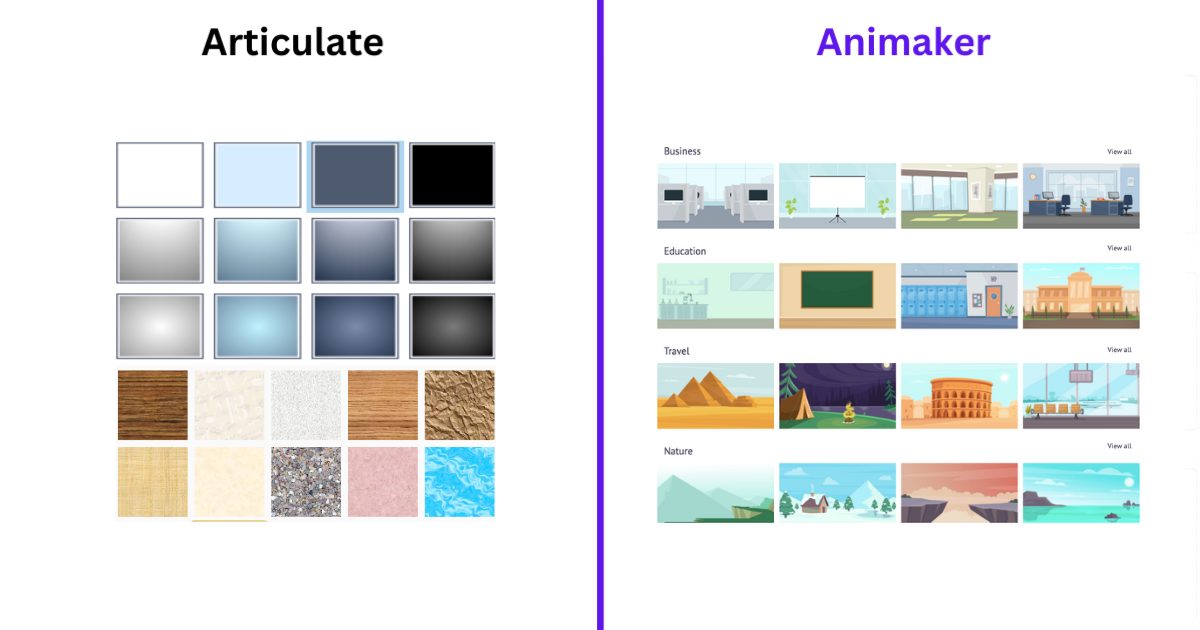
Storyline’s in-app assets are outdated and not customizable.
Meanwhile, Animaker has a rich media library with over 150M+ assets, including 2D backgrounds, icons, stock images, videos, and royalty-free music. The best part is that all of these assets are customizable.
Plus, Articulate Storyline does not have 2D backgrounds. Apart from dull and boring backgrounds, it has textured backgrounds that are not suitable for corporate eLearning.
So, with Animaker’s asset library, you can easily break complex concepts into easily digestible visuals.
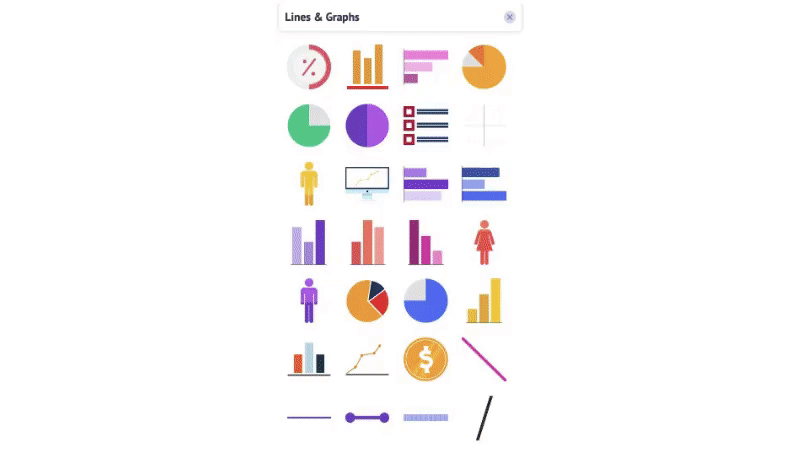
Animaker also has a huge collection of charts and graphs to enhance your videos! Imagine explaining data-filled reports with animated charts and icons. It will definitely make the video more interesting to watch.
3) Scenario-based learning
Articulate Storyline is excellent for adding interactivity to eLearning courses, but on its own, it lacks the tools to create visually rich, scenario-based content with animated characters and dynamic visuals.
With Animaker’s extensive features like animated characters, one-click animations, a vast asset library, and AI tools like AI voiceovers and subtitle generation, L&D teams can design scenario-based courses that mirror real-world situations employees may face.
These interactive animations allow learners to make a choice that may impact the outcome, personalizing the learning experience and highlighting potential consequences.
All these reasons show that Articulate Storyline alone cannot fully deliver visually rich, scenario-based courses.
By combining Animaker’s animation capabilities with Storyline’s interactivity, L&D teams can create truly engaging and immersive courses like the examples shown earlier.
Click the link to learn how to create elearning videos using these two tools.

Now that we’ve seen why animation in eLearning is so impactful, the next step is understanding when to use it.
When to Use Animation in eLearning?
Animation is a powerful tool, but its true value comes from knowing where it adds the most impact. Using animation in the right contexts ensures it supports learning rather than distracting from it.
Here are the best scenarios for Incorporating Animation -
1. Complex Concepts and Processes
When content involves multi-step processes, workflows, or abstract ideas, animation can break them down visually for better comprehension.
2. Scenario-Based Learning
When learners need to practice decision-making or navigate real-world situations, animated scenarios help them experience consequences without risk.
For example, in the course above, learners can step into the shoes of Alex or Sara, a sales rep on a discovery call.
They’re tasked with selecting the best approach to secure the deal while also facing the consequences of poor decisions in a safe, controlled environment.
3. Compliance and Policy Training
Topics that are usually text-heavy and dull, such as compliance rules or workplace policies, become more engaging when accompanied by animated characters, illustrations, or visual storytelling.
For example, consider the above workplace etiquette training module where learners guide Sarah, a new employee, through challenging situations.
Instead of passively reading policies, they actively make decisions on Sarah’s behalf, experiencing the outcomes and learning from mistakes without real-world consequences.
4. Skill Demonstrations
For technical or software-based skills, animation can show exactly how tasks are performed, reducing confusion compared to static screenshots or text instructions.
Tips for Creating Effective eLearning Animations
Once you decide to use animation, here’s how to make it truly impactful -
- Keep It Purpose-Driven - Every animation should have a clear learning objective. Avoid adding motion just for decoration, as it can distract learners from the main concept.
- Use Storytelling - Characters, narratives, and relatable scenarios make content stick better than plain explanations.
- Maintain Simplicity - Don’t overload with too many moving elements. Focus attention on key ideas.
- Sync Visuals with Audio/Text - Reinforce learning by aligning narration, text, and visuals instead of overwhelming learners with all at once.
- Keep Duration Short - Break long lessons into bite-sized animated modules for better retention.
- Test for Accessibility - Ensure animations are supported with captions, transcripts, or alternate explanations for inclusivity.
***
Animation in eLearning is no longer a “nice-to-have”. It is a must-have for modern training.
It drives engagement, boosts retention, and helps learners apply knowledge in real-world situations.
And when paired with interactivity, it elevates static lessons into immersive journeys where learners can practice, explore, and make decisions in a safe environment.
This blend of storytelling, visuals, and choice-based learning creates an impact far beyond traditional slide-based courses.
For L&D teams, the takeaway is clear: animation is not just about making content look good, it’s about making learning stick.
With Animaker, you get everything you need to create professional, impactful eLearning animations that integrate easily with tools like Articulate 360 and Adobe Captivate.
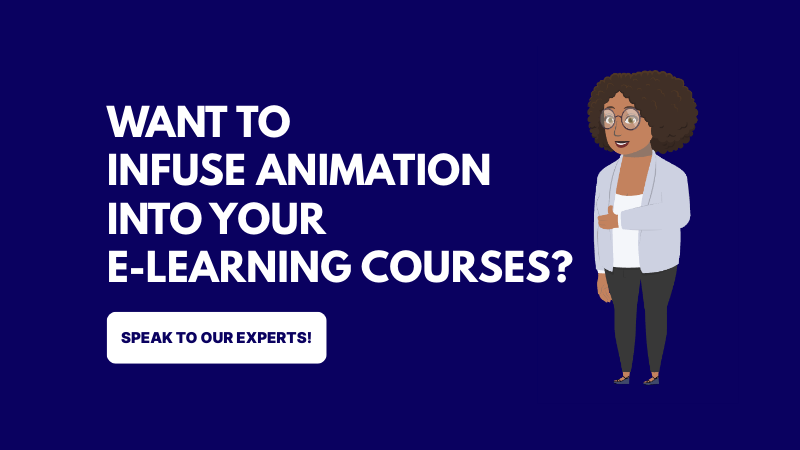
If your company requires personalized videos for L&D, click on the banner below. Our L&D experts will be happy to help you out!