How to add subtitles to MP4 Videos [Both Online and Offline!]

Aksara NKR - May 2, 2023 - Leave your thoughts. 10 min read
A subtitle is a textual representation of the audio of a video or a film. Typically, it is positioned in the bottom of the video screen and offers the audience the translation of the audio. They are similar to captions as they provide accessibility tools for deaf or hard-of-hearing audiences.
Why are subtitles important for a video?
Subtitles are very important and act as a crucial element for a video mainly because they make videos more accessible to a wider audience. For example, people who are deaf or hard of hearing, or those who speak a different language, can benefit a lot from subtitles. With subtitles, anyone can watch the video and understand what is being said.
Additionally, subtitles also act as a means of enhancing the viewing experience by providing additional context or information that is not apparent from the audio like background noises. Moreover, subtitles also support the accessibility of video content across all devices by making it optimized for the video & user experience.
How to add subtitles to MP4?
Adding subtitles to MP4 is a simple task. In this article, we will check out different ways you can add subtitles to your MP4 video, both online and offline.
For Online method, we we will show you how to add beautiful subtitles to your MP4 straight from your browser using a cool subtitle generator. And with the offline method, we will show you four different ways.
How to add subtitles to MP4 Online using Animaker Subtitles
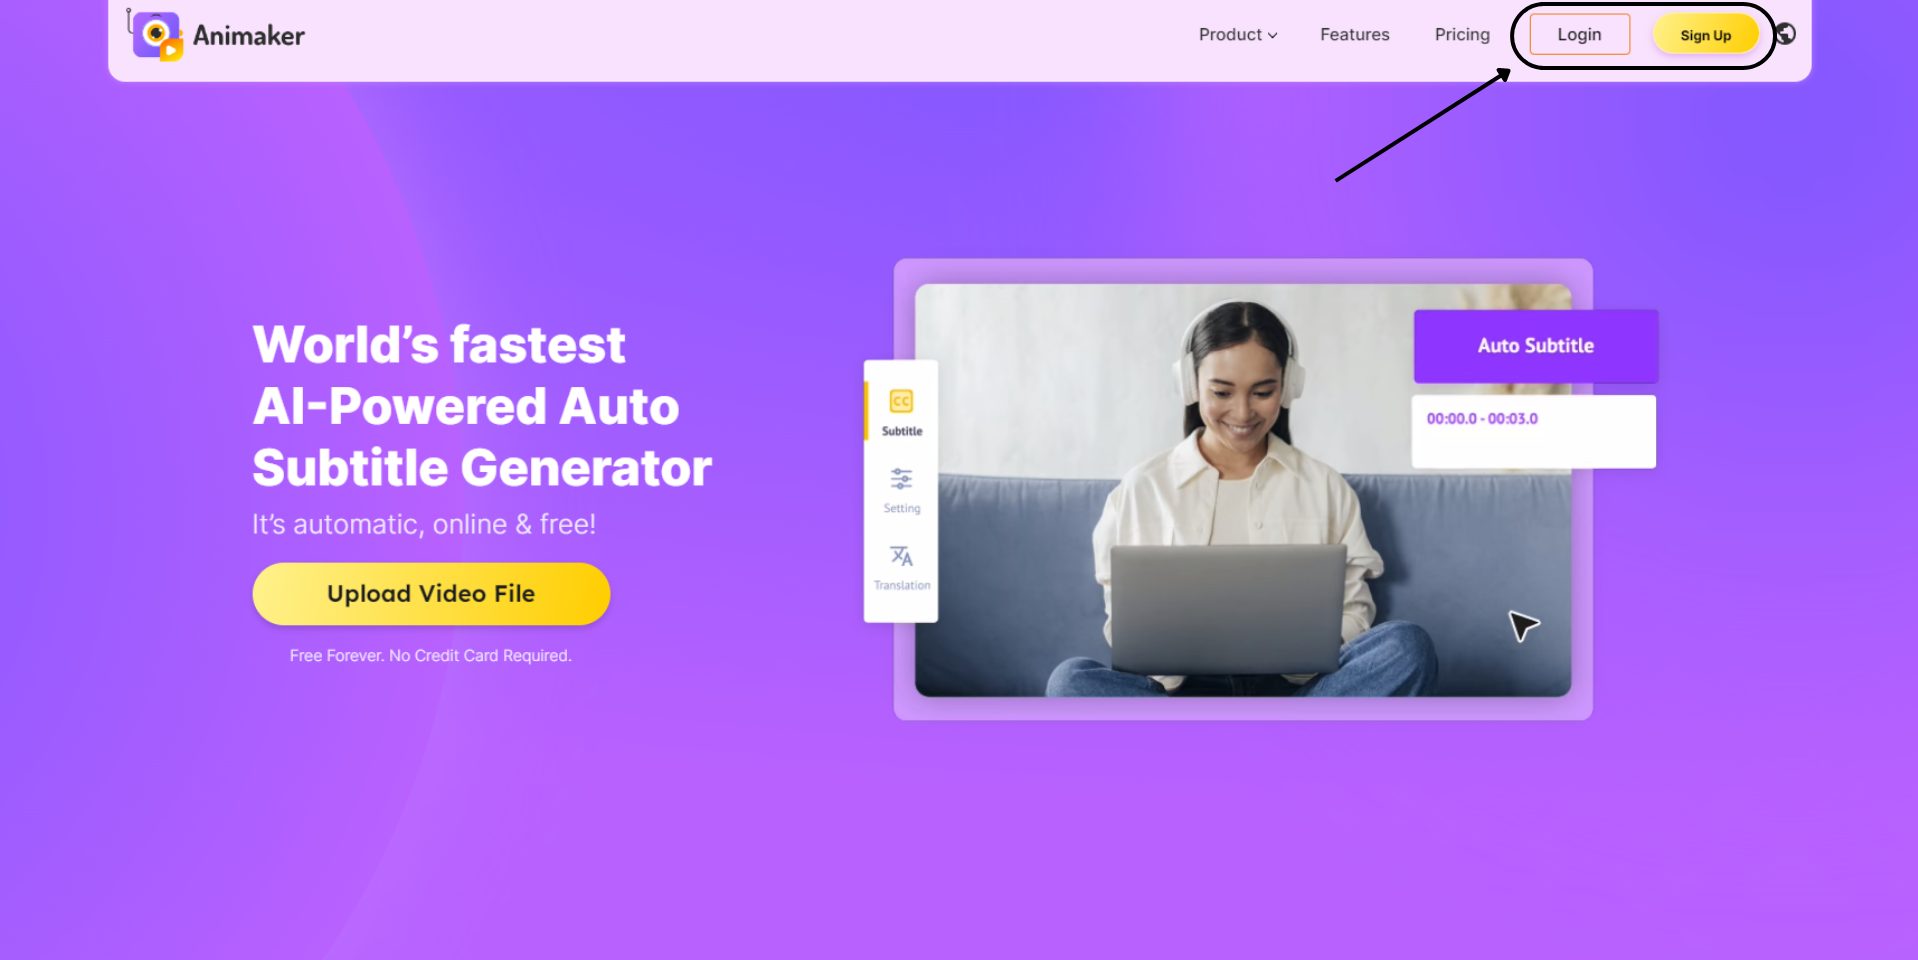
Animaker Subtitles is an automatic online subtitle generator tool that uses the technology of AI and allows you to add subtitles easily.
Using Animaker Subtitles, you can easily generate subtitles in a jiffy and customise it as your wish!
In fact, it is one of the easiest options among the different ways to add subtitles.
Let’s see how to add subtitles to mp4 using Animaker Subtitles!
Step 1. Create a new subtitle project
Get started by signing up with Animaker Subtitles or simply log in to your account.
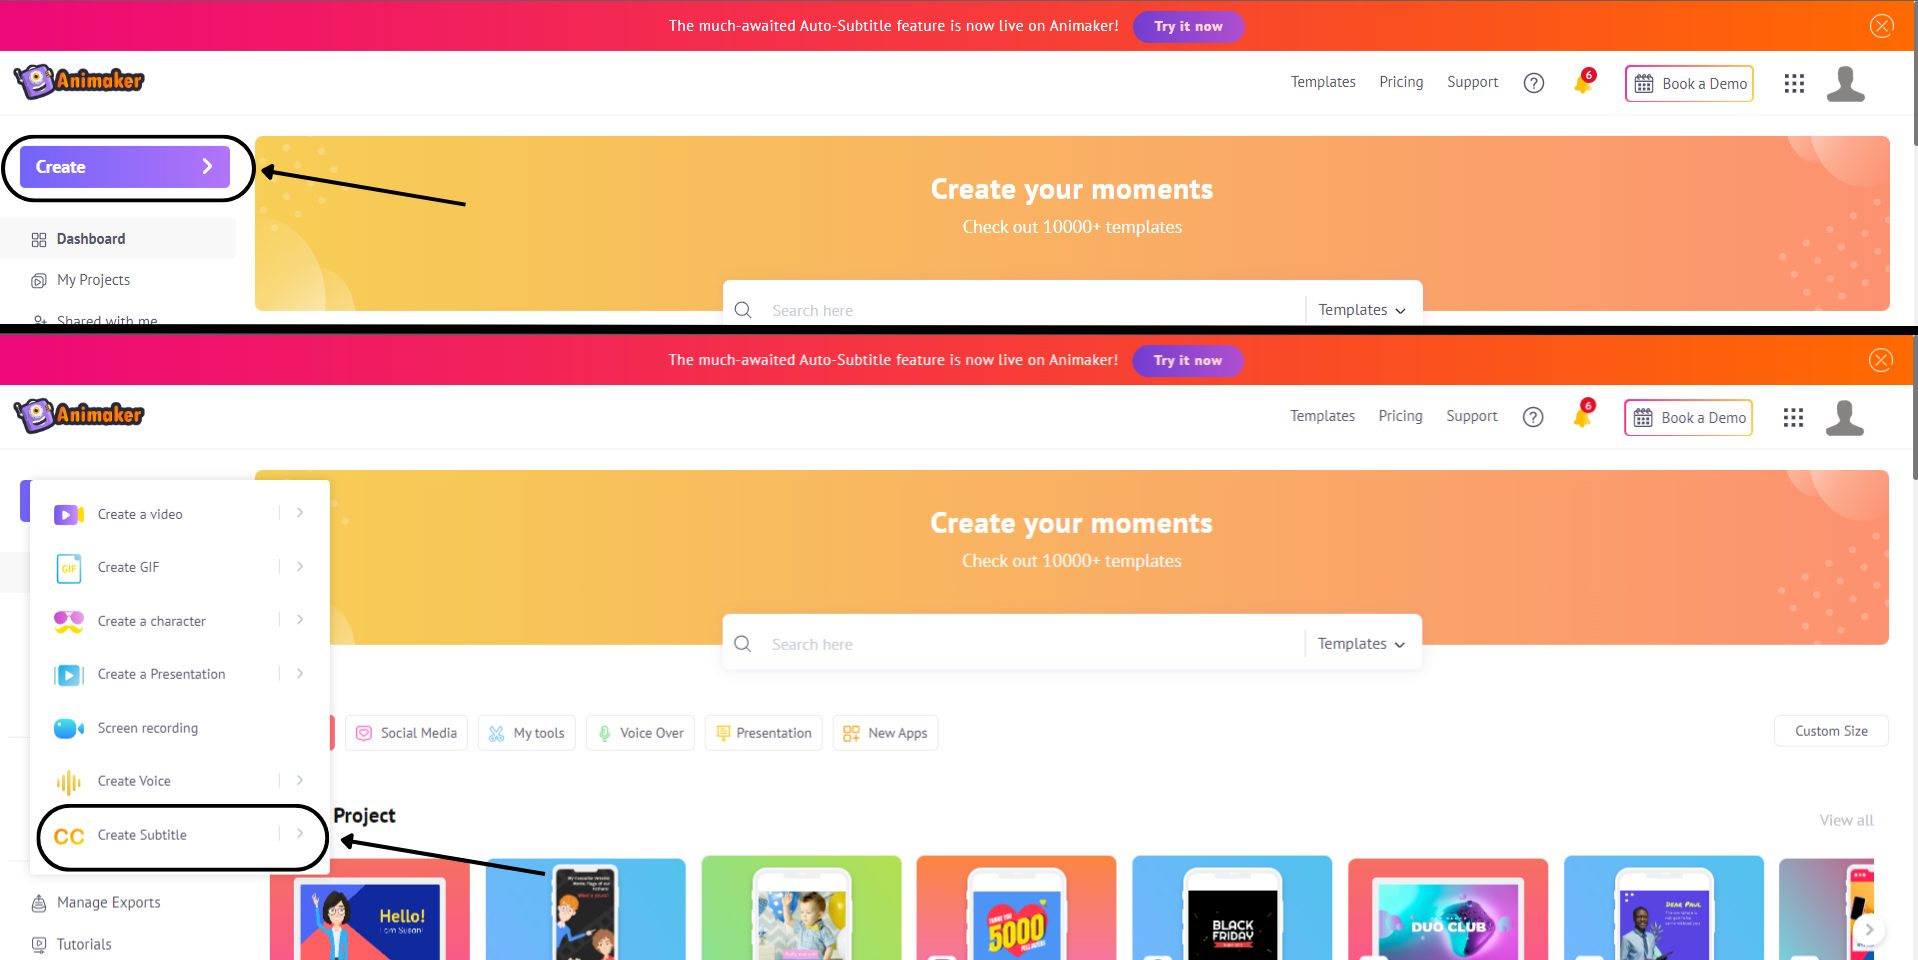
Once you sign up or log in, create a new subtitle project from the home screen. To create a new subtitle project, click on create > click on create subtitle.
Step 2. Upload your video to Animaker subtitles
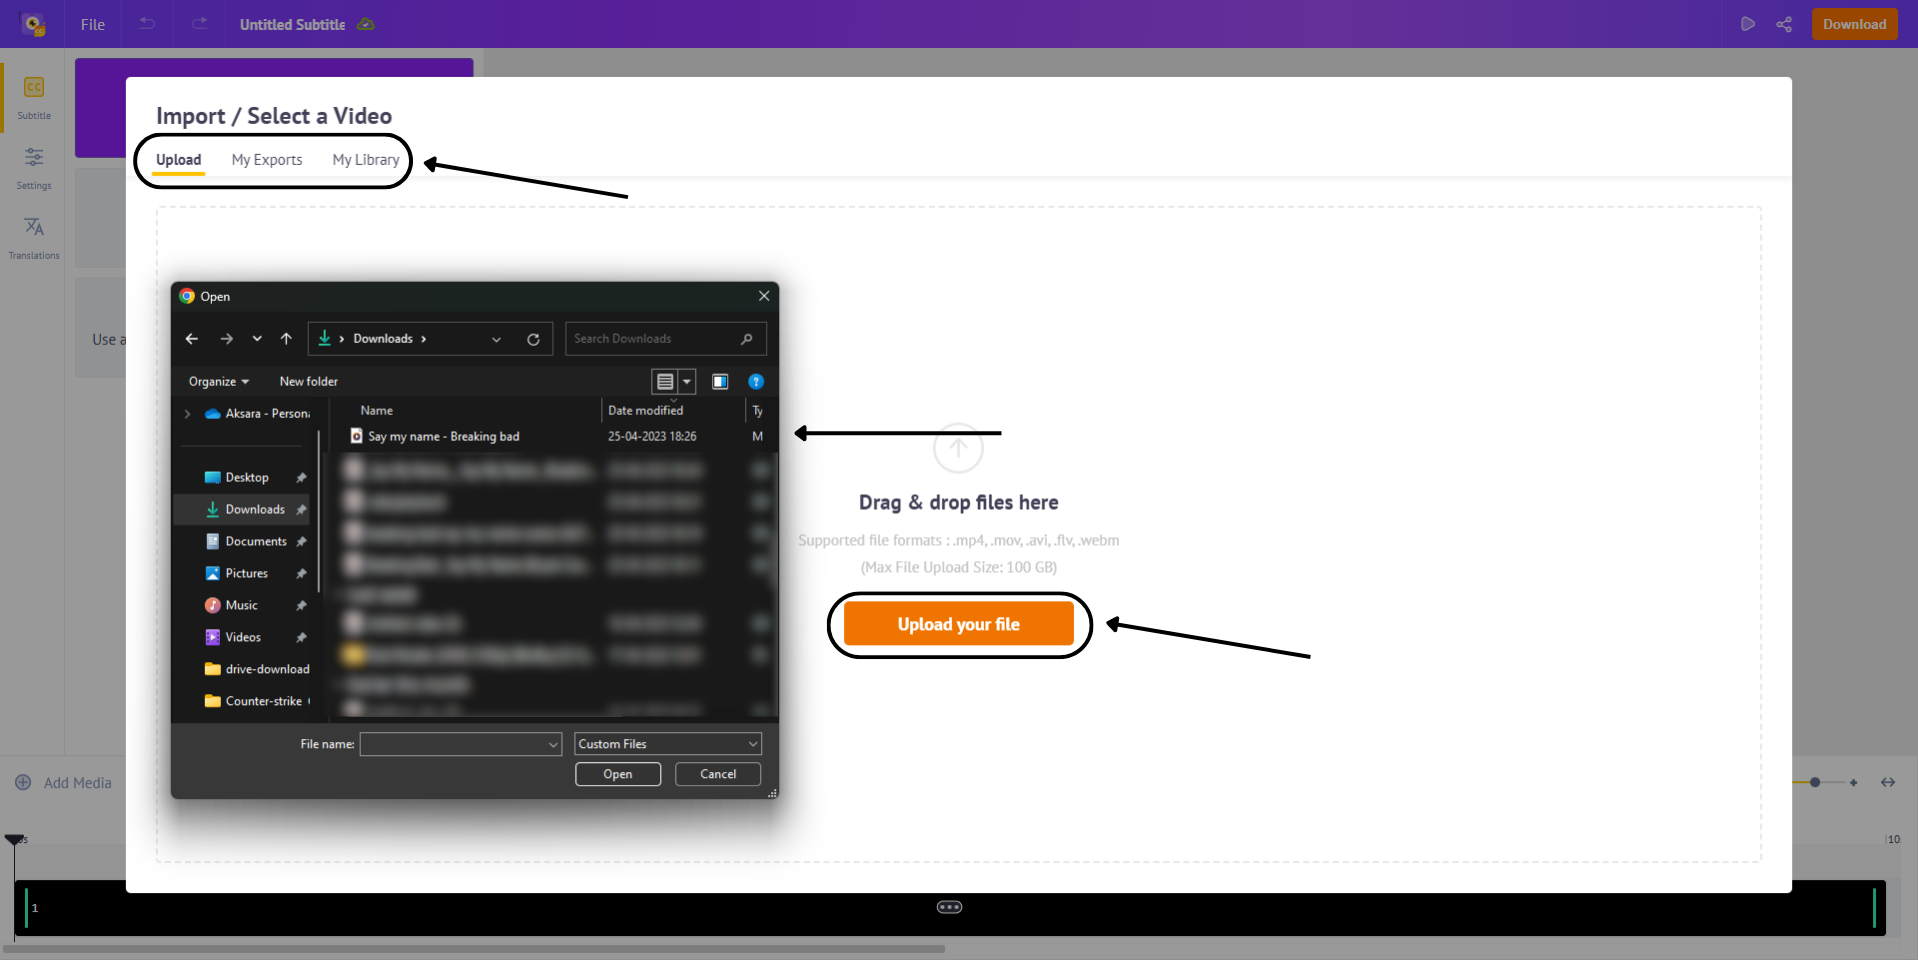
Once you click on Create subtitle, a new project will open in a new tab. Here you have to upload your video to Animaker subtitles. Alternatively, if you have used Animaker before, you can choose from an existing media from the library or select one from the exports section.
Step 3. Add subtitles to your video
Once you have added the video to Animaker subtitles, it's time to add subtitles. With Animaker Subtitles, you can add subtitles to your videos in three different ways.
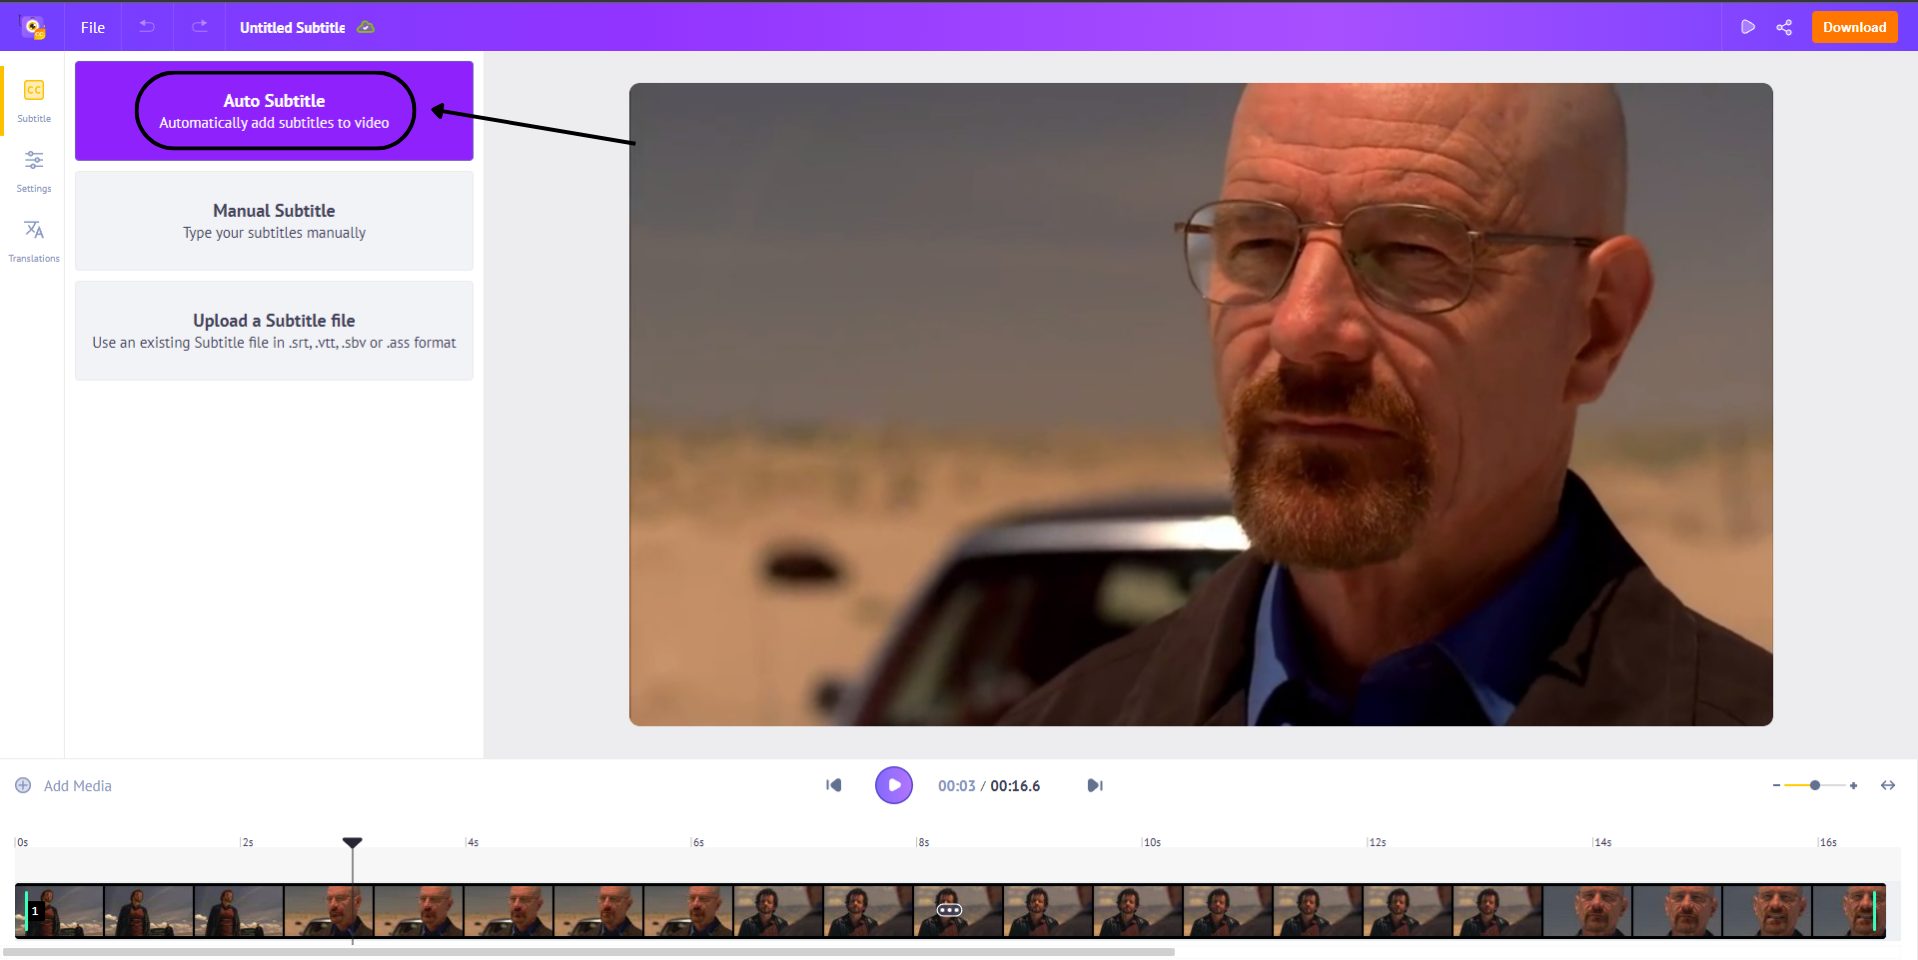
- Auto subtitles: By far, this is the easiest way you can add subtitles to your video. With the Auto Subtitles feature on Animaker Subtitles, all you have to do is click on Auto subtitles, give it a few seconds, and it will automatically add the timestamp & the subtitles to your video

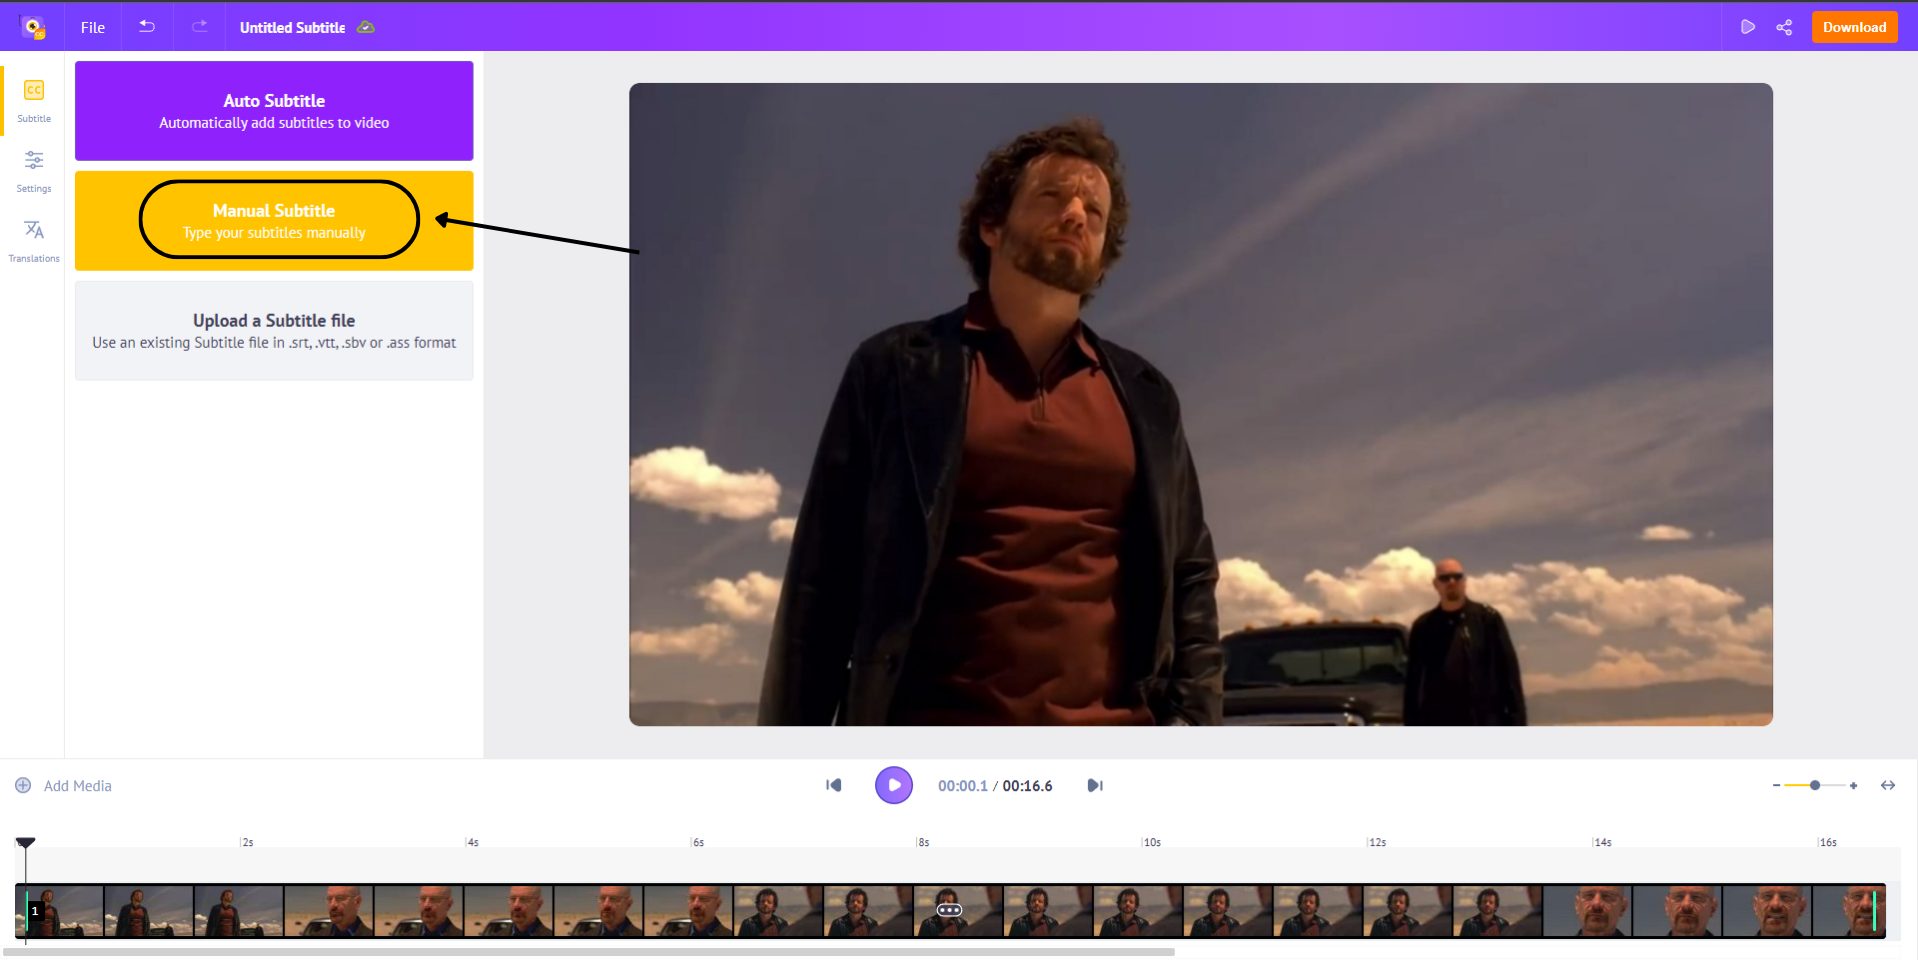
- Manual subtitles: This is the traditional way to add subtitles to your video. In this method, you have to manually type in the subtitles, adjust the time stamps, and add subtitles to your video.
Unlike other methods, you can add subtitles to your MP4 with the highest accuracy, since you are adding them all by yourself. But the drawback is that you must know the timestamps precisely, so that the audio and subtitles are in perfect sync!
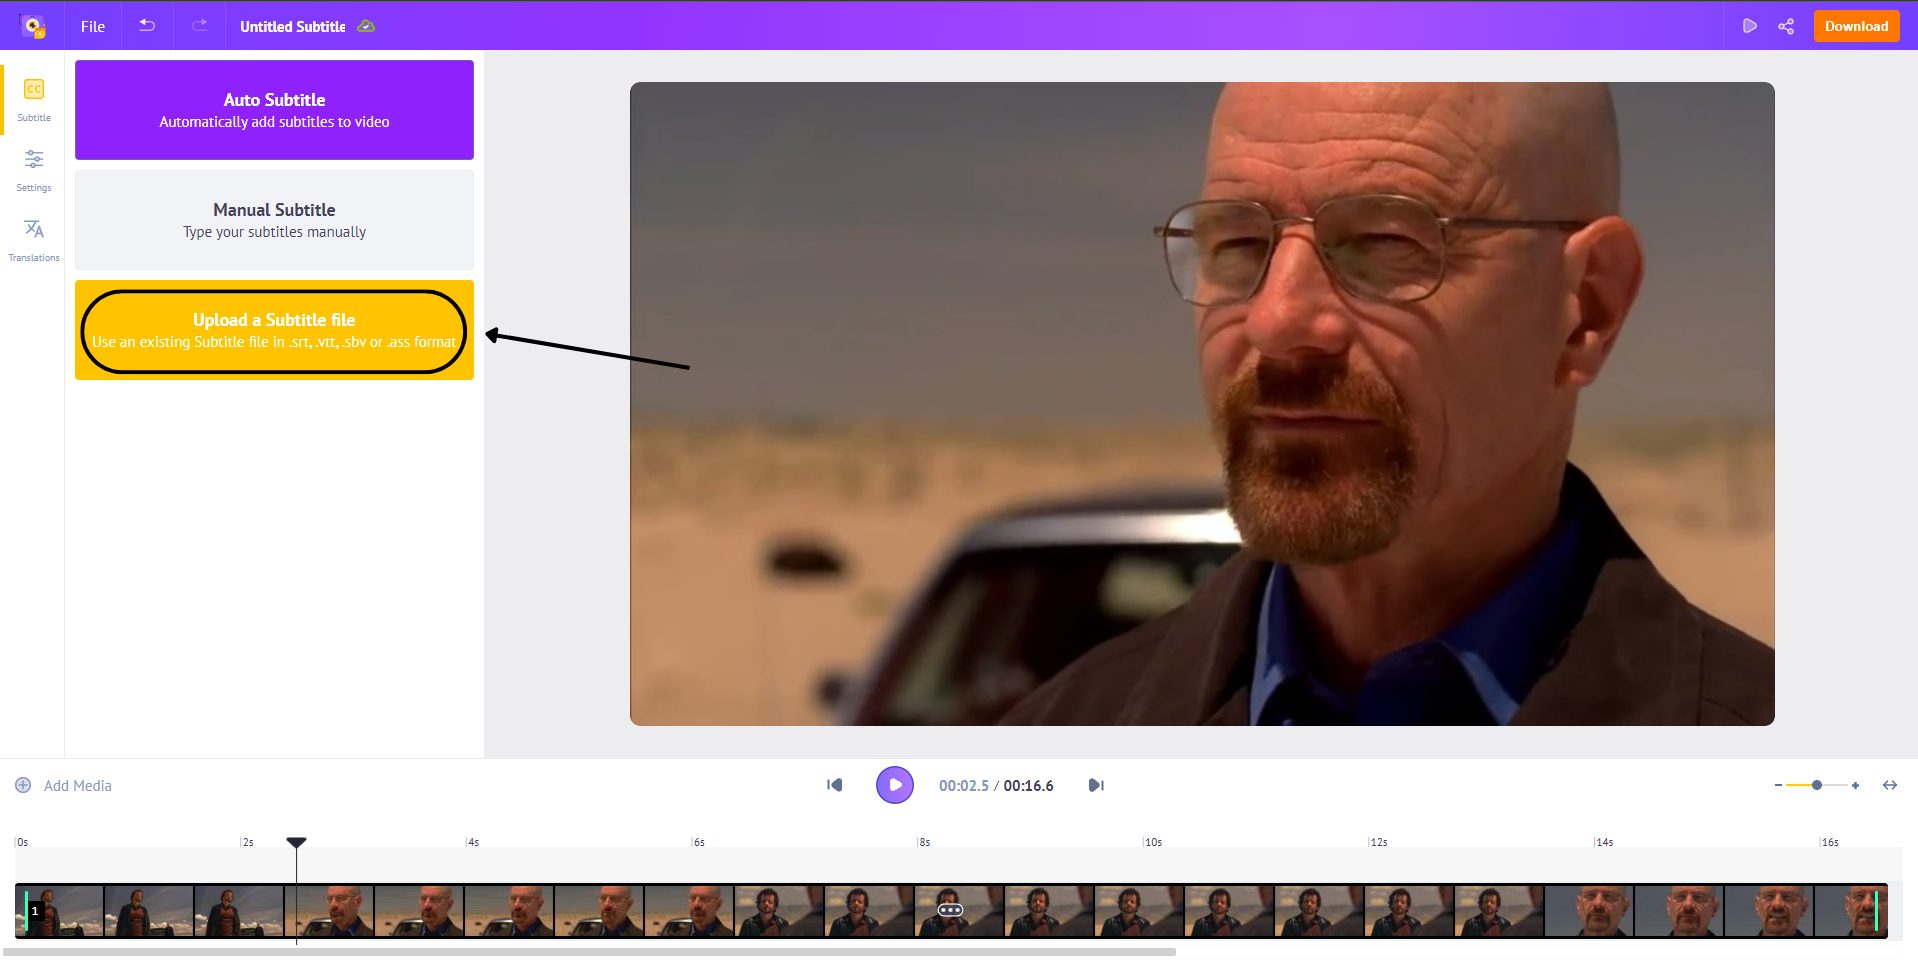
- Upload subtitles: If you have a subtitles file for your video, then you can use this option to upload subtitles to your video. To upload your subtitles, click on Upload a subtitle file and select the files from your computer.
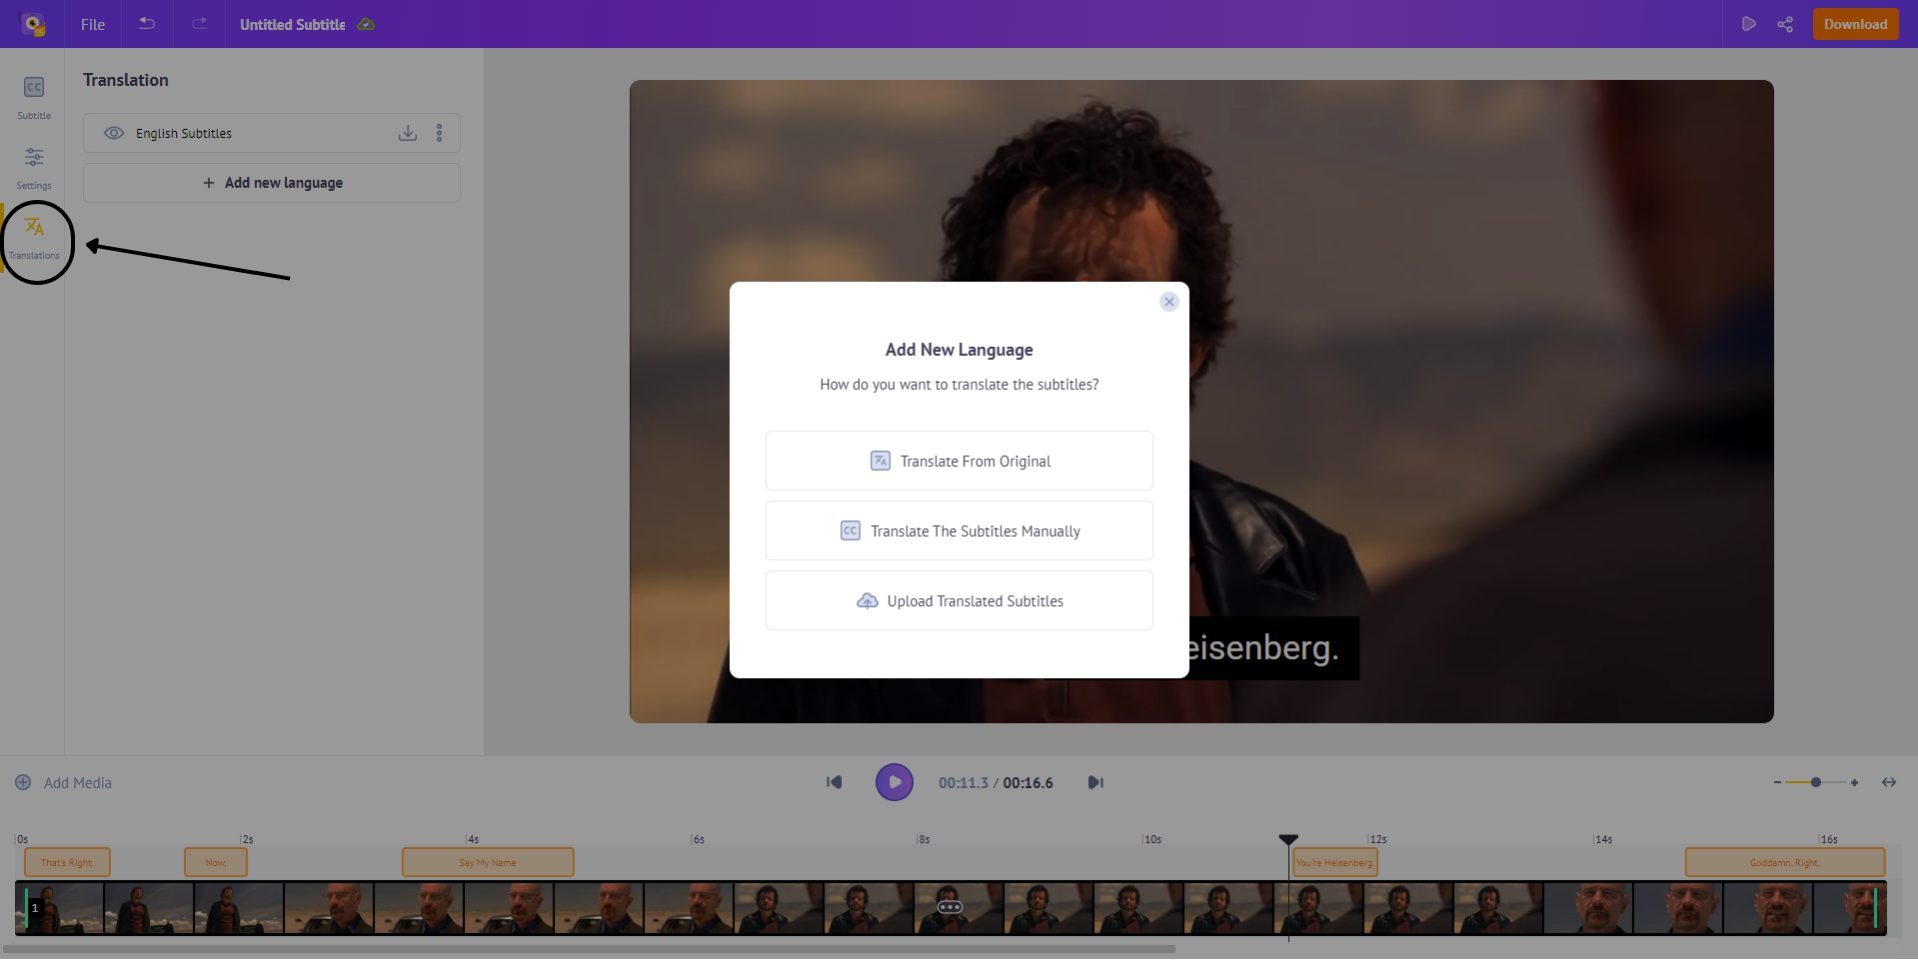
- (Bonus)Auto translate subtitles: If you are trying to target audiences from different regions, then this Auto Translate subtitles feature will come in handy. With this feature, you can easily translate the added subtitles to 100+ different languages in a single click.
Step 4. Customize your subtitles
Once you have added subtitles to your video, you can further customize your subtitles and make it truly yours. Animaker subtitles allow you to do different customizations like -
- Font designs: Animaker’s massive font library has over 150 font options for you to play with and you can upload your font if needed. Additionally, you also get traditional text styling options like font size, font alignment, color customization, and lots more.

- Text prebuilts: The best part about Animaker Subtitles is the text prebuilts. Once you have added the subtitles to your video, you can choose from 15 professional-looking text prebuilts to make your videos stand out from the crowd.
Step 5. Adjust your subtitles
Once you have added the subtitles and customized them, it's finally time to doing the final set of changes & adjustments to your subtitles. Animaker subtitles allow you to customize every aspect of your subtitles like -
- Adjust duration of subtitles - Be it AI subtitles or manual subtitles, there will be areas where you need to manually check the timings of your subtitles and adjust them. You can also adjust the duration of the subtitles in the timeline by moving the ends of the subtitle inward or outward.
- Delete subtitles - If there are parts of the video where your subtitles are misplaced, you can easily delete the subtitles by clicking the trash icon next to the subtitle.
- Add text & Merge Subtitles - If you want to manually add your own subtitle to your video, you can use the Add text feature. And if you have scenarios where two subtitles are misaligned to the video or the gap between two subtitles is too less, you can use the Merge subtitles feature.
Step 6. Download your MP4 video
Once you are done adding subtitles to your video, you can preview the video by clicking on the small play icon next to the download button.

If everything looks fine, you can go ahead and download the video. Apart from downloading videos, you can also download the subtitle file in .SRT, .VTT, .ASS, .SBV formats.

Wasn’t that so easy? You have successfully learned how to add subtitles to MP4 using Animaker Subtitles!
How to add subtitles to MP4 Offline
In this section, we will look at different ways to add subtitles to MP4 on Mac and Windows. We will be using the most common apps like VLC Media Player, Windows Media Player on Windows. Meanwhile on Mac, we will be using iMovie and Quicktime Media Player.
While these are preinstalled apps on Windows and Mac, if they are not available, you can download them using the above links.
Please note: When you are adding subtitles to your MP4 video offline, you can only add premade subtitles that are available in a format that the software supports.
Method 1: Using VLC
For windows, we will be using the free and open source software called VLC.
Please note, the steps below can be followed for the mac version of VLC as well.
Before going to step by step tutorial, ensure you have the Subtitle File ready. If not check out this guide on How to make subtitles.
Now, let’s see how you can add subtitles to MP4 videos using VLC media player
Step 1: Open VLC. Head over to the subtitle option in the top menu, and click on add subtitle file option.

Step 2: Add the subtitle file from your computer.
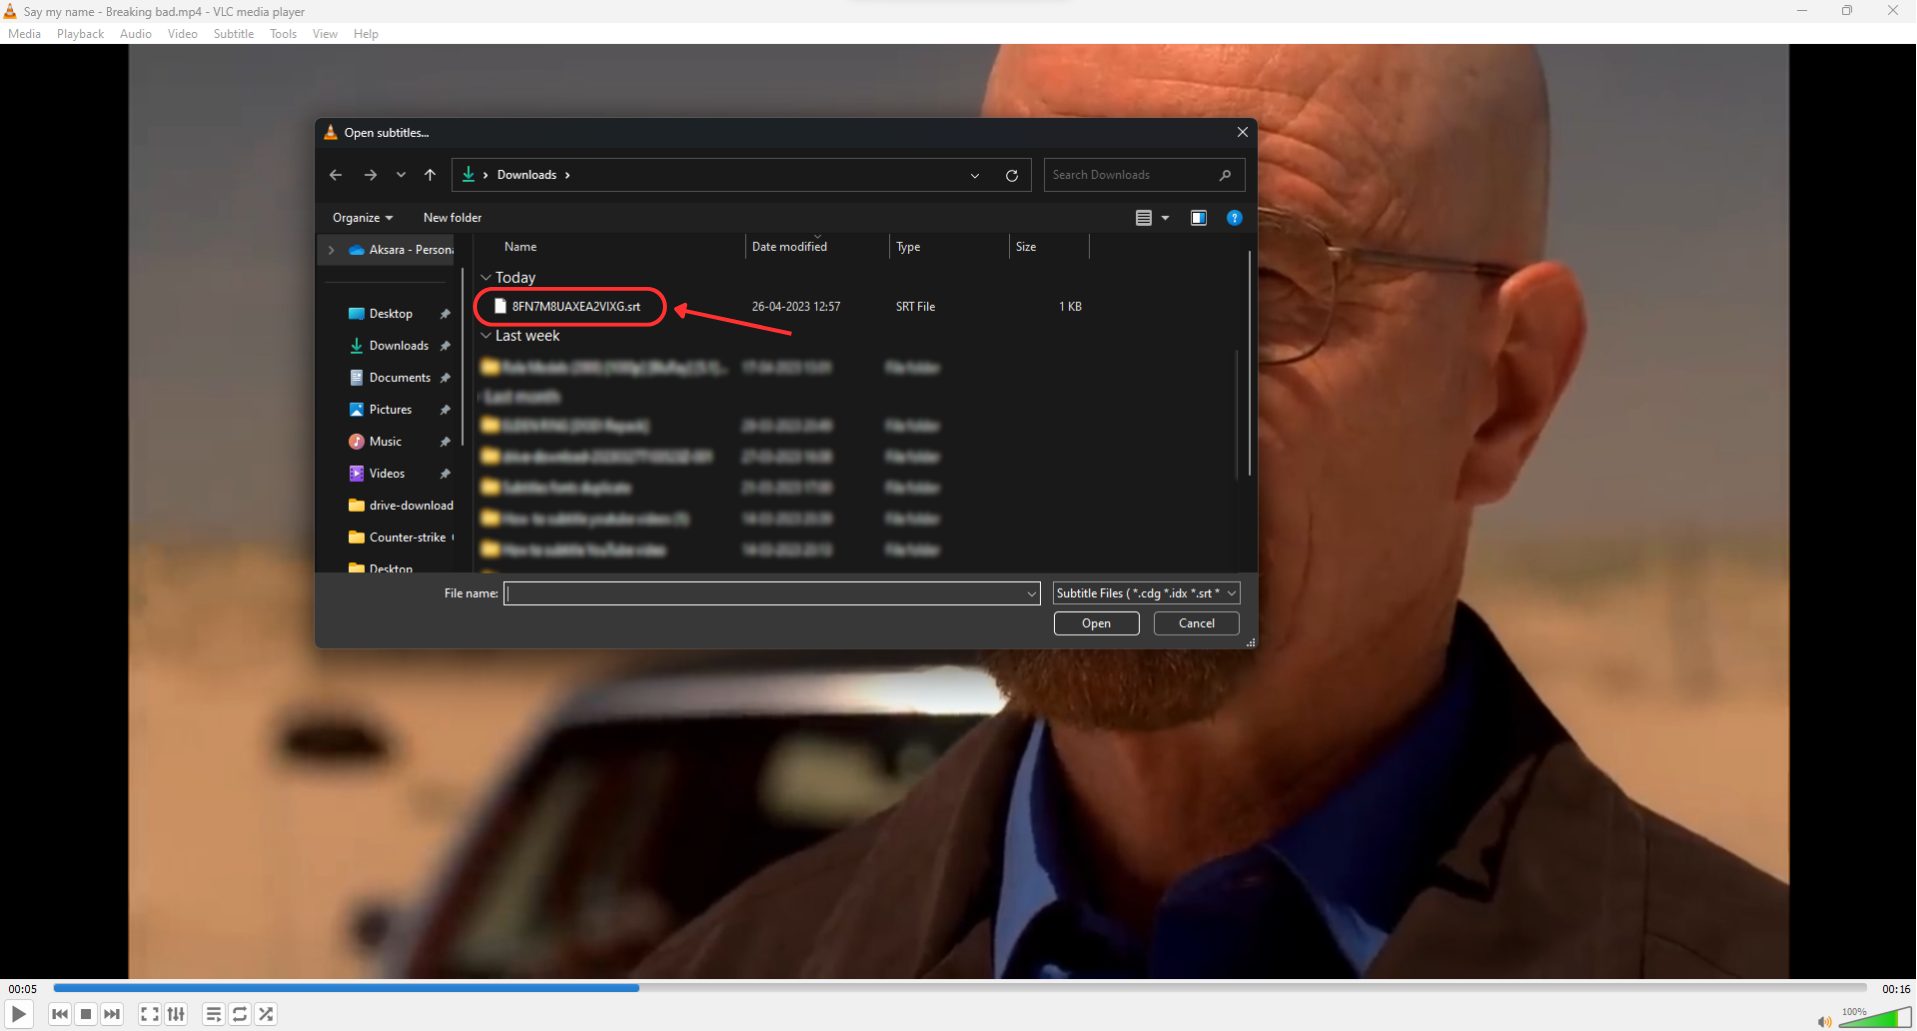
Step 3: The subtitle file is added to your MP4 video! As simple as that.

Now let’s see the second way to add subtitle to your MP4 video.
Method 2: Using Windows Media Player
In this step, we will be looking at how to add subtitles to MP4 on Windows Media player. If you have a Windows computer, the Windows media player is preinstalled. But if you want to download it, follow this link.
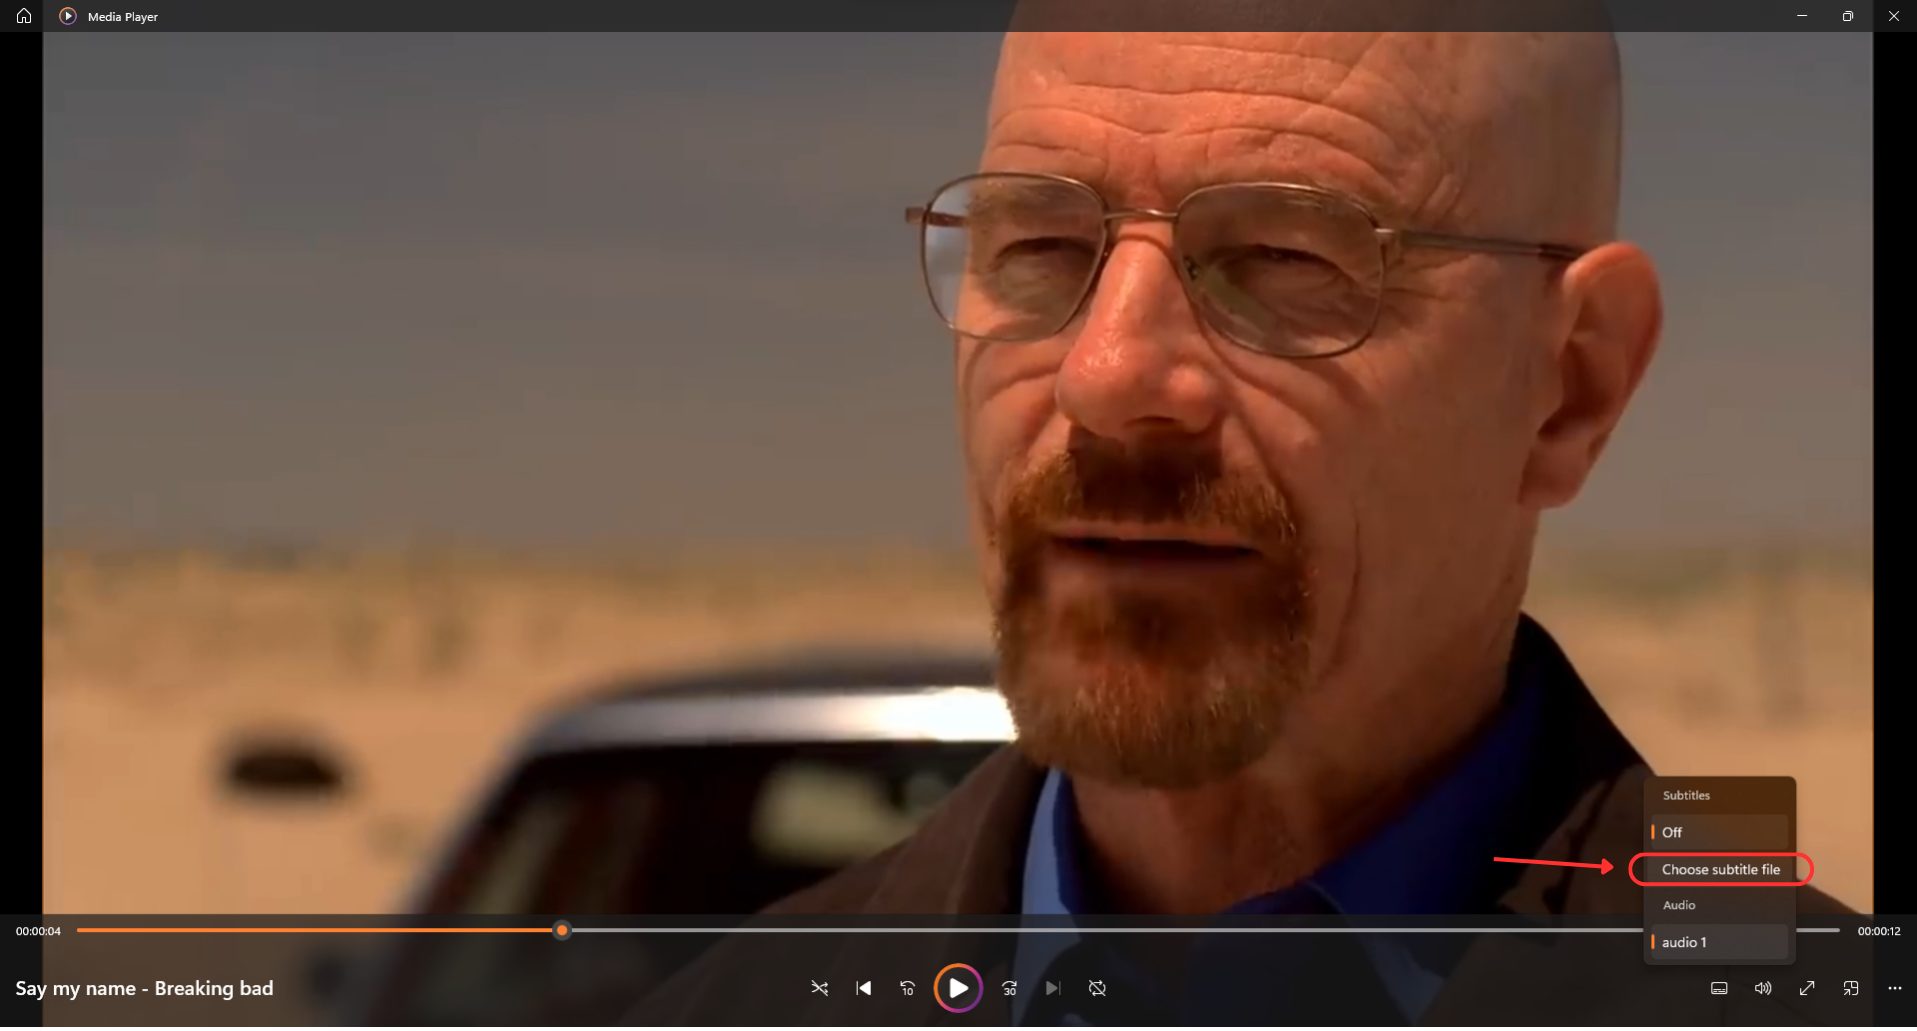
Step 1: Open the MP4 Video file in the Windows media player.
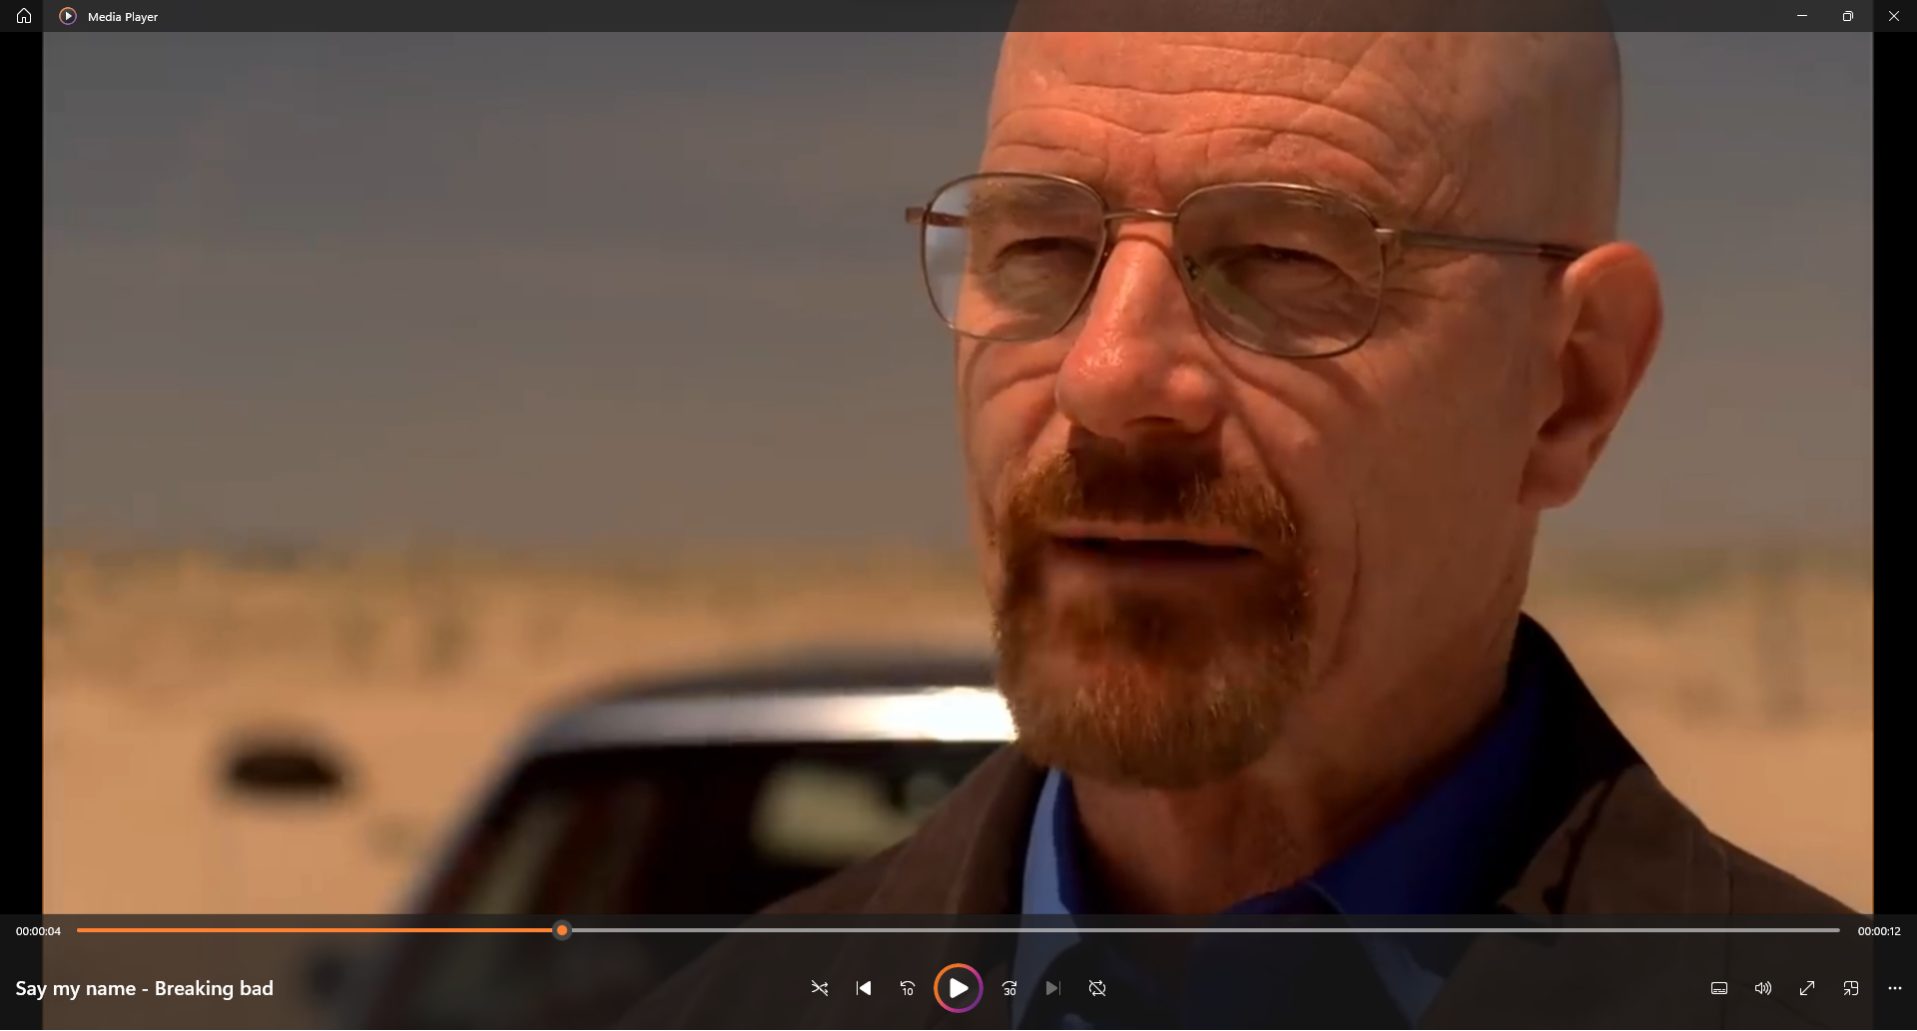
Step 2: Click on the small subtitle icon on the bottom right to add subtitles to your video.
Step 3: Boom! You have successfully added subtitles to your MP4 video in the Windows media player!
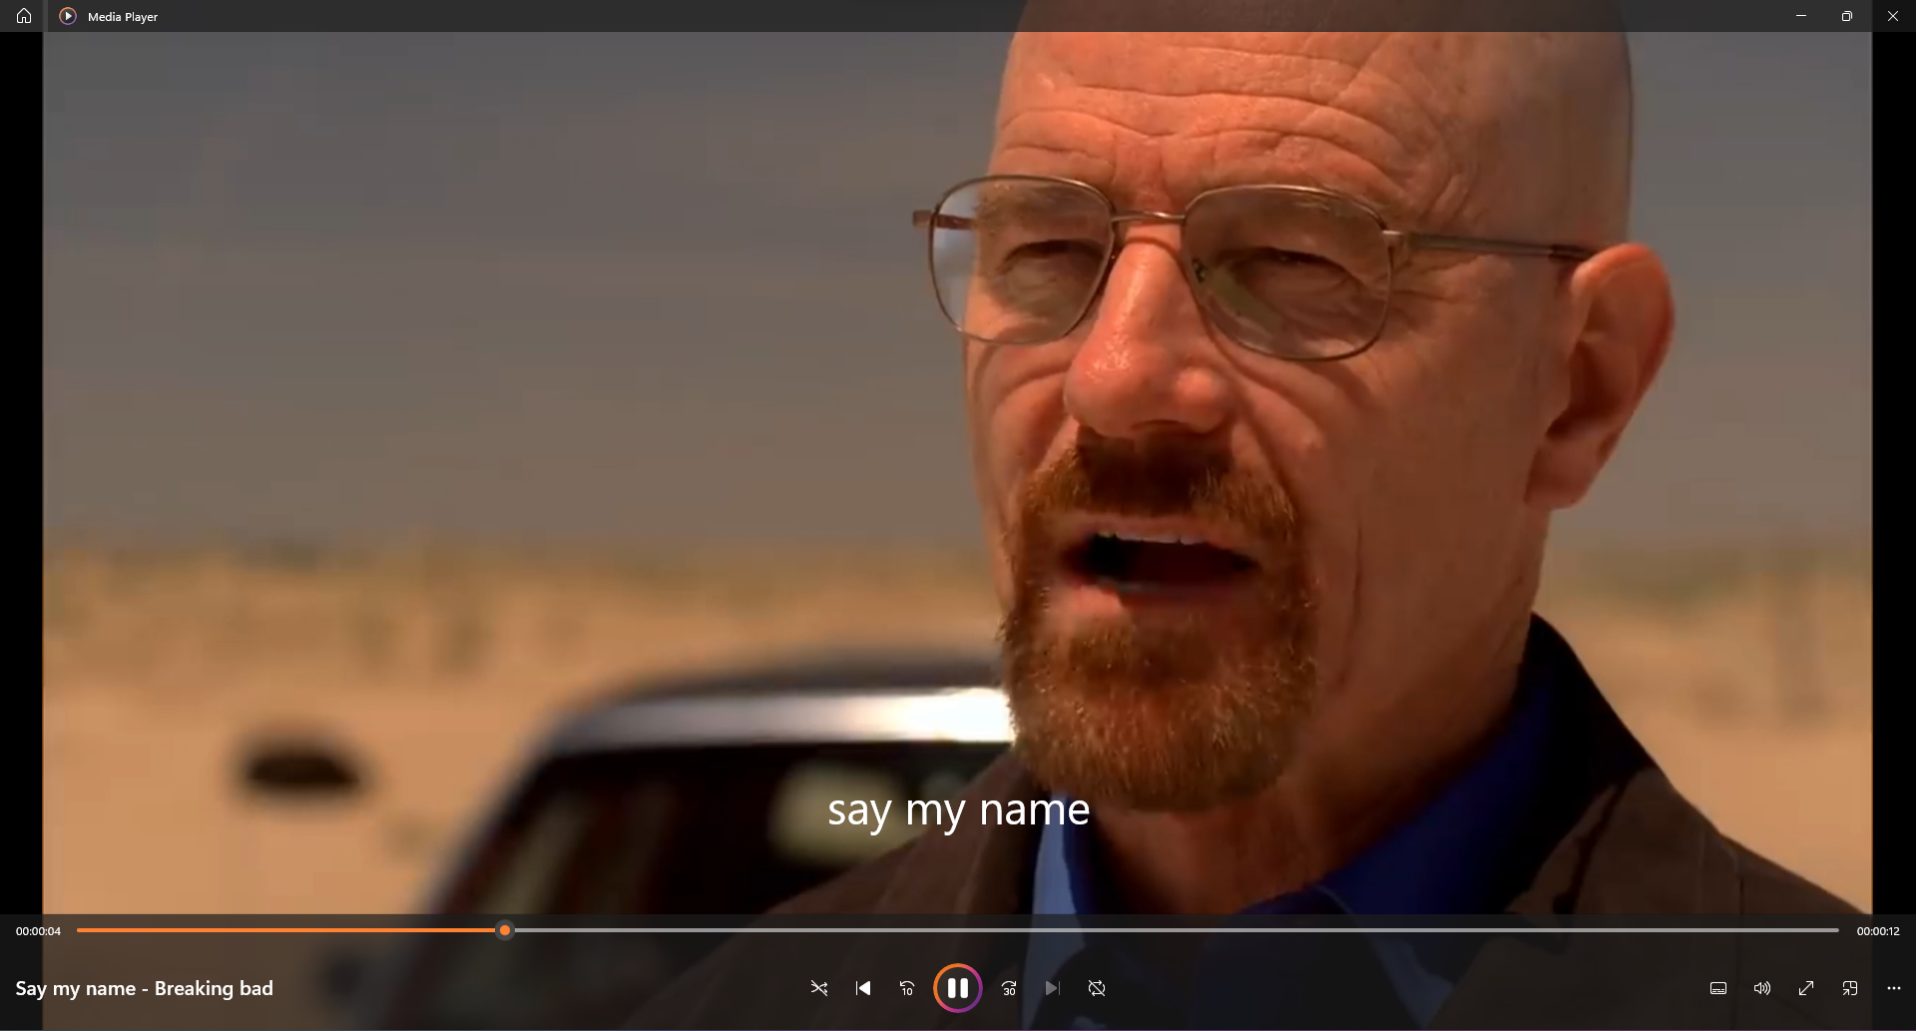
Wasn’t that simple? Now, let’s check out how to add subtitles using Quick Time Player.
Method 3: Using Quicktime Player
When it comes to Quicktime player, you can download and use this on both Windows and Mac. To check the supported version, here is more info on Quicktime player download.
When it comes to adding subtitles using Quicktime player, it's a bigger workaround as the traditional subtitles files (.srt, .ass., etc.) don’t work on Quicktime player. This player uses its own subtitle format called the “.QT”.
If there’s a subtitle file embedded to the video by default, you can easily enable or disable it (Refer Step 3). If not, you have to use a third party application to do that.
So, let’s quickly learn how to add subtitles to a video using the Quicktime player.
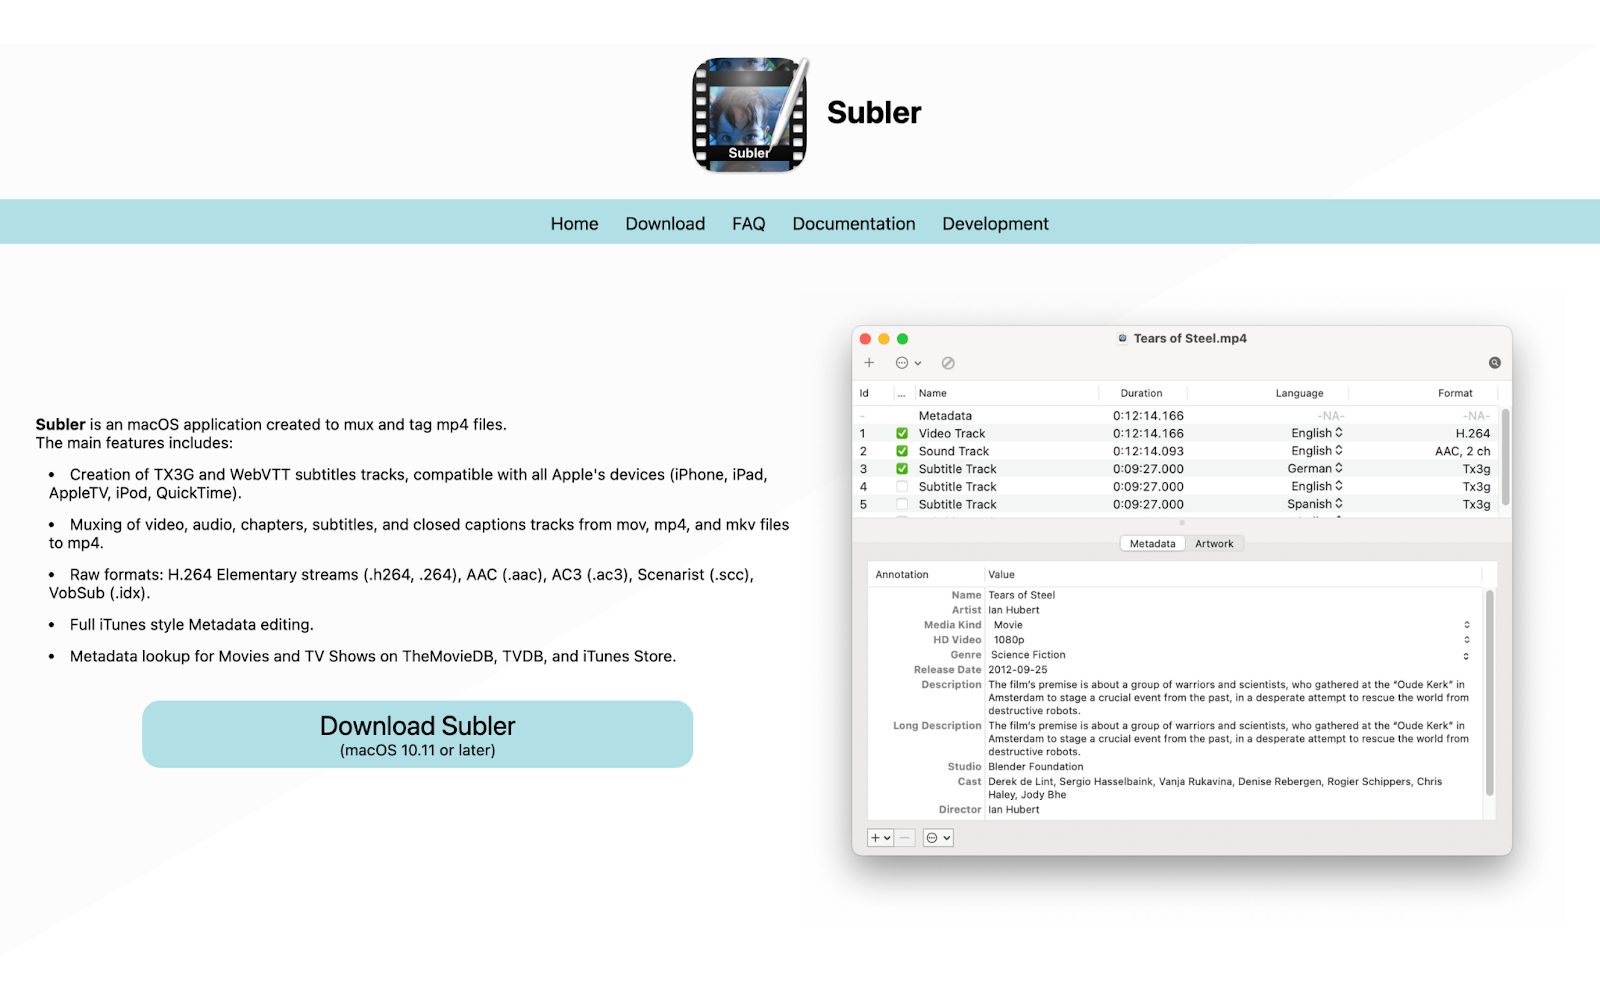
Step 1: To add subtitles, you need to use a third party application like “Subler”. This app helps embed the subtitles to the Video MP4.
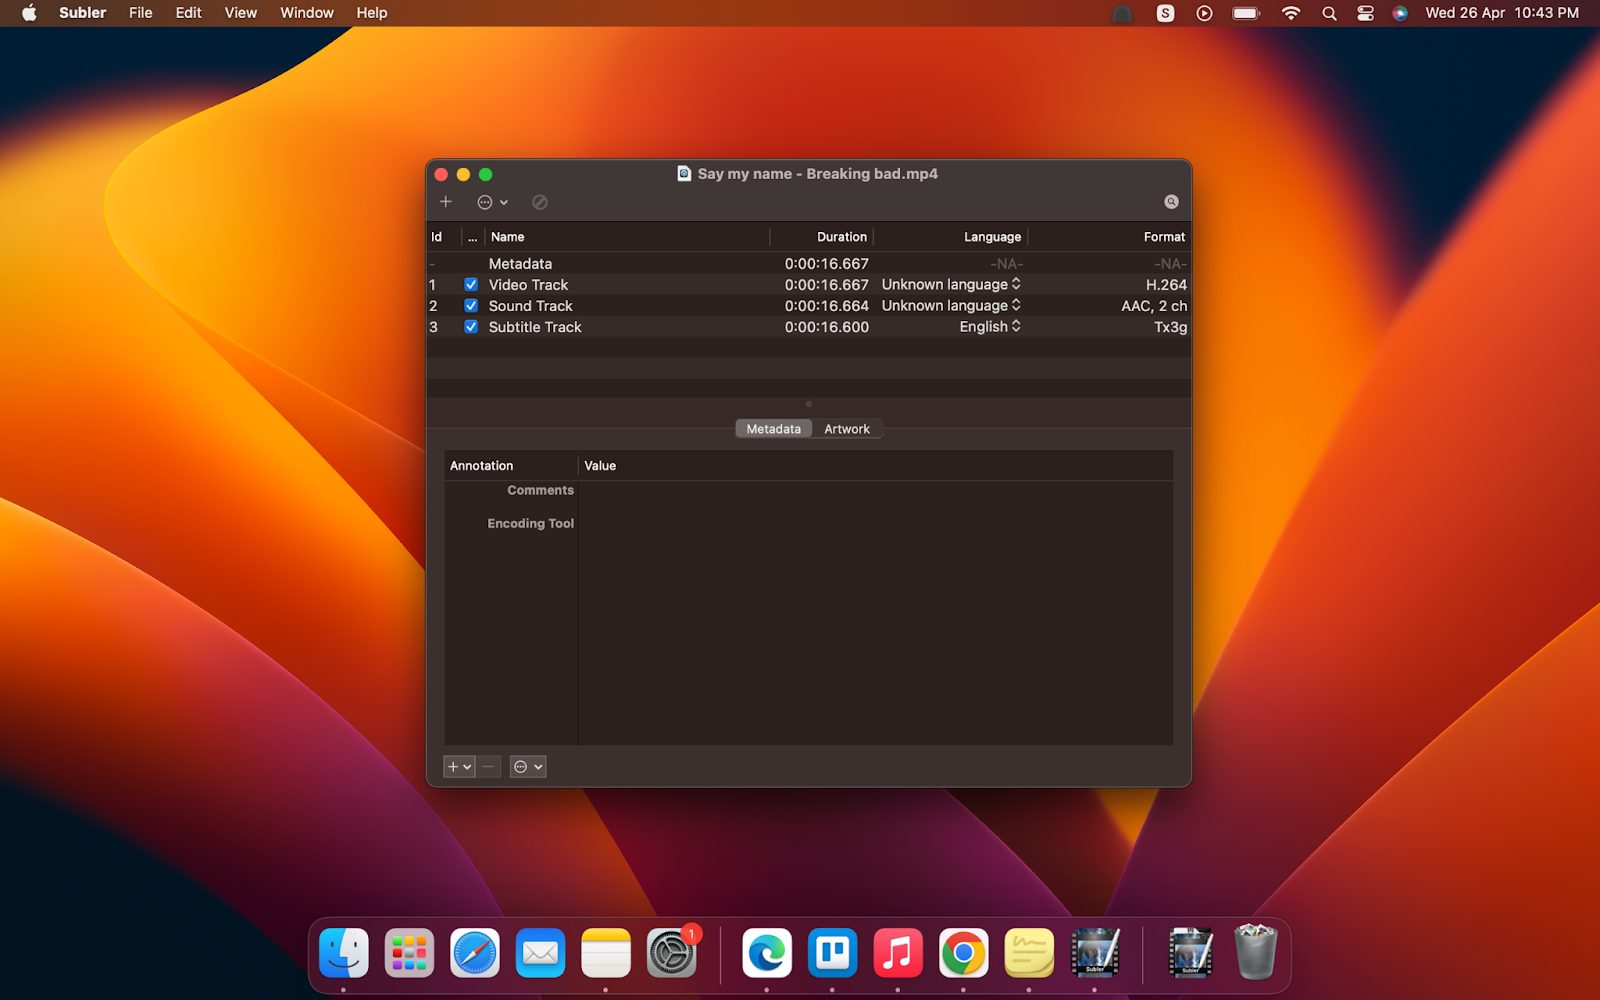
Step 2: Open the MP4 video on Subler and drag & drop the SRT subtitle file into it. Once you’ve added the subtitle file, press command + S or File > Save as to save the video.
Now, the video is ready with the embedded subtitles!
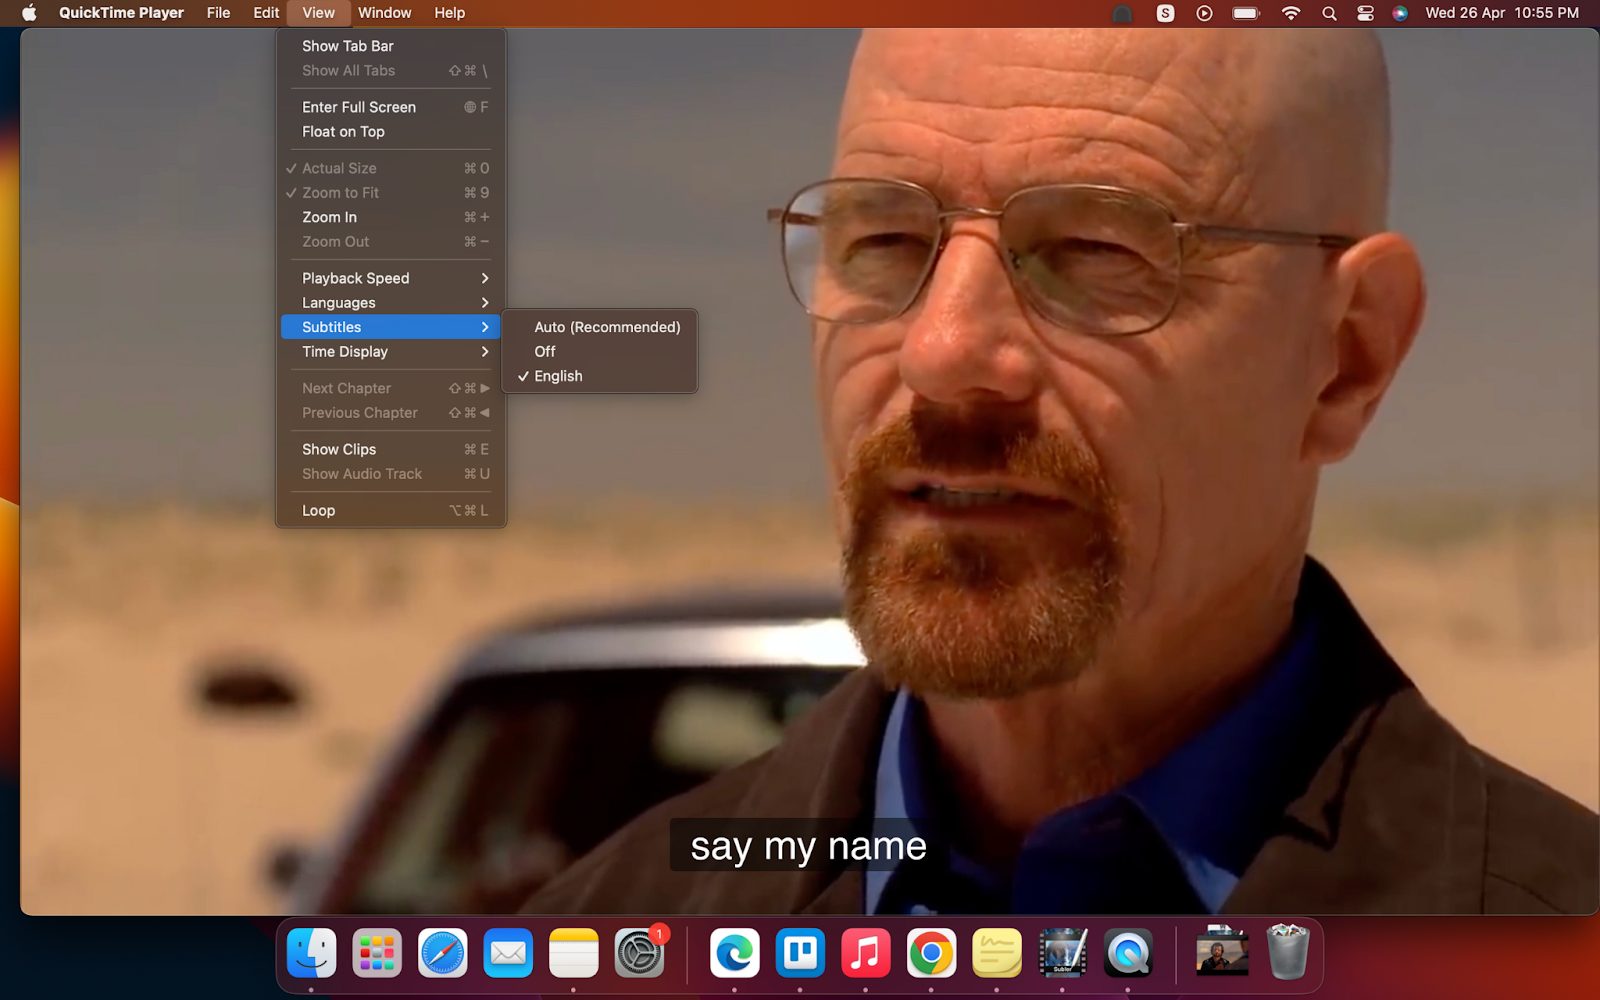
Step 3: It’s time to enable the subtitles now! Open the MP4 video on Quicktime media player. To enable or disable subtitles in Quicktime player, click on “View” in the menu bar. Here you’ll see the option to enable or disable the subtitles.
Up next, let’s see how to add subtitles to MP4 using iMovie.
Method 4: Using iMovie
In iMovie, there’s no straightforward way to add subtitles to your MP4 Video. But here’s a workaround for it, which is to add subtitles manually. In this method, we have to manually go to the timestamp, add the subtitles manually for each dialogue in the video.
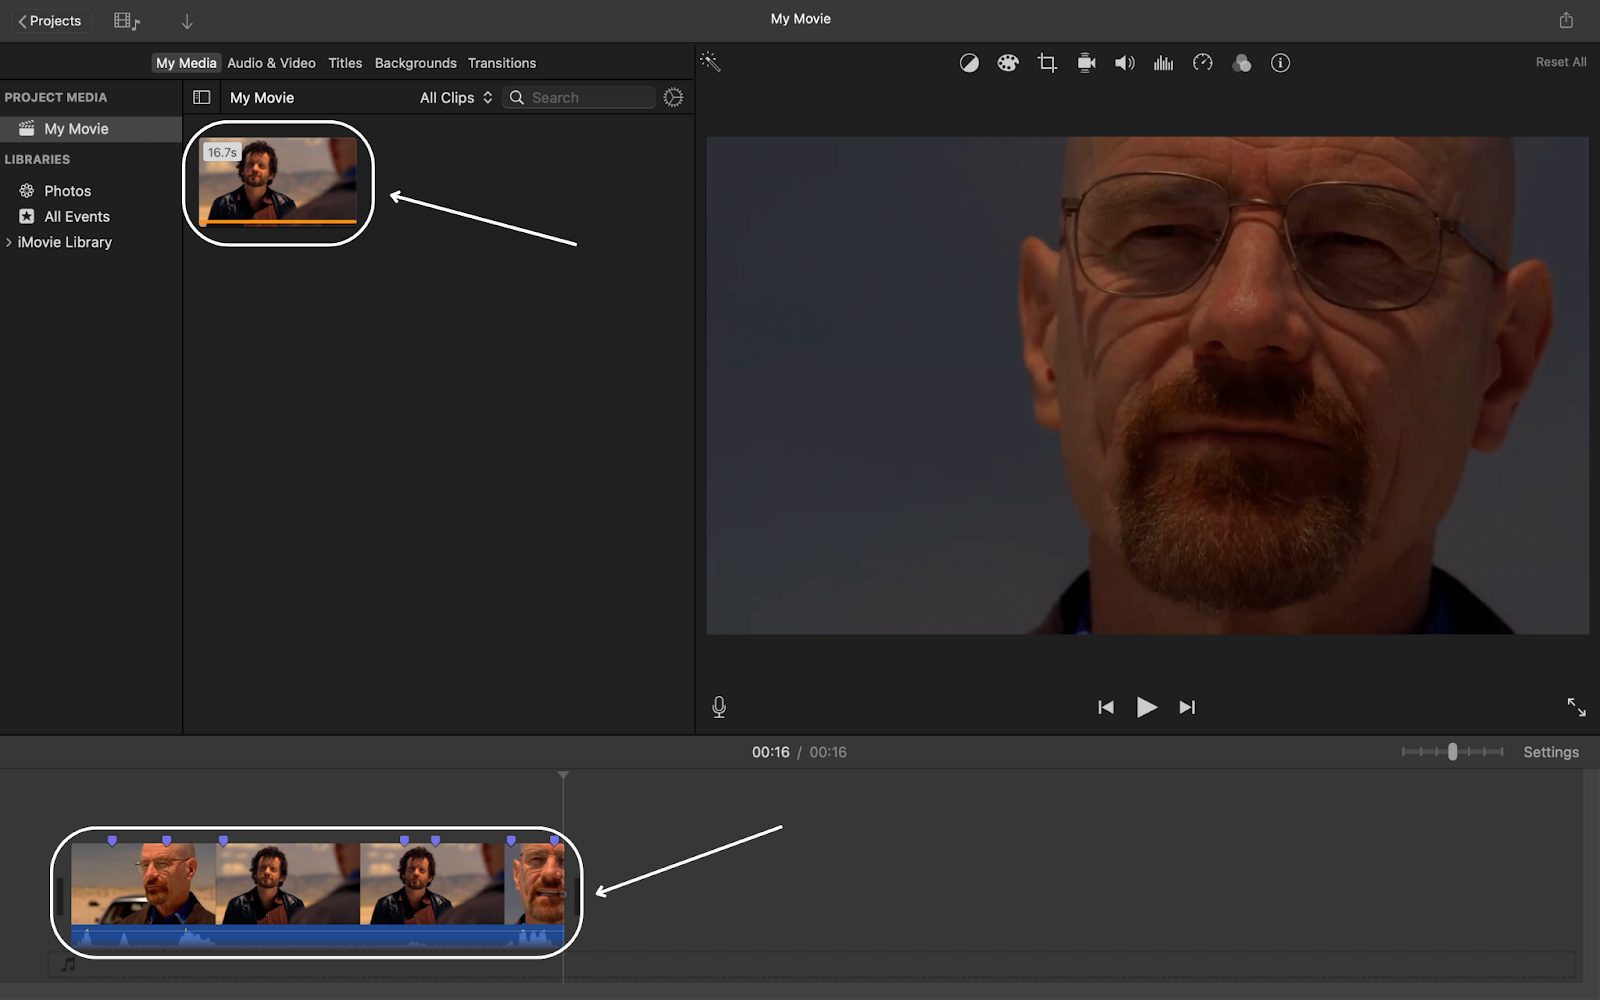
Step 1: Import the MP4 video to your library from your computer. Once you add the video, press ‘Space’ to play the video. To add subtitles to your video, you can add markers to the video by clicking on ‘M’ while the videos are playing. This will make things easier to add subtitles.
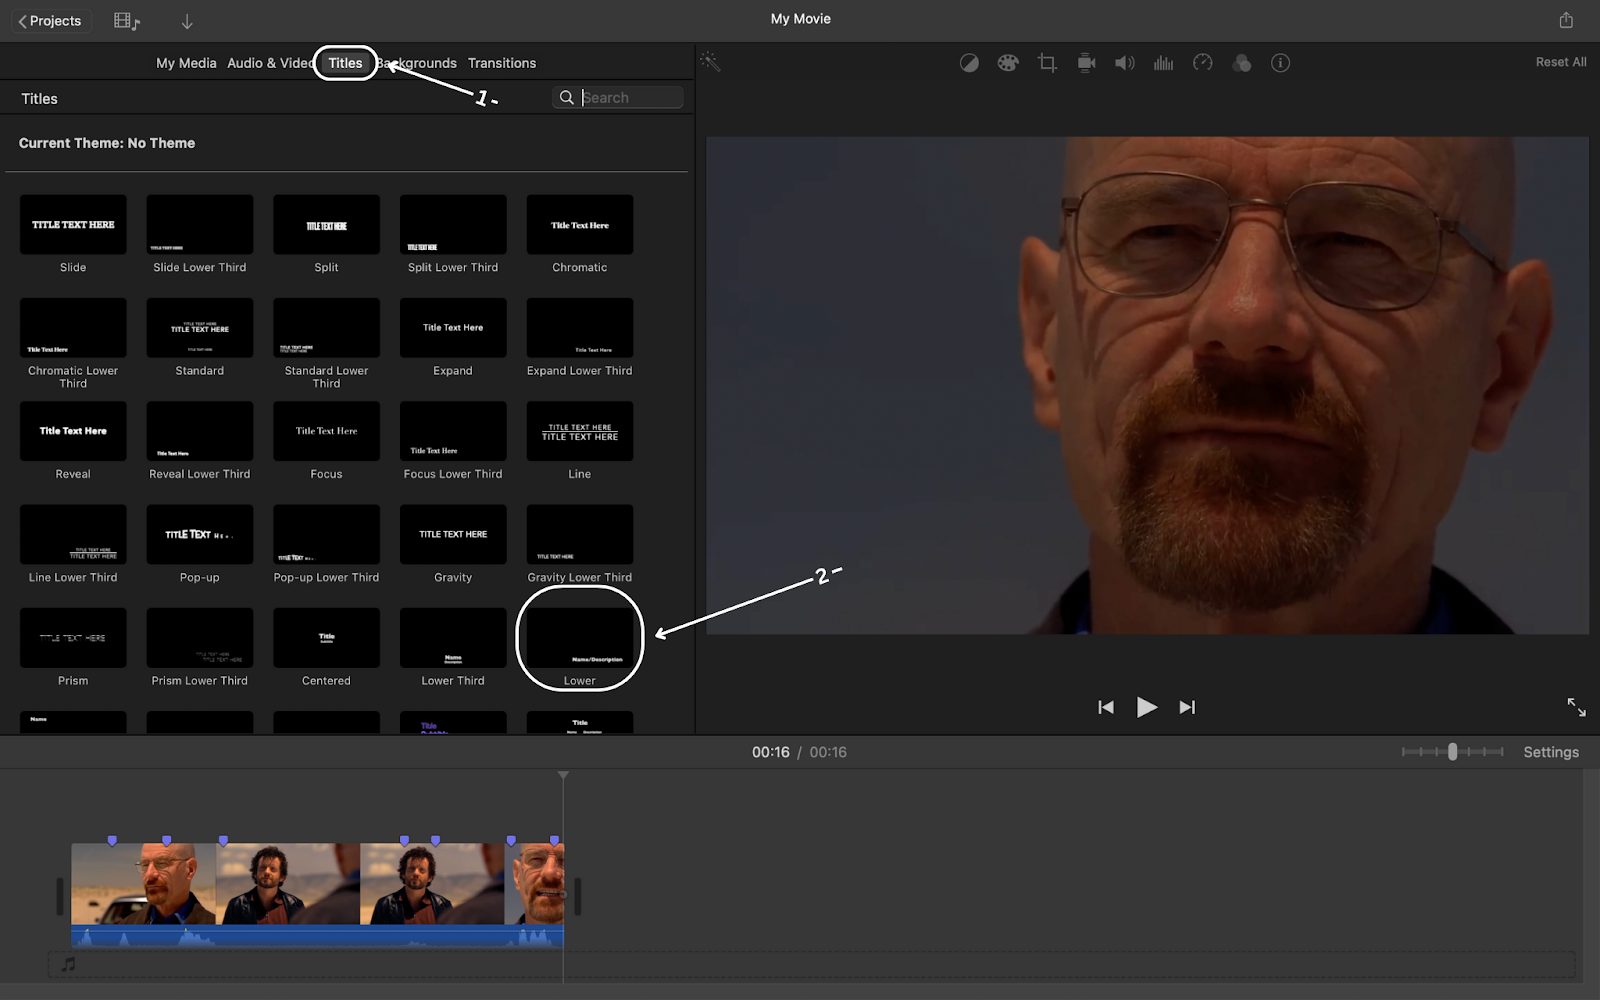
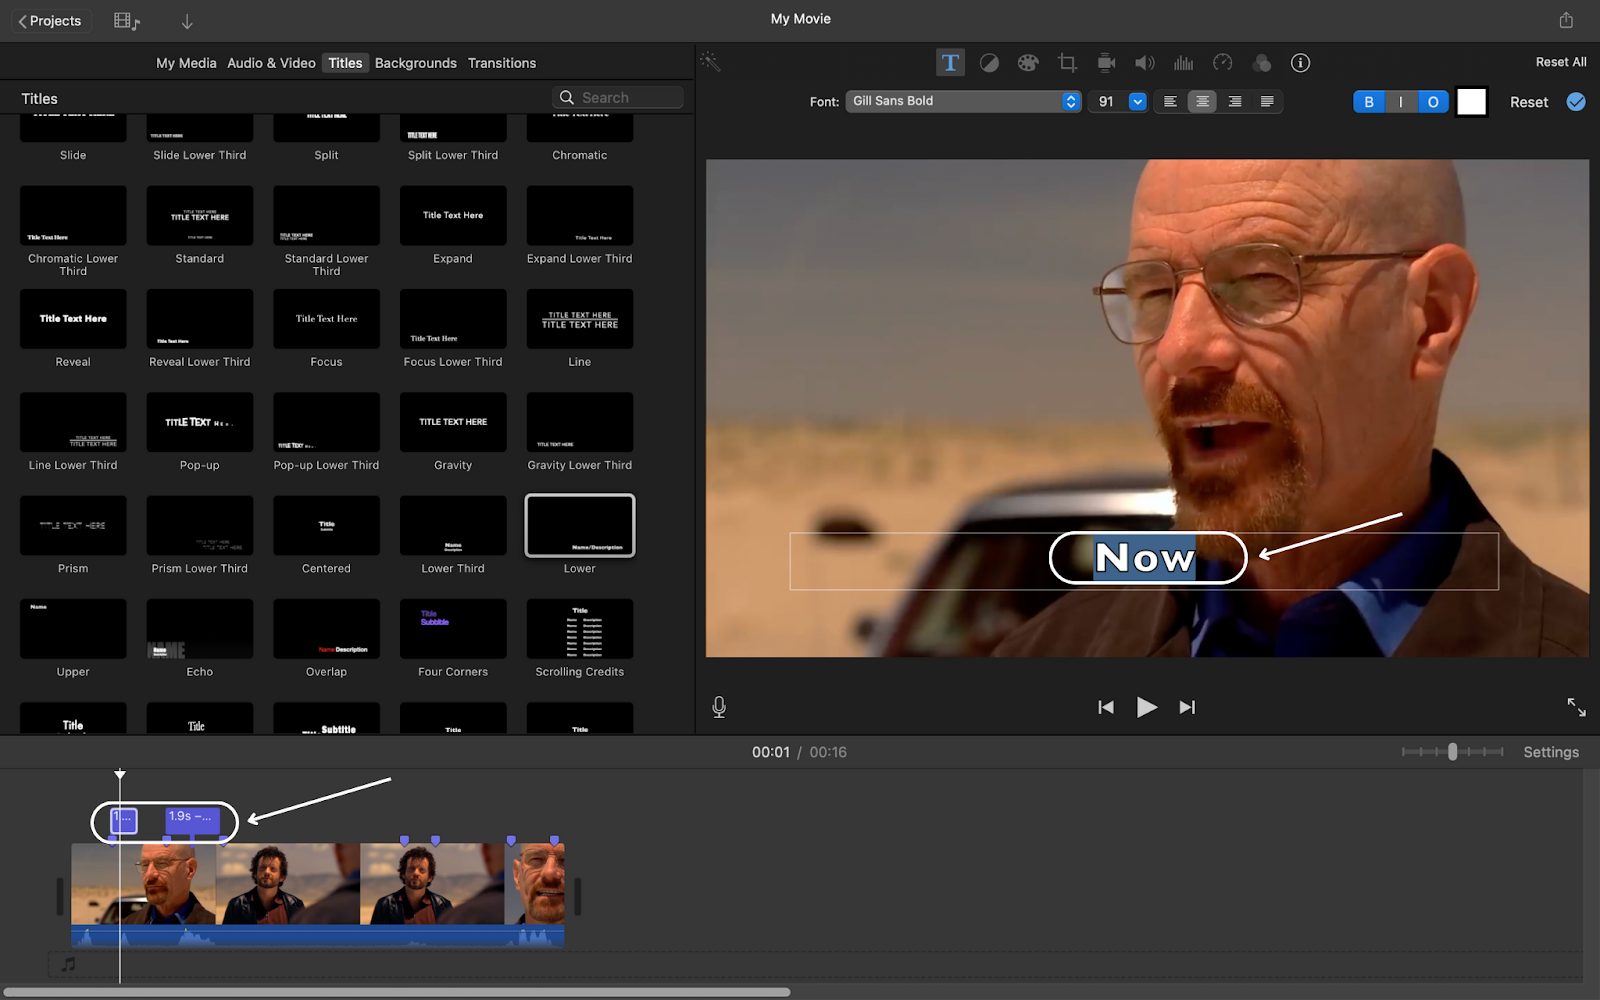
Step 2: Once the marker is added, click on “Titles” to add text to your video. For this, we will be using the title called “Lower”. Drag and drop it to the timeline to add it to your video.
Step 3: Once you add the “Lower” title to your timeline, you can double click the text to customize it and add subtitles.
That was easy, wasn’t it?
All these media players allow you to customize and adjust the subtitles further according to your wish.
So, adding subtitles using them and customizing them as per your wish is not a tough job, provided you have premade subtitles ready to be added. Whereas, if you don’t have subtitles ready for adding to your video, it’s going to be tough for you!
******
Adding subtitles to your video has its advantages, right from accessibility to making your content engageable by the audience.
Moreover, we also have a video guide on how to create subtitles easily using Animaker subtitles.
Read more subtitle guides -
How to make subtitles
How to add captions to reels
What are you waiting for?
Get on Animaker subtitles and start creating beautiful-looking subtitles for your videos easily. If you have any questions or doubts, feel free to drop them in the comments section below.
FAQs:
How do I permanently add subtitles to MP4?
To permanently add subtitles to an MP4, you can use both online and offline tools. Online options include Animaker, while offline methods involve VLC, Windows Video Editor, QuickTime, or iMovie.
Can MP4 video have subtitles?/Can subtitles be embedded in MP4?
Yes, MP4 videos can have subtitles embedded permanently. You can use tools like Animaker online or software like VLC, QuickTime, or iMovie offline to add them.
What subtitle formats are supported by MP4?
Online tools like Animaker support subtitle formats such as .srt, .vtt, and .sbv. For offline software, check the specific formats supported to ensure compatibility.